Yesterday, I built up the Goat Canyon Trestle as the best hike in San Diego County, and provided you with all of the relevant background information about why I thought it was, and all of the warnings about the hike. If you need a recap, click HERE for that recap. If not, let’s get down to the nitty-gritty about the hike: 1) Driving Directions; 2) The “route”; 3) My trip report and 7 tips about the route.
Driving Directions: If you are doing this hike, you are most likely coming from San Diego; and the best set of driving directions I’ve found from San Diego is HERE at this website. If you are unfamiliar with the area, the easiest way to find the turnoff to Mortero Wash is to take the first marked dirt road on the left immediately after the Border Patrol Checkpoint that has been set up on the S-2 North of Ocotillo. Alternatively, you can set your odometer to zero when you exit the I-8 at Ocotillo, and when you reach 9.1 miles North on the S-2, you will also be at Mortero Wash.


The Route from Mortero Palms Trailhead to the Goat Canyon Trestle: As I said yesterday, there is no “trail” that leaves the Mortero Palms Trailhead and takes you directly to the trestle. The best description (other than one’s found online) that I’ve ever read is in Jerry Schad’s Afoot and Afield, which as I’ve said before, is the bible of San Diego County Hiking. This is the route that I followed; and the route that I’m going to describe here in the next several paragraphs and pictures. As there is no “set” route, keep in mind that my directions here should be not taken as the gospel truth and that if you go, you should take a GPS and or map and compass in order not to get lost. Finally, in case you want more information (which is good); check out these trip reports here, here, here and here. I always say that more information is better, especially for a hike like this where there is no trail. And with that in mind, here we go!
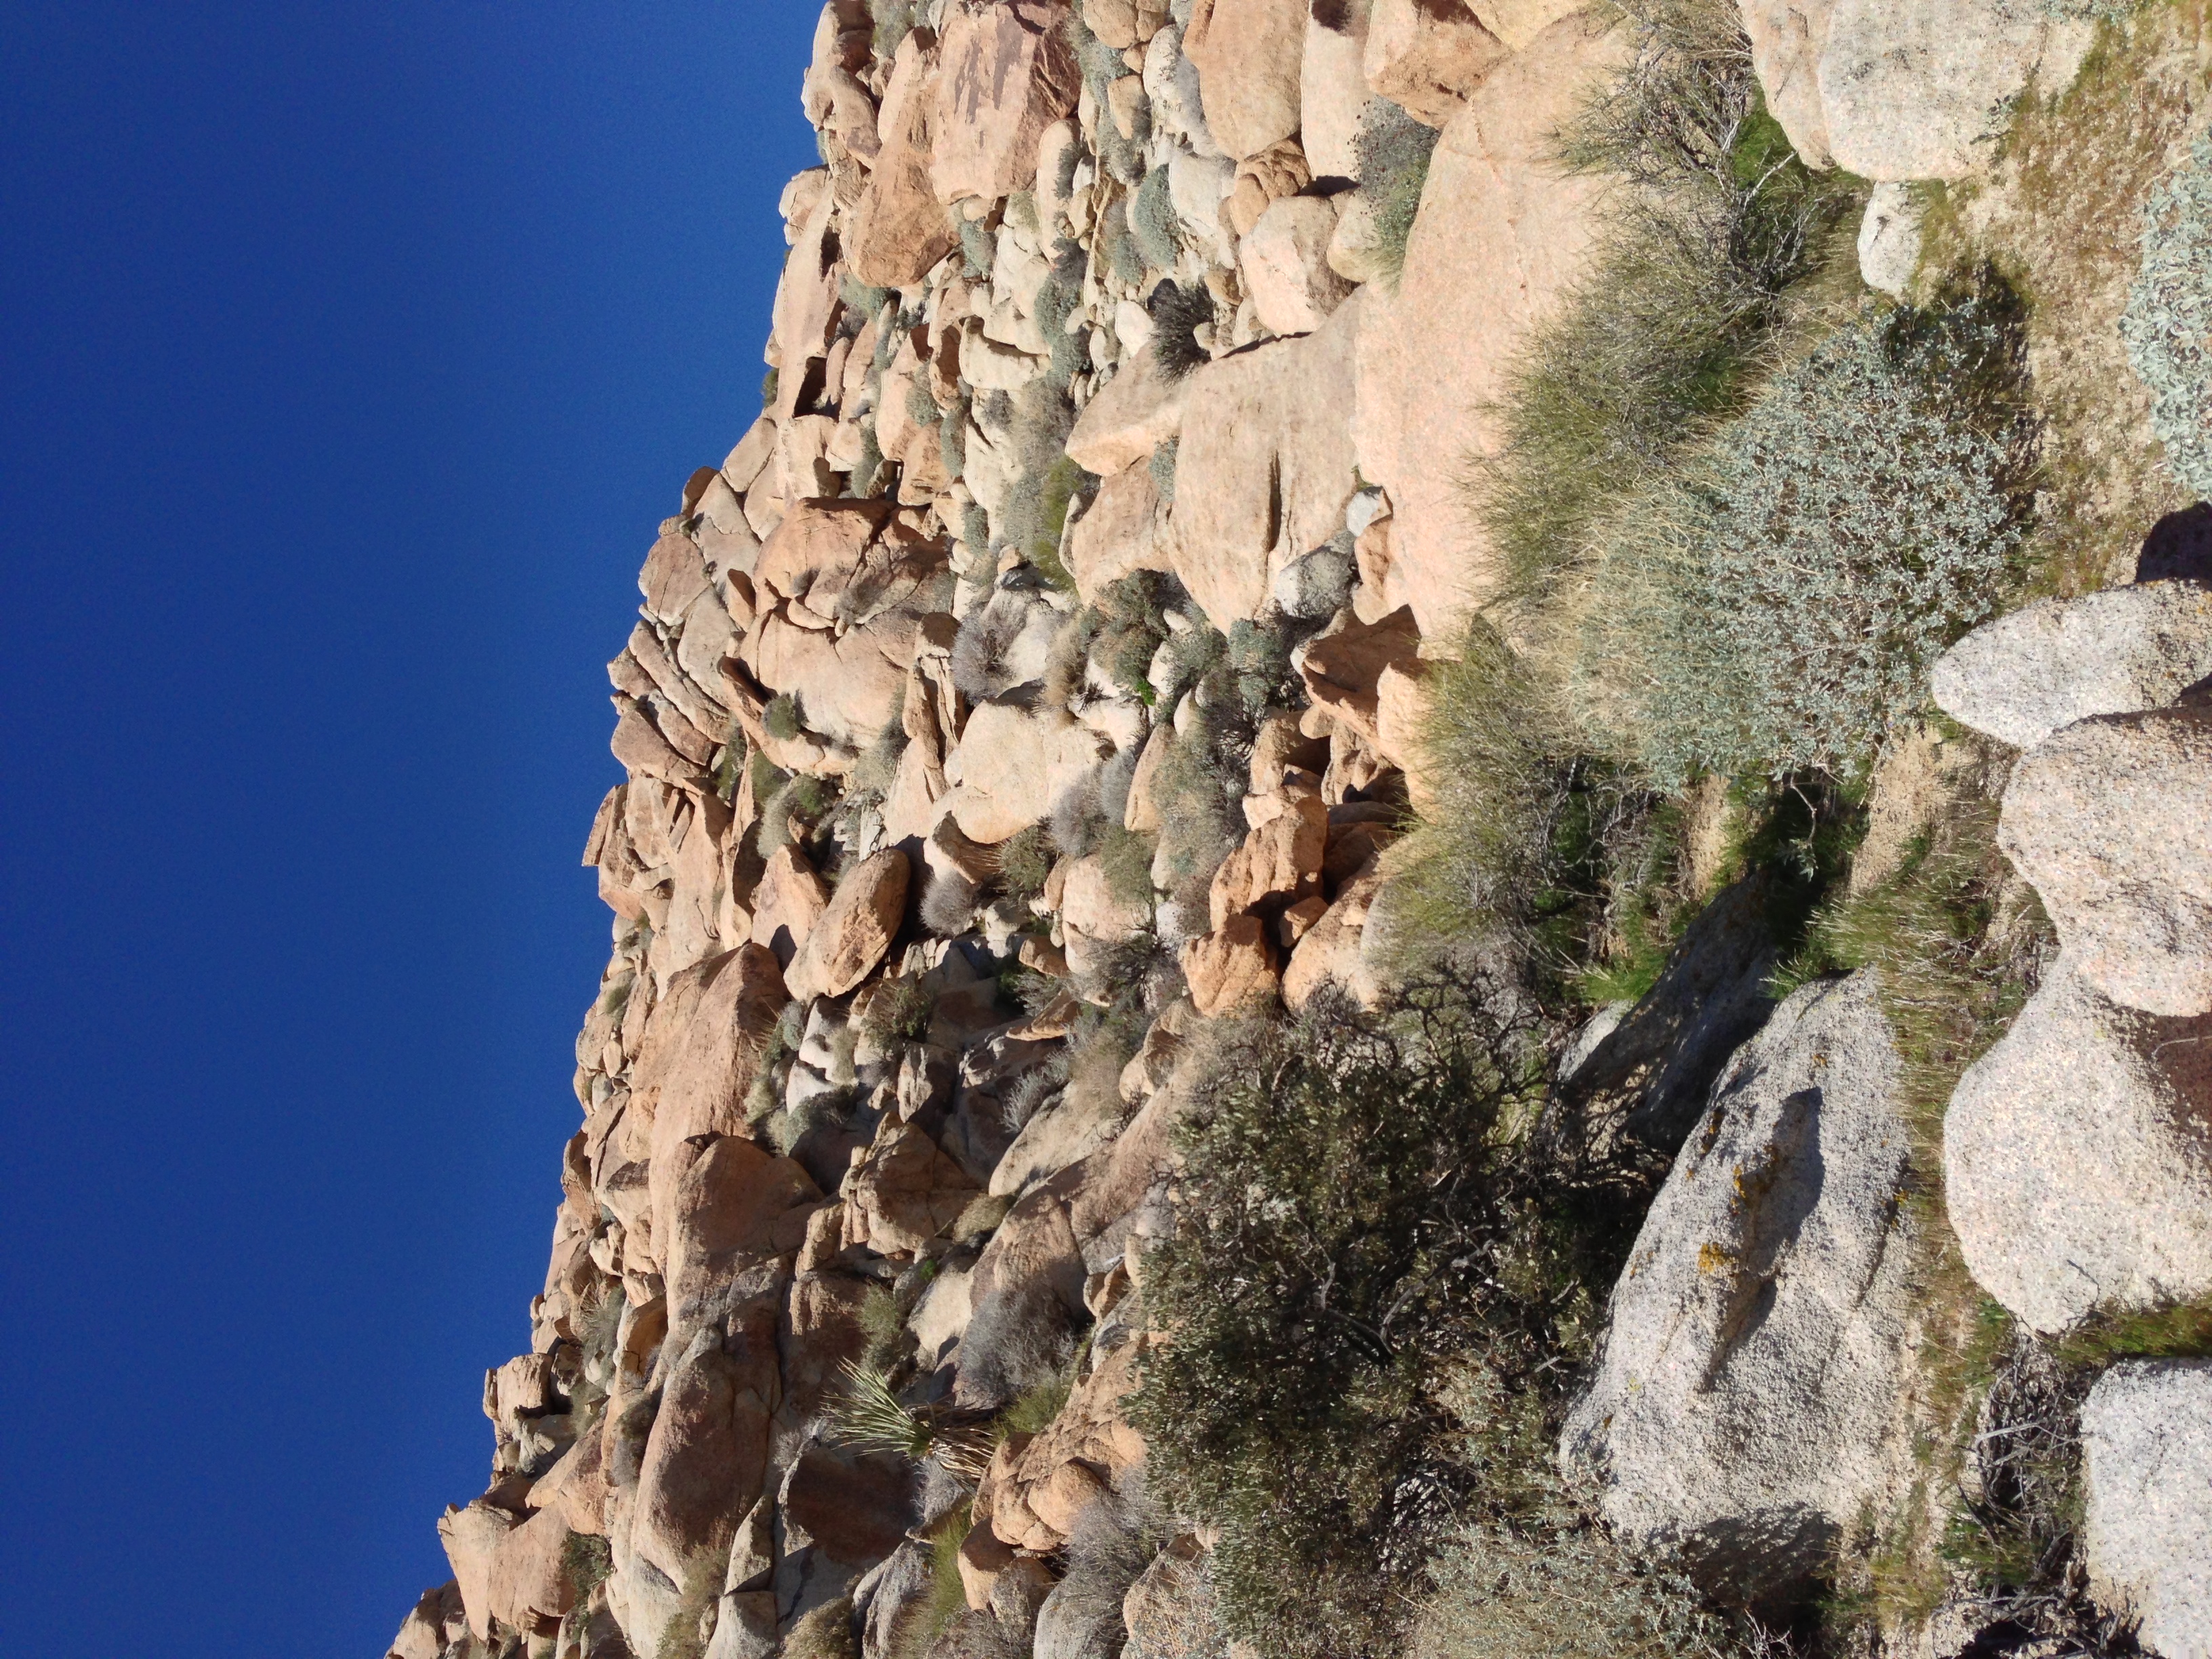
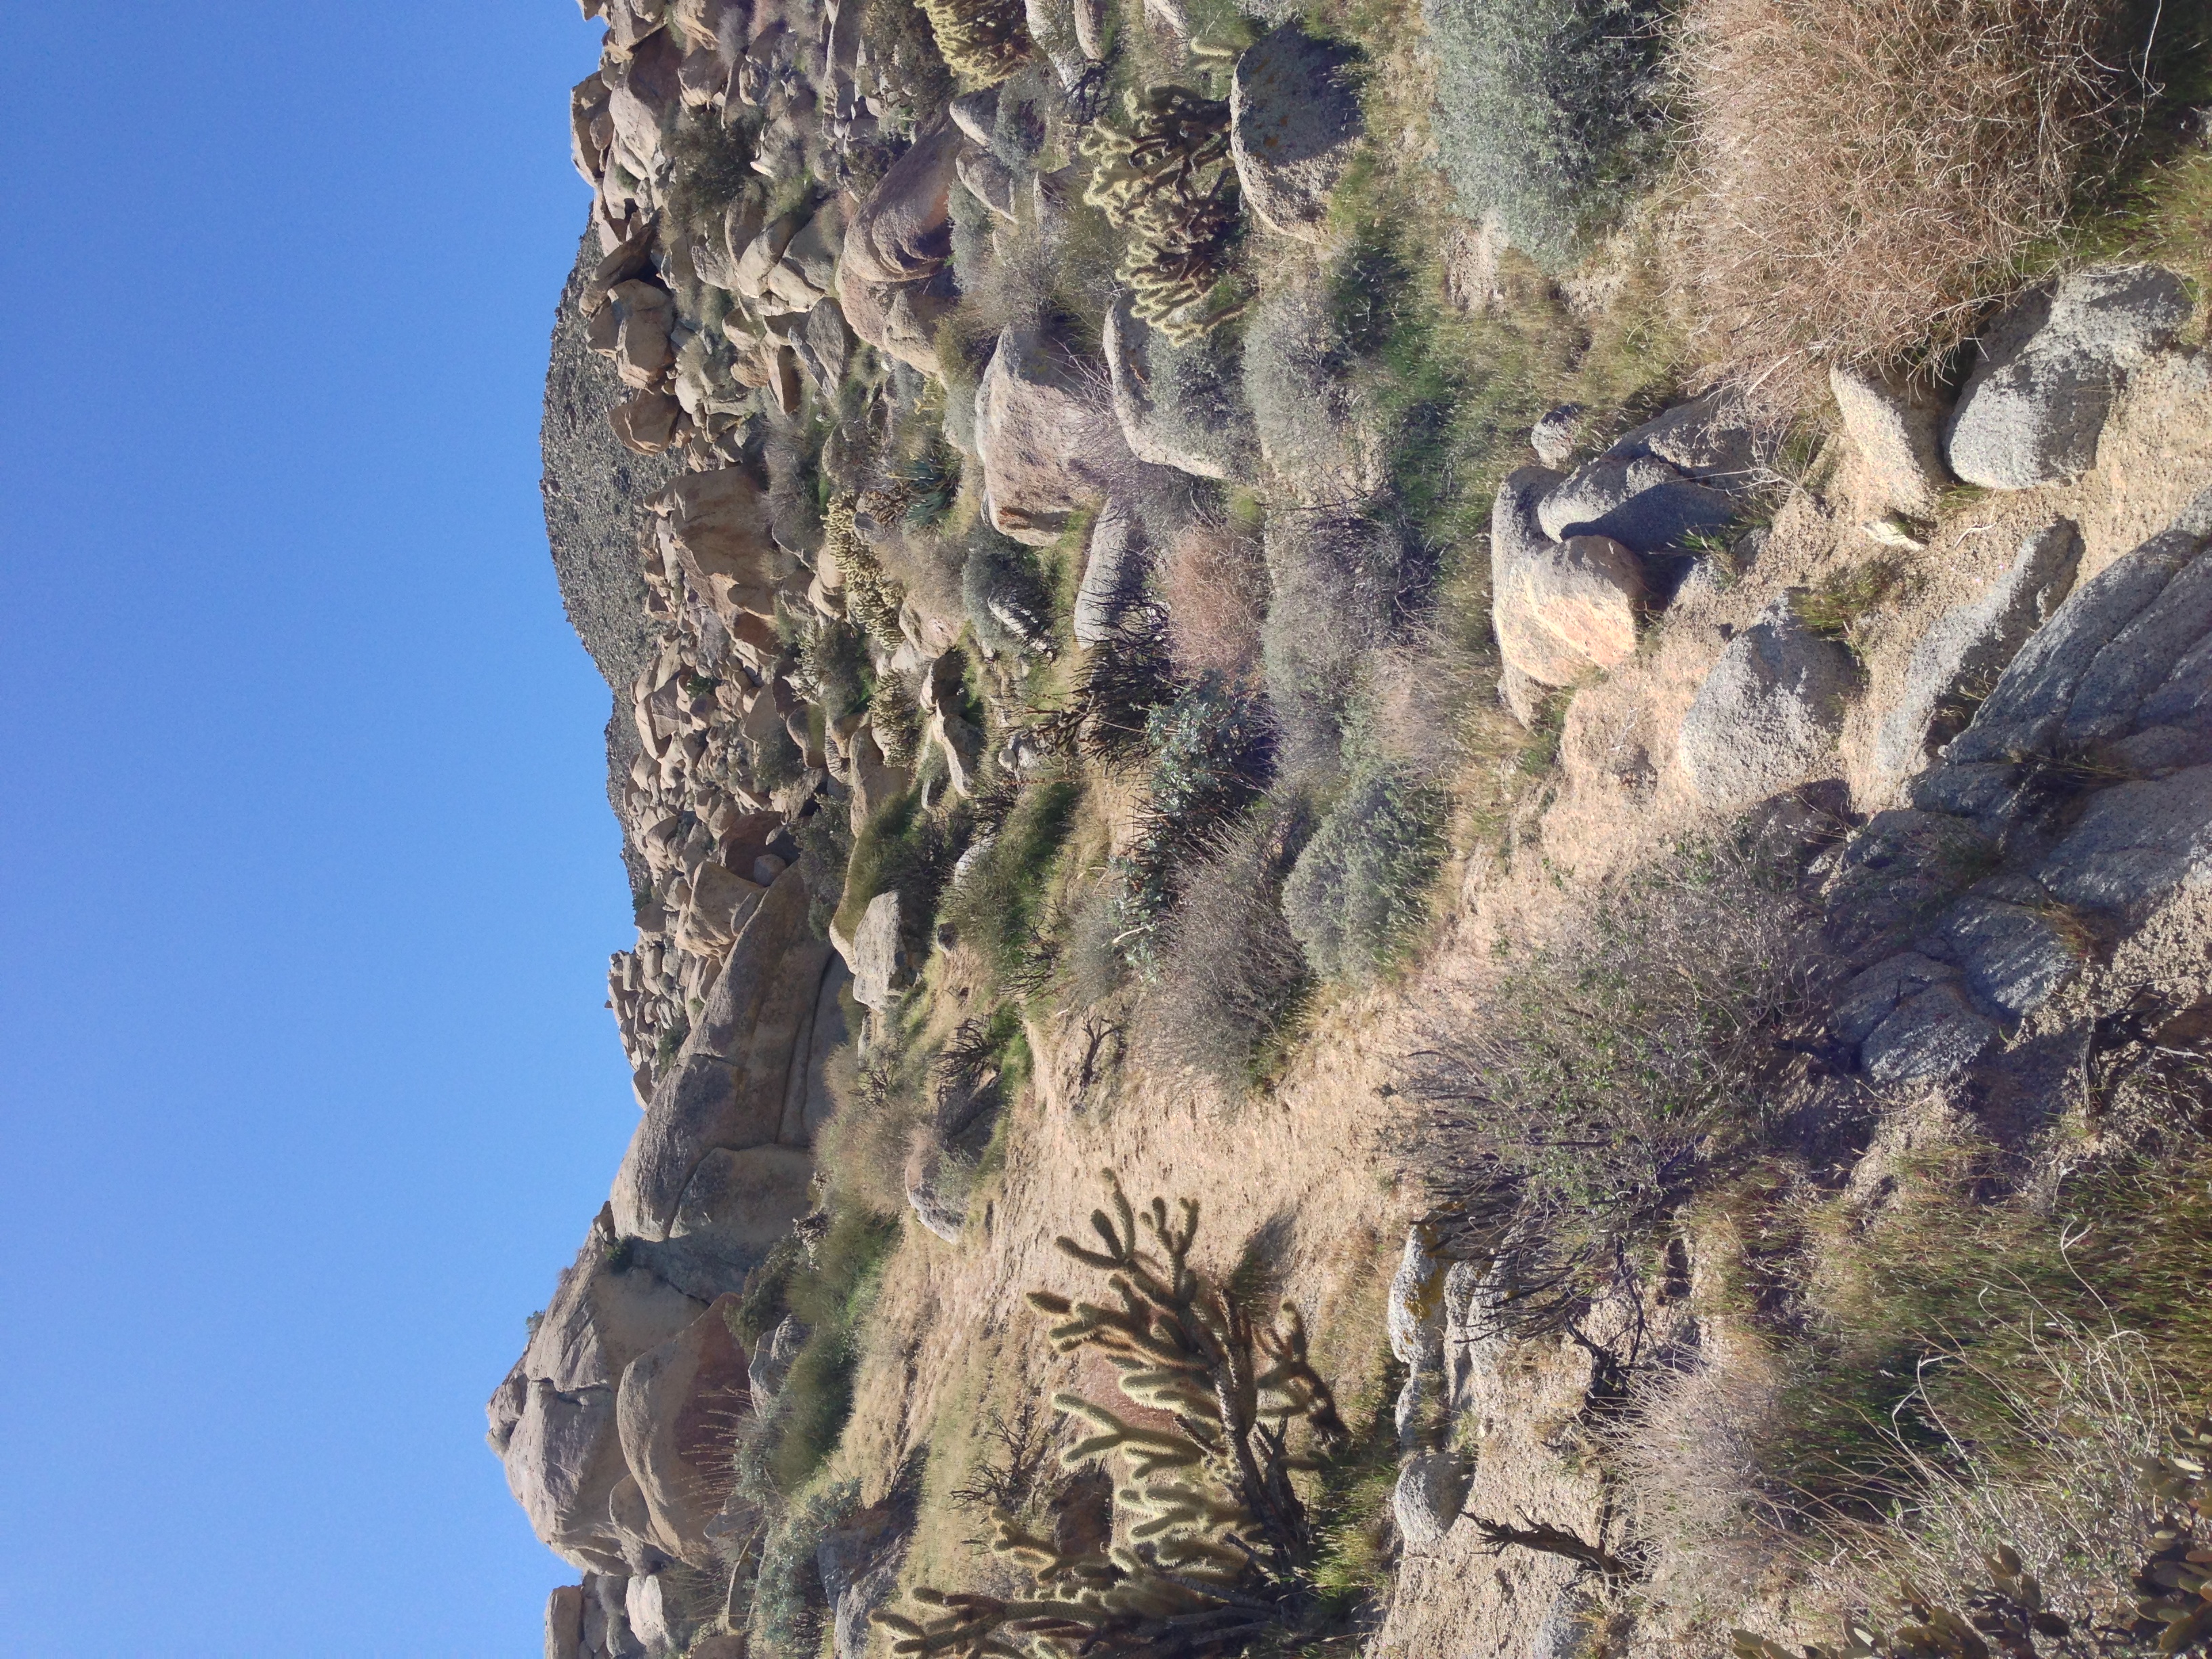
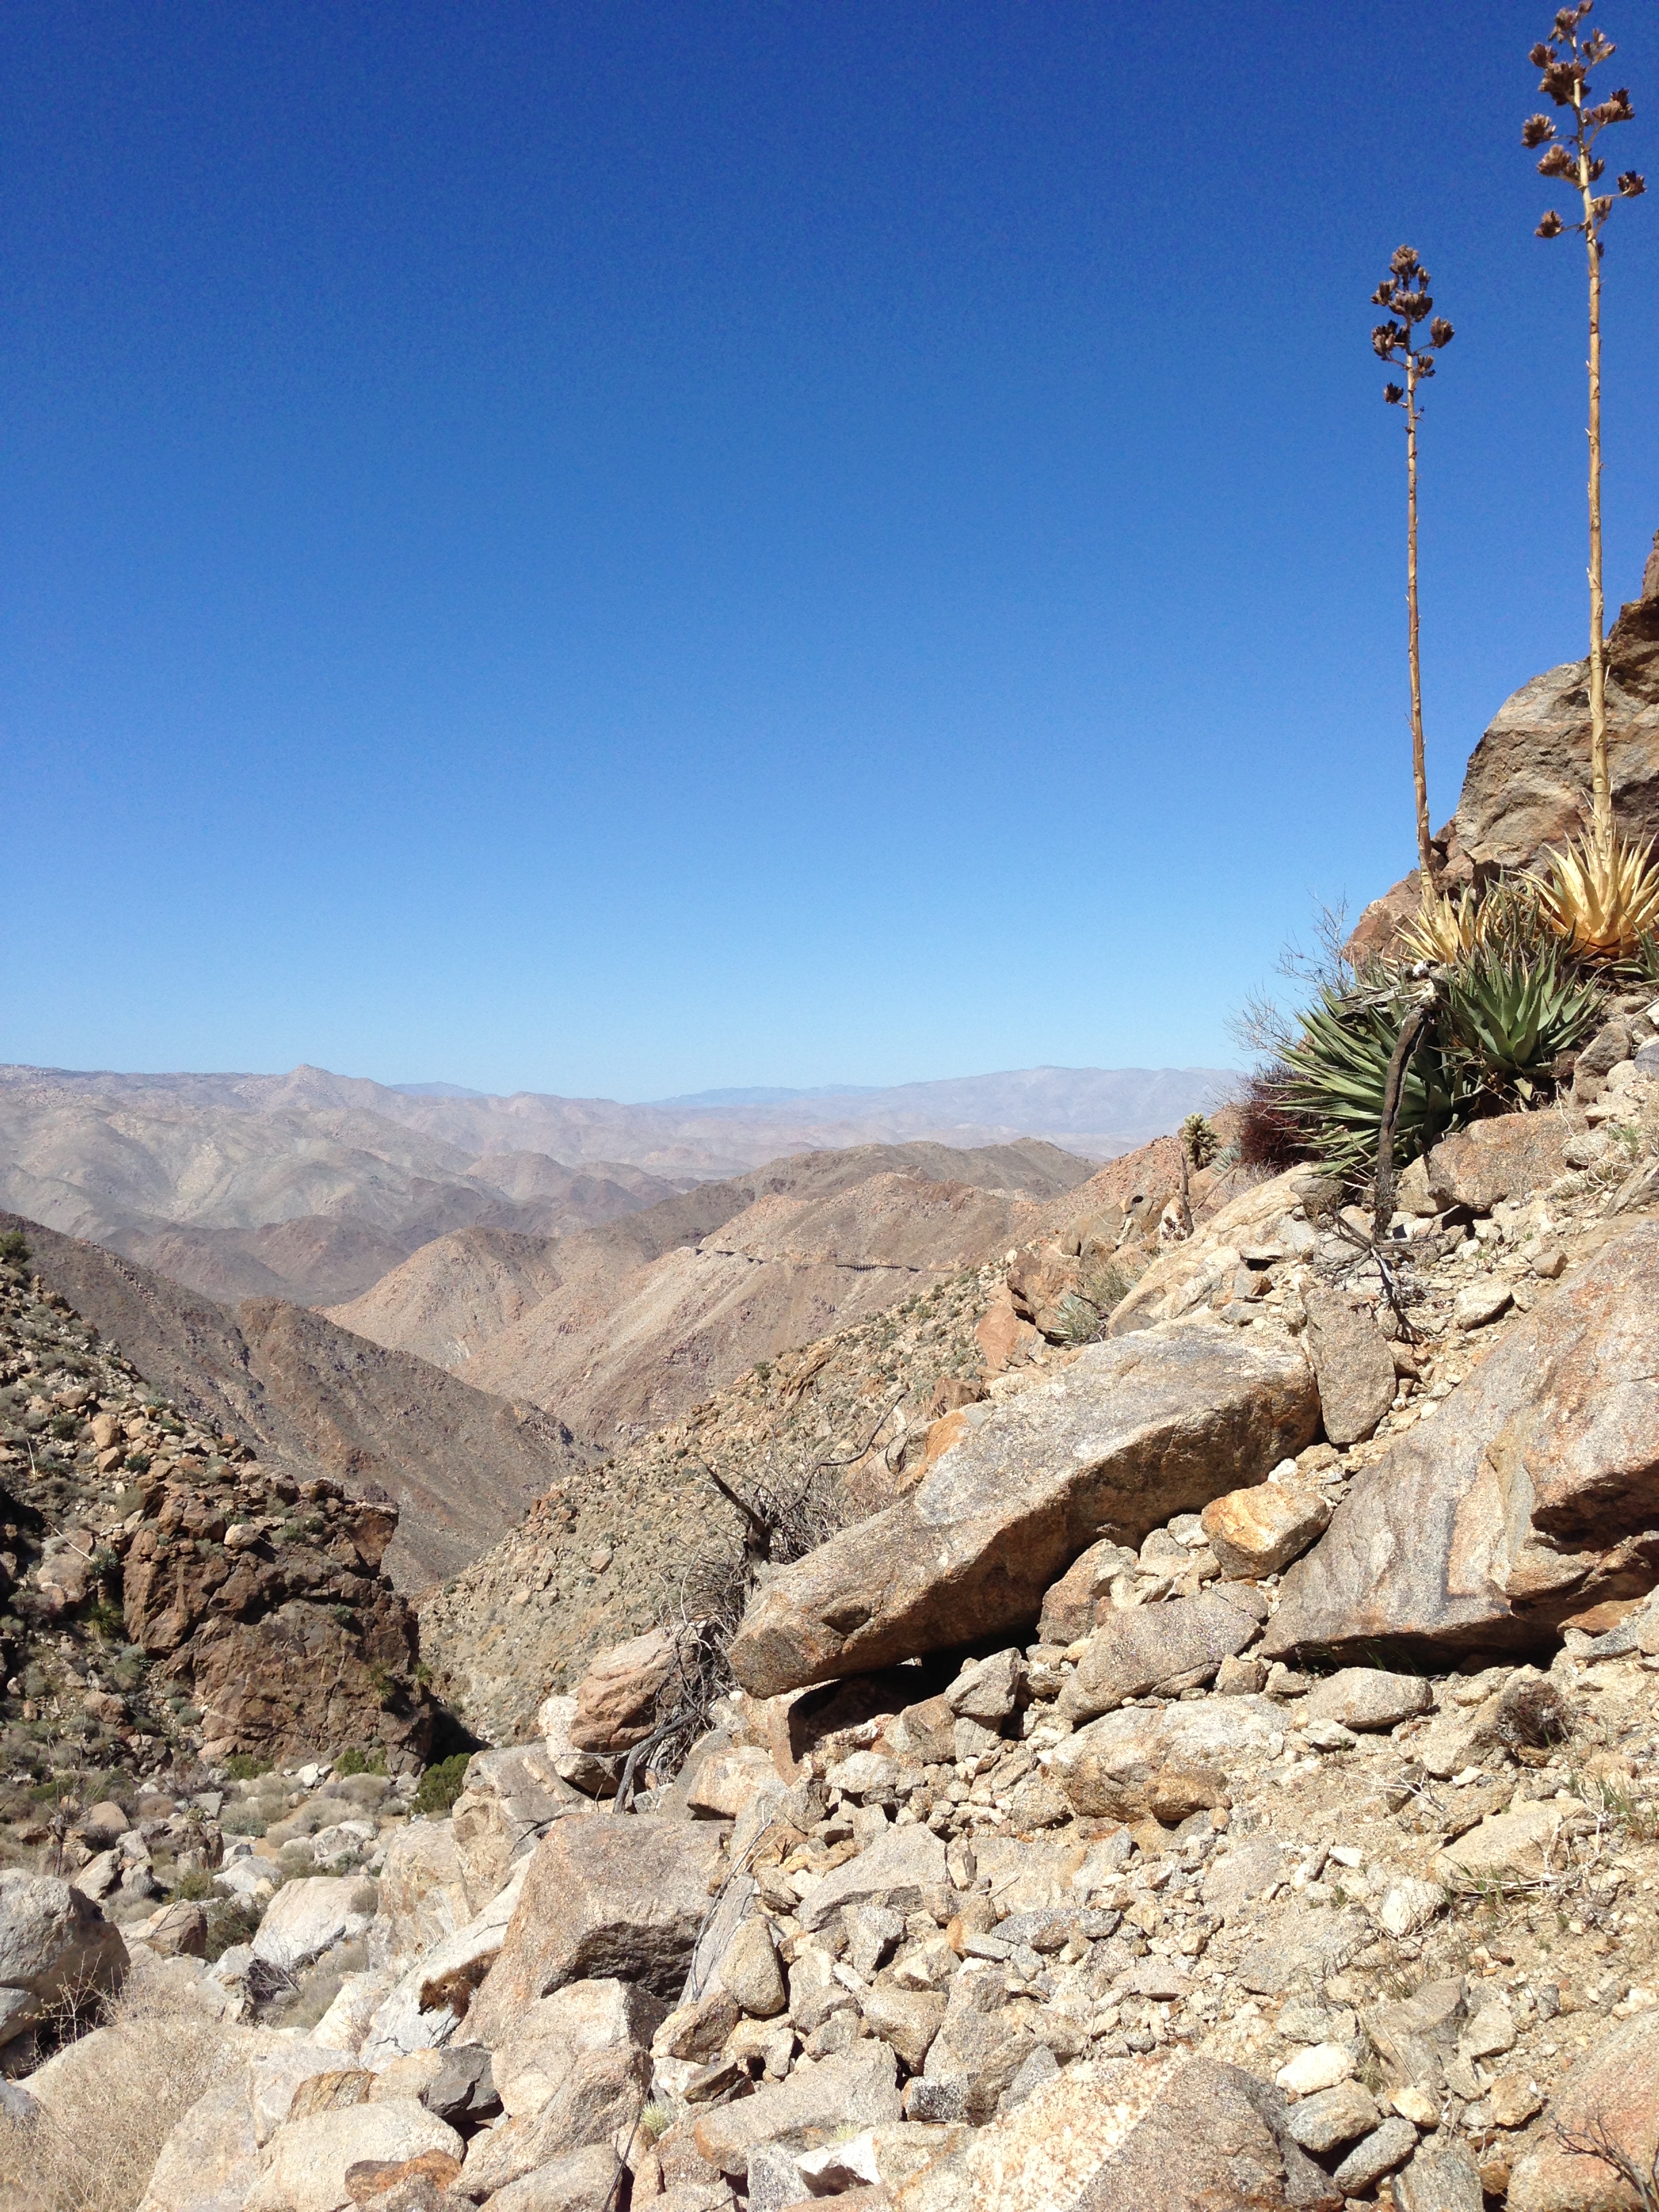
The route leaves directly from the Mortero Palms Trailhead parking. From this point, you are going to want to head up the Mortero Wash to the North-Northwest. While the first .25 miles of the hike are flat; the route immediately ascends up a boulder-covered slope that gains a decent amount of elevation quickly. Once you reach the ridgeline of the boulder covered slope, you will be atop a saddle that leads back up and over into a wash. In this area, you will want to bear almost directly west, where a nearly imperceptible foot trail leads up out of the Mortero Wash to a flat area. Good news: in this zone, there is a worn foot trail that you can follow for about .5 miles that will take you toward Goat Canyon. Bad news: even though there is a worn foot trail that takes you toward Goat Canyon, it does require some routefinding. During this stretch of trail, you will head through the remainder of Mortero Wash, and then up and over a “pass” that will leave you in a desert alpine area, with great views of the surrounding area of the Anza-Borrego Desert for about .25 miles, before you will descend into Goat Canyon.
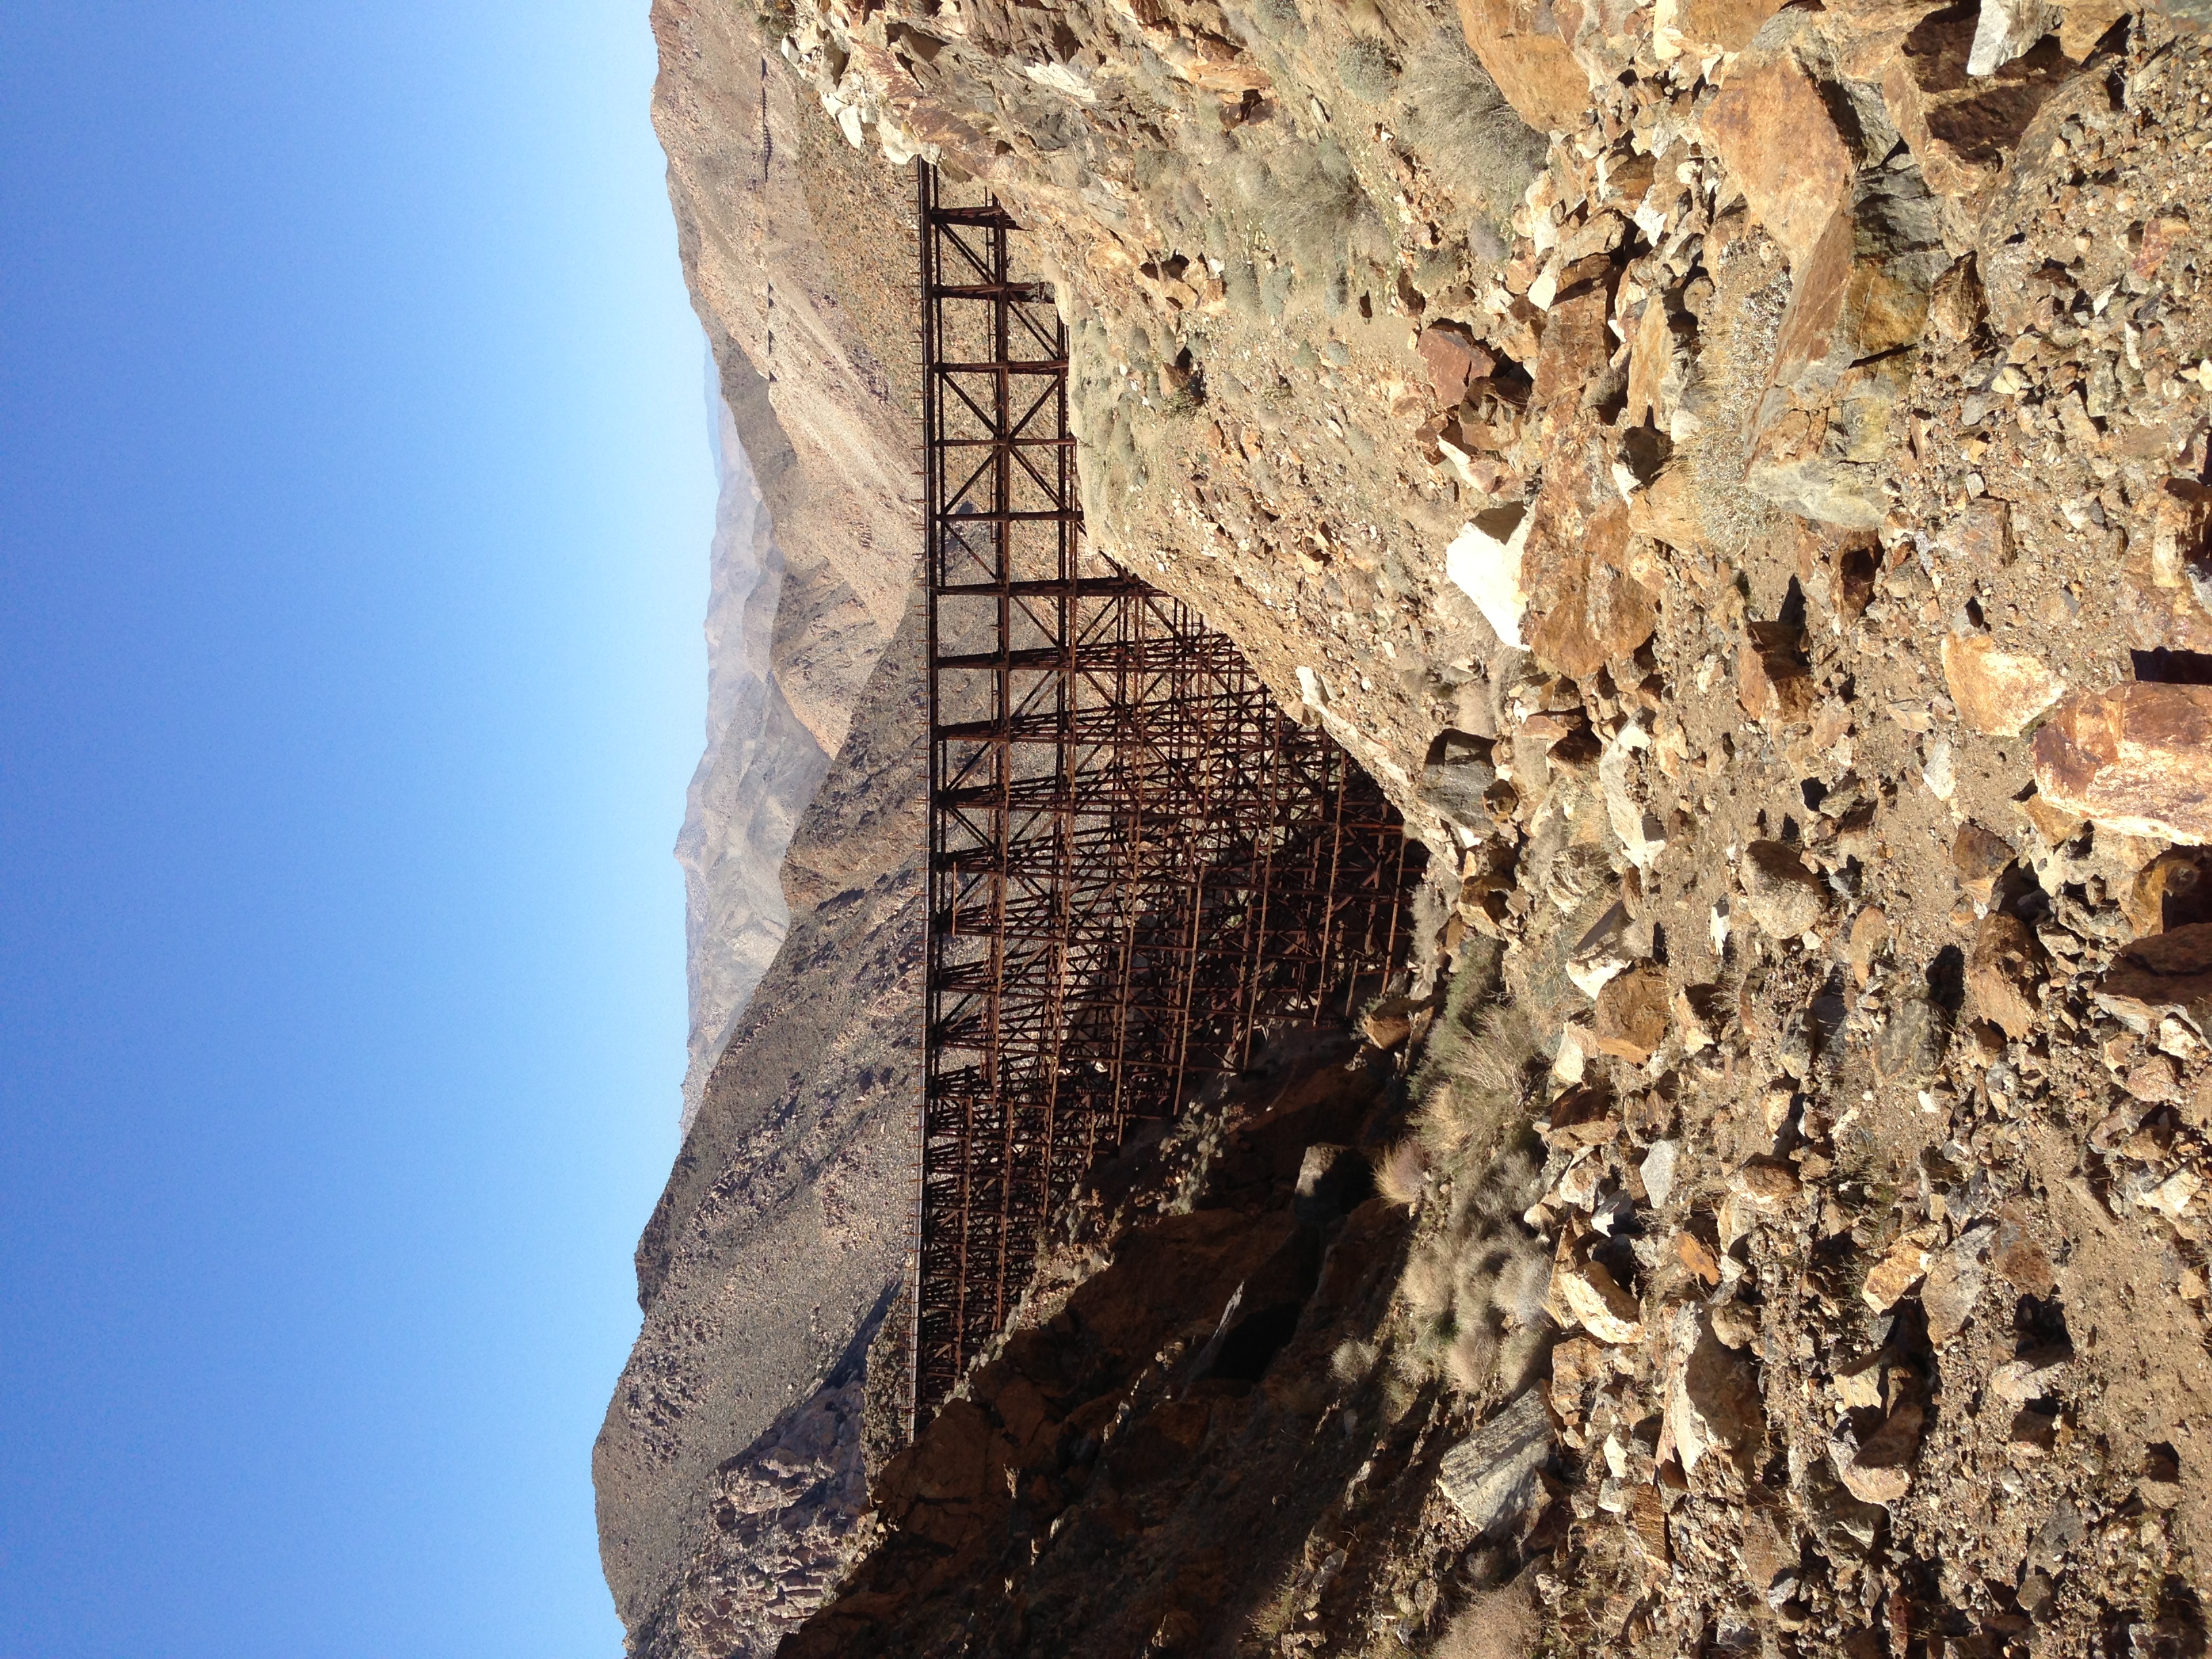

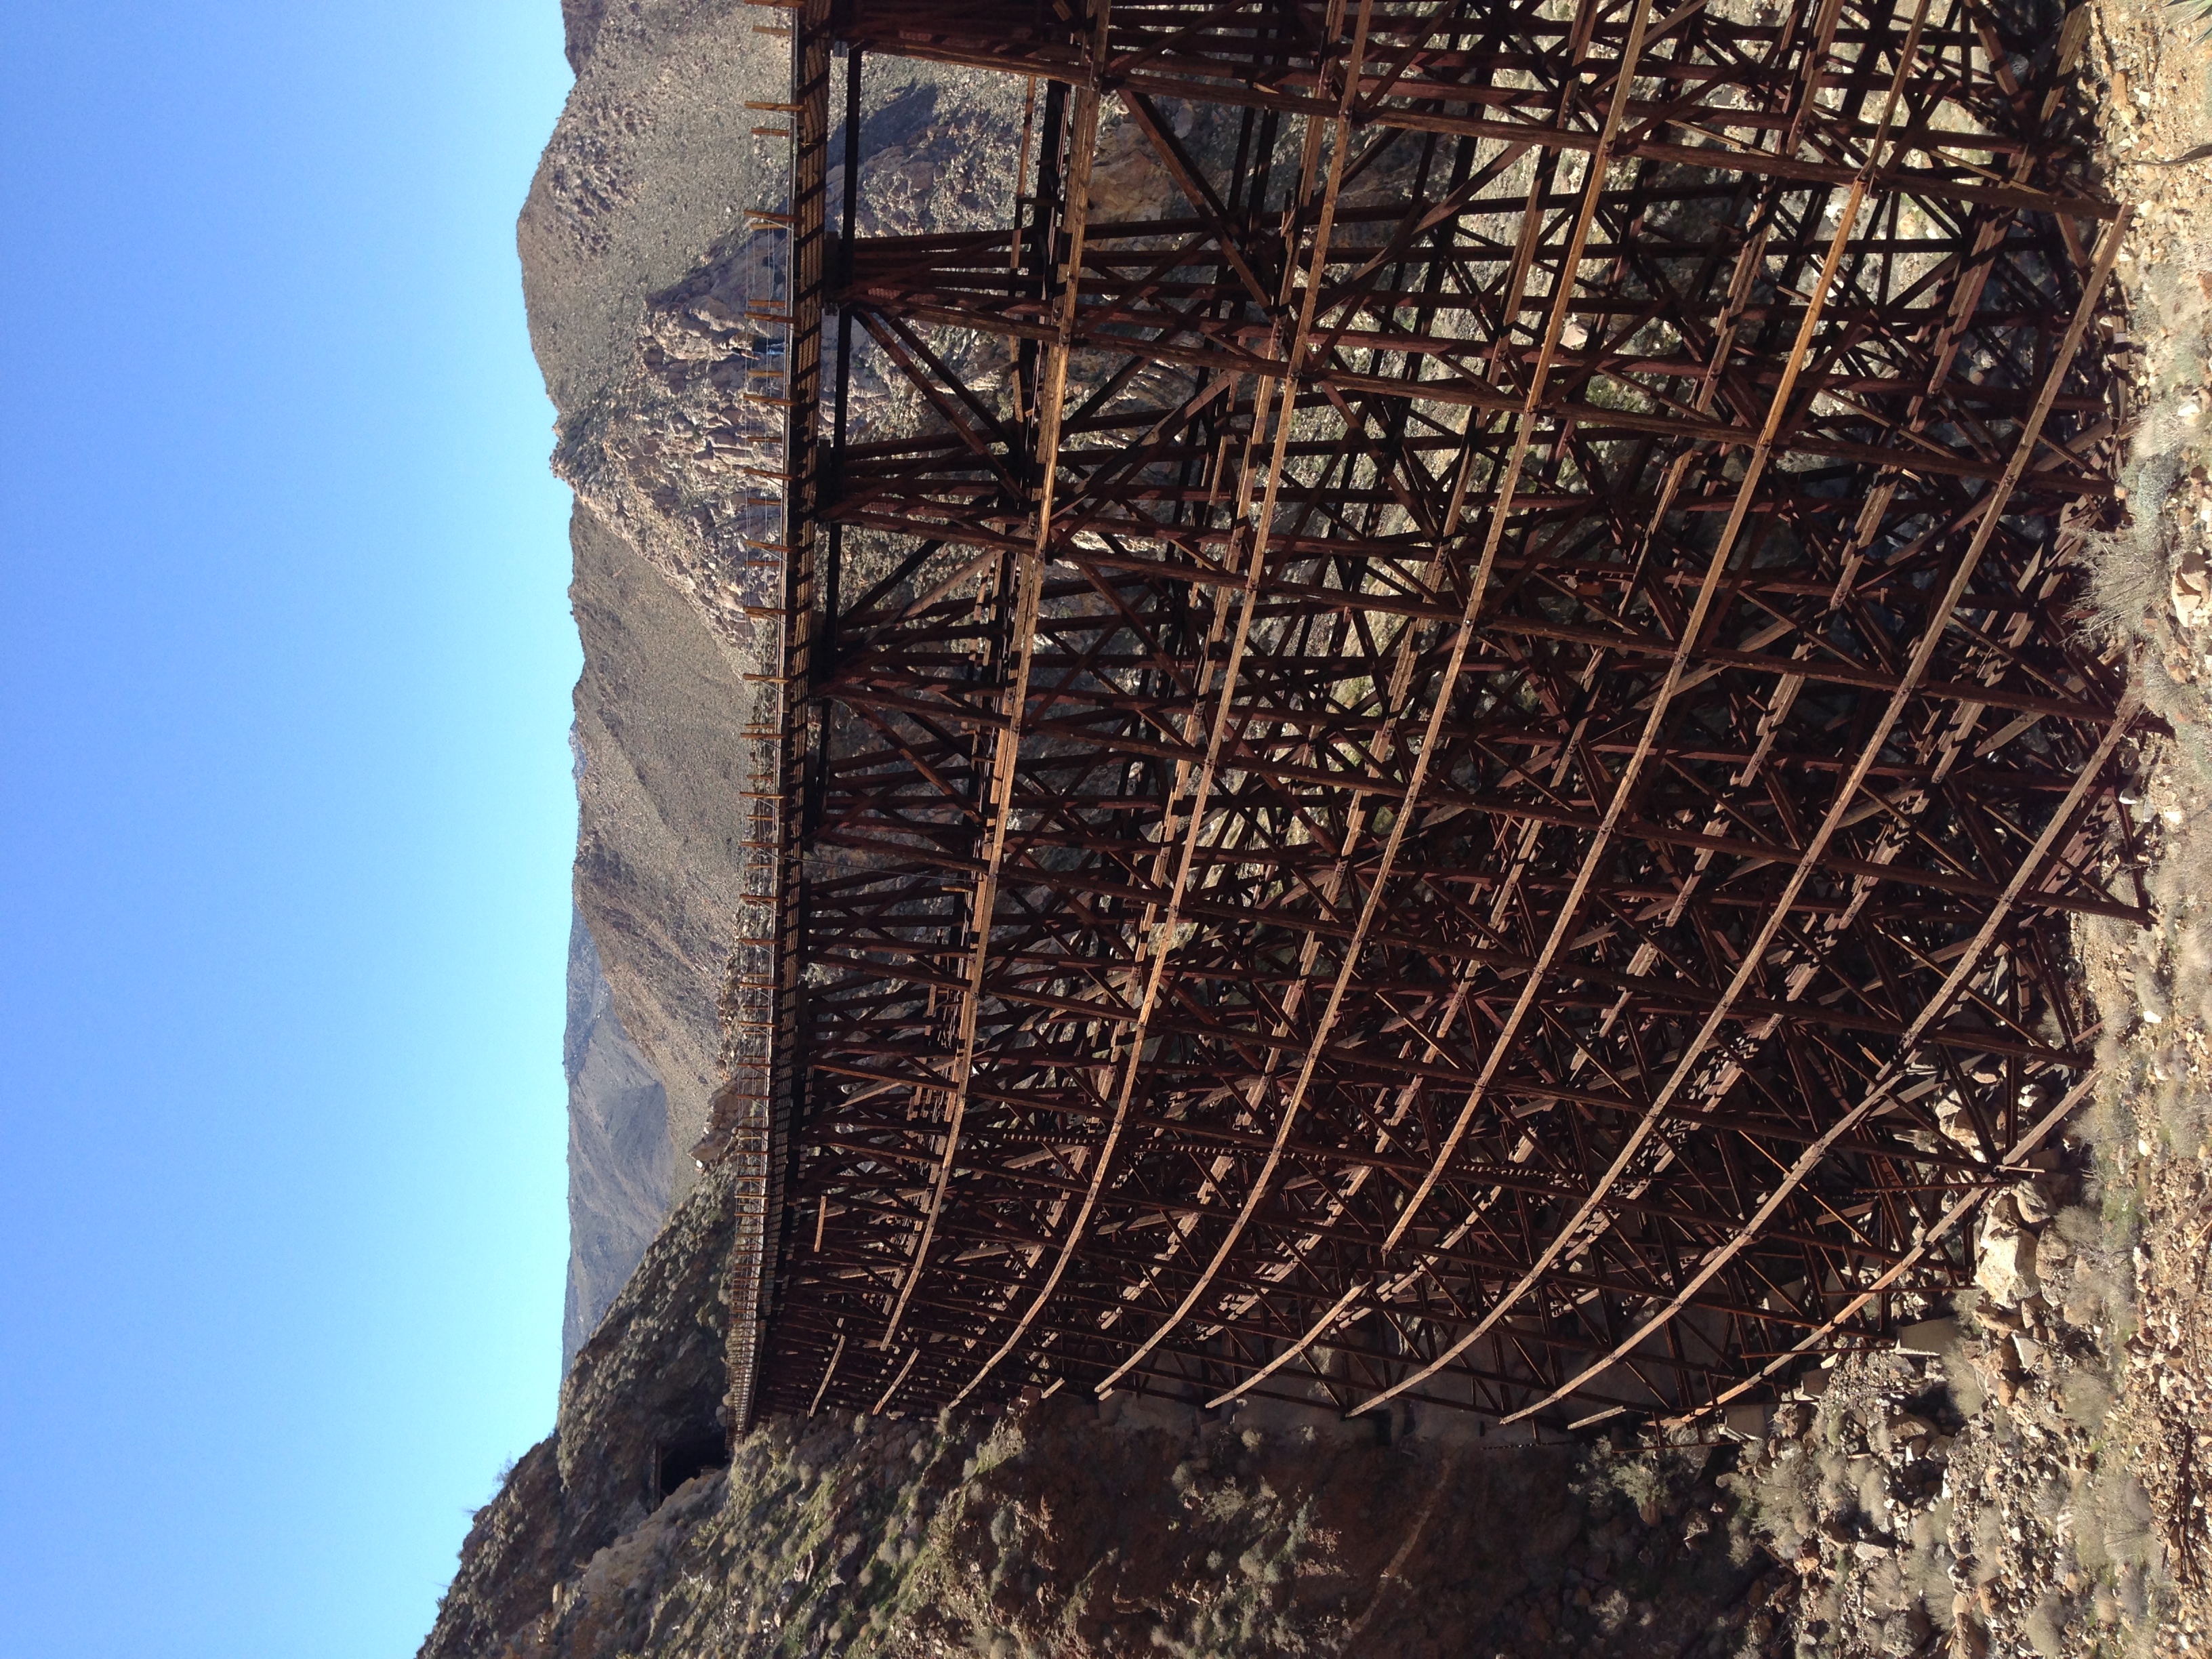
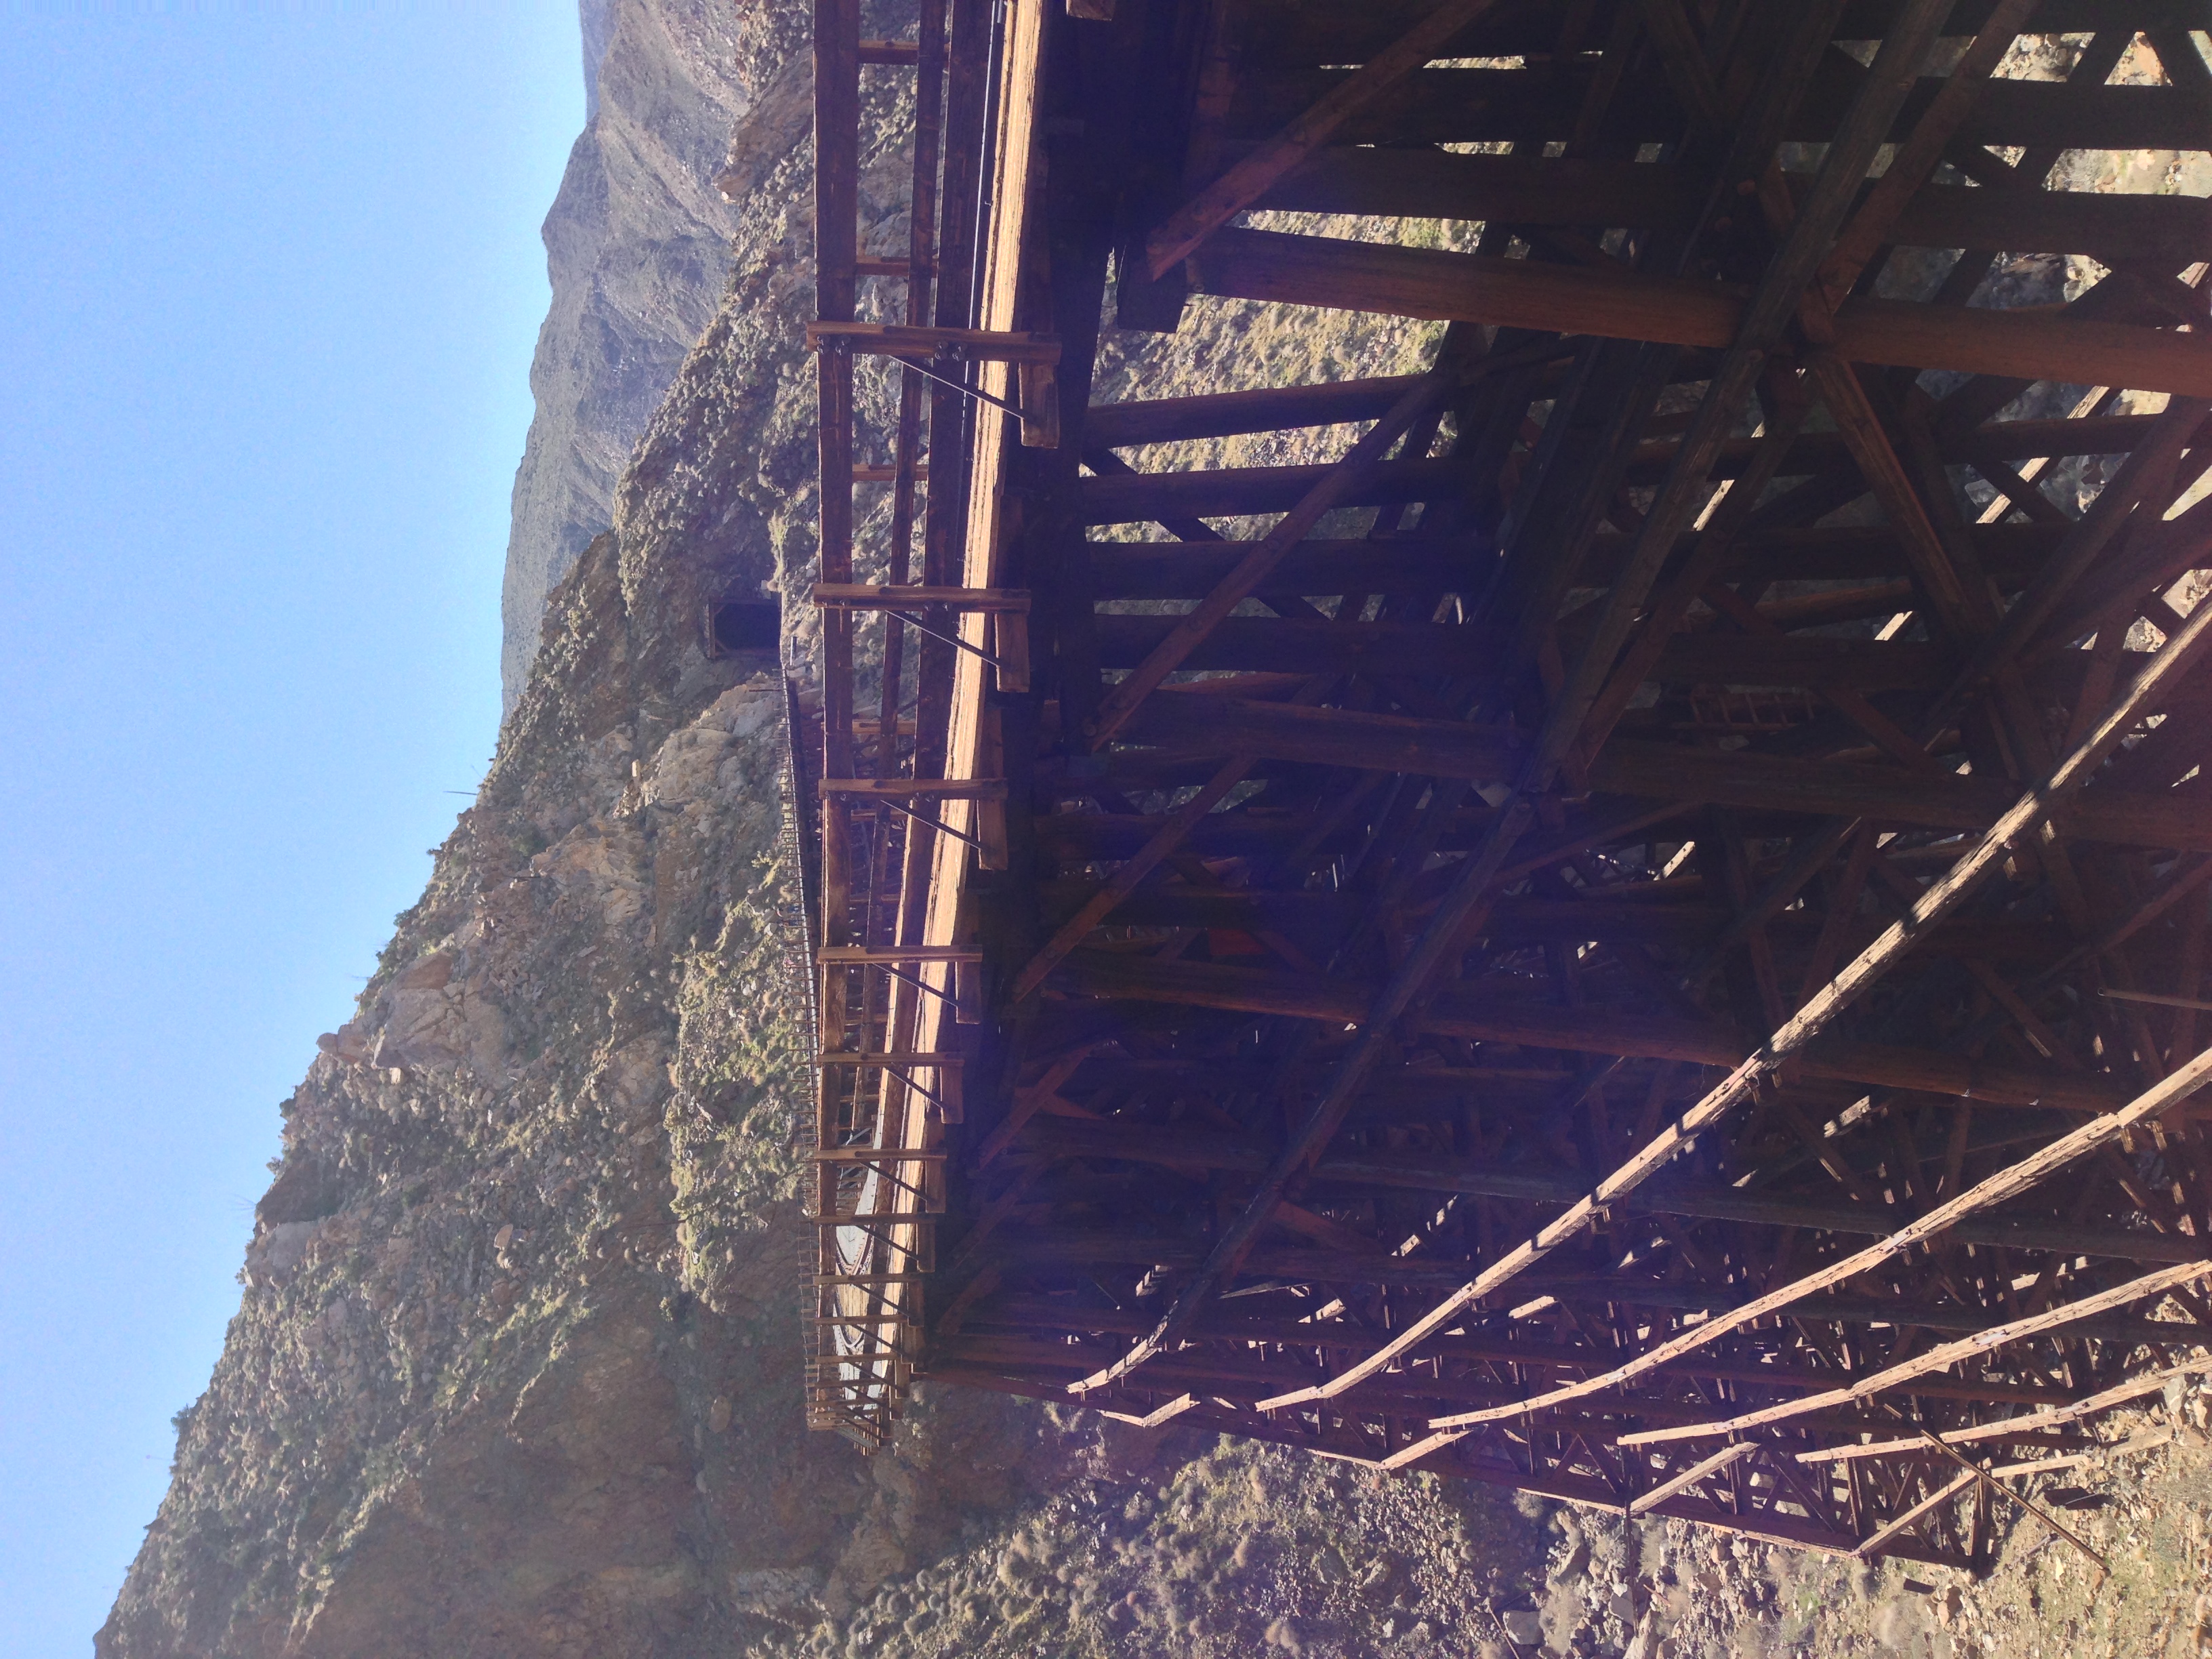

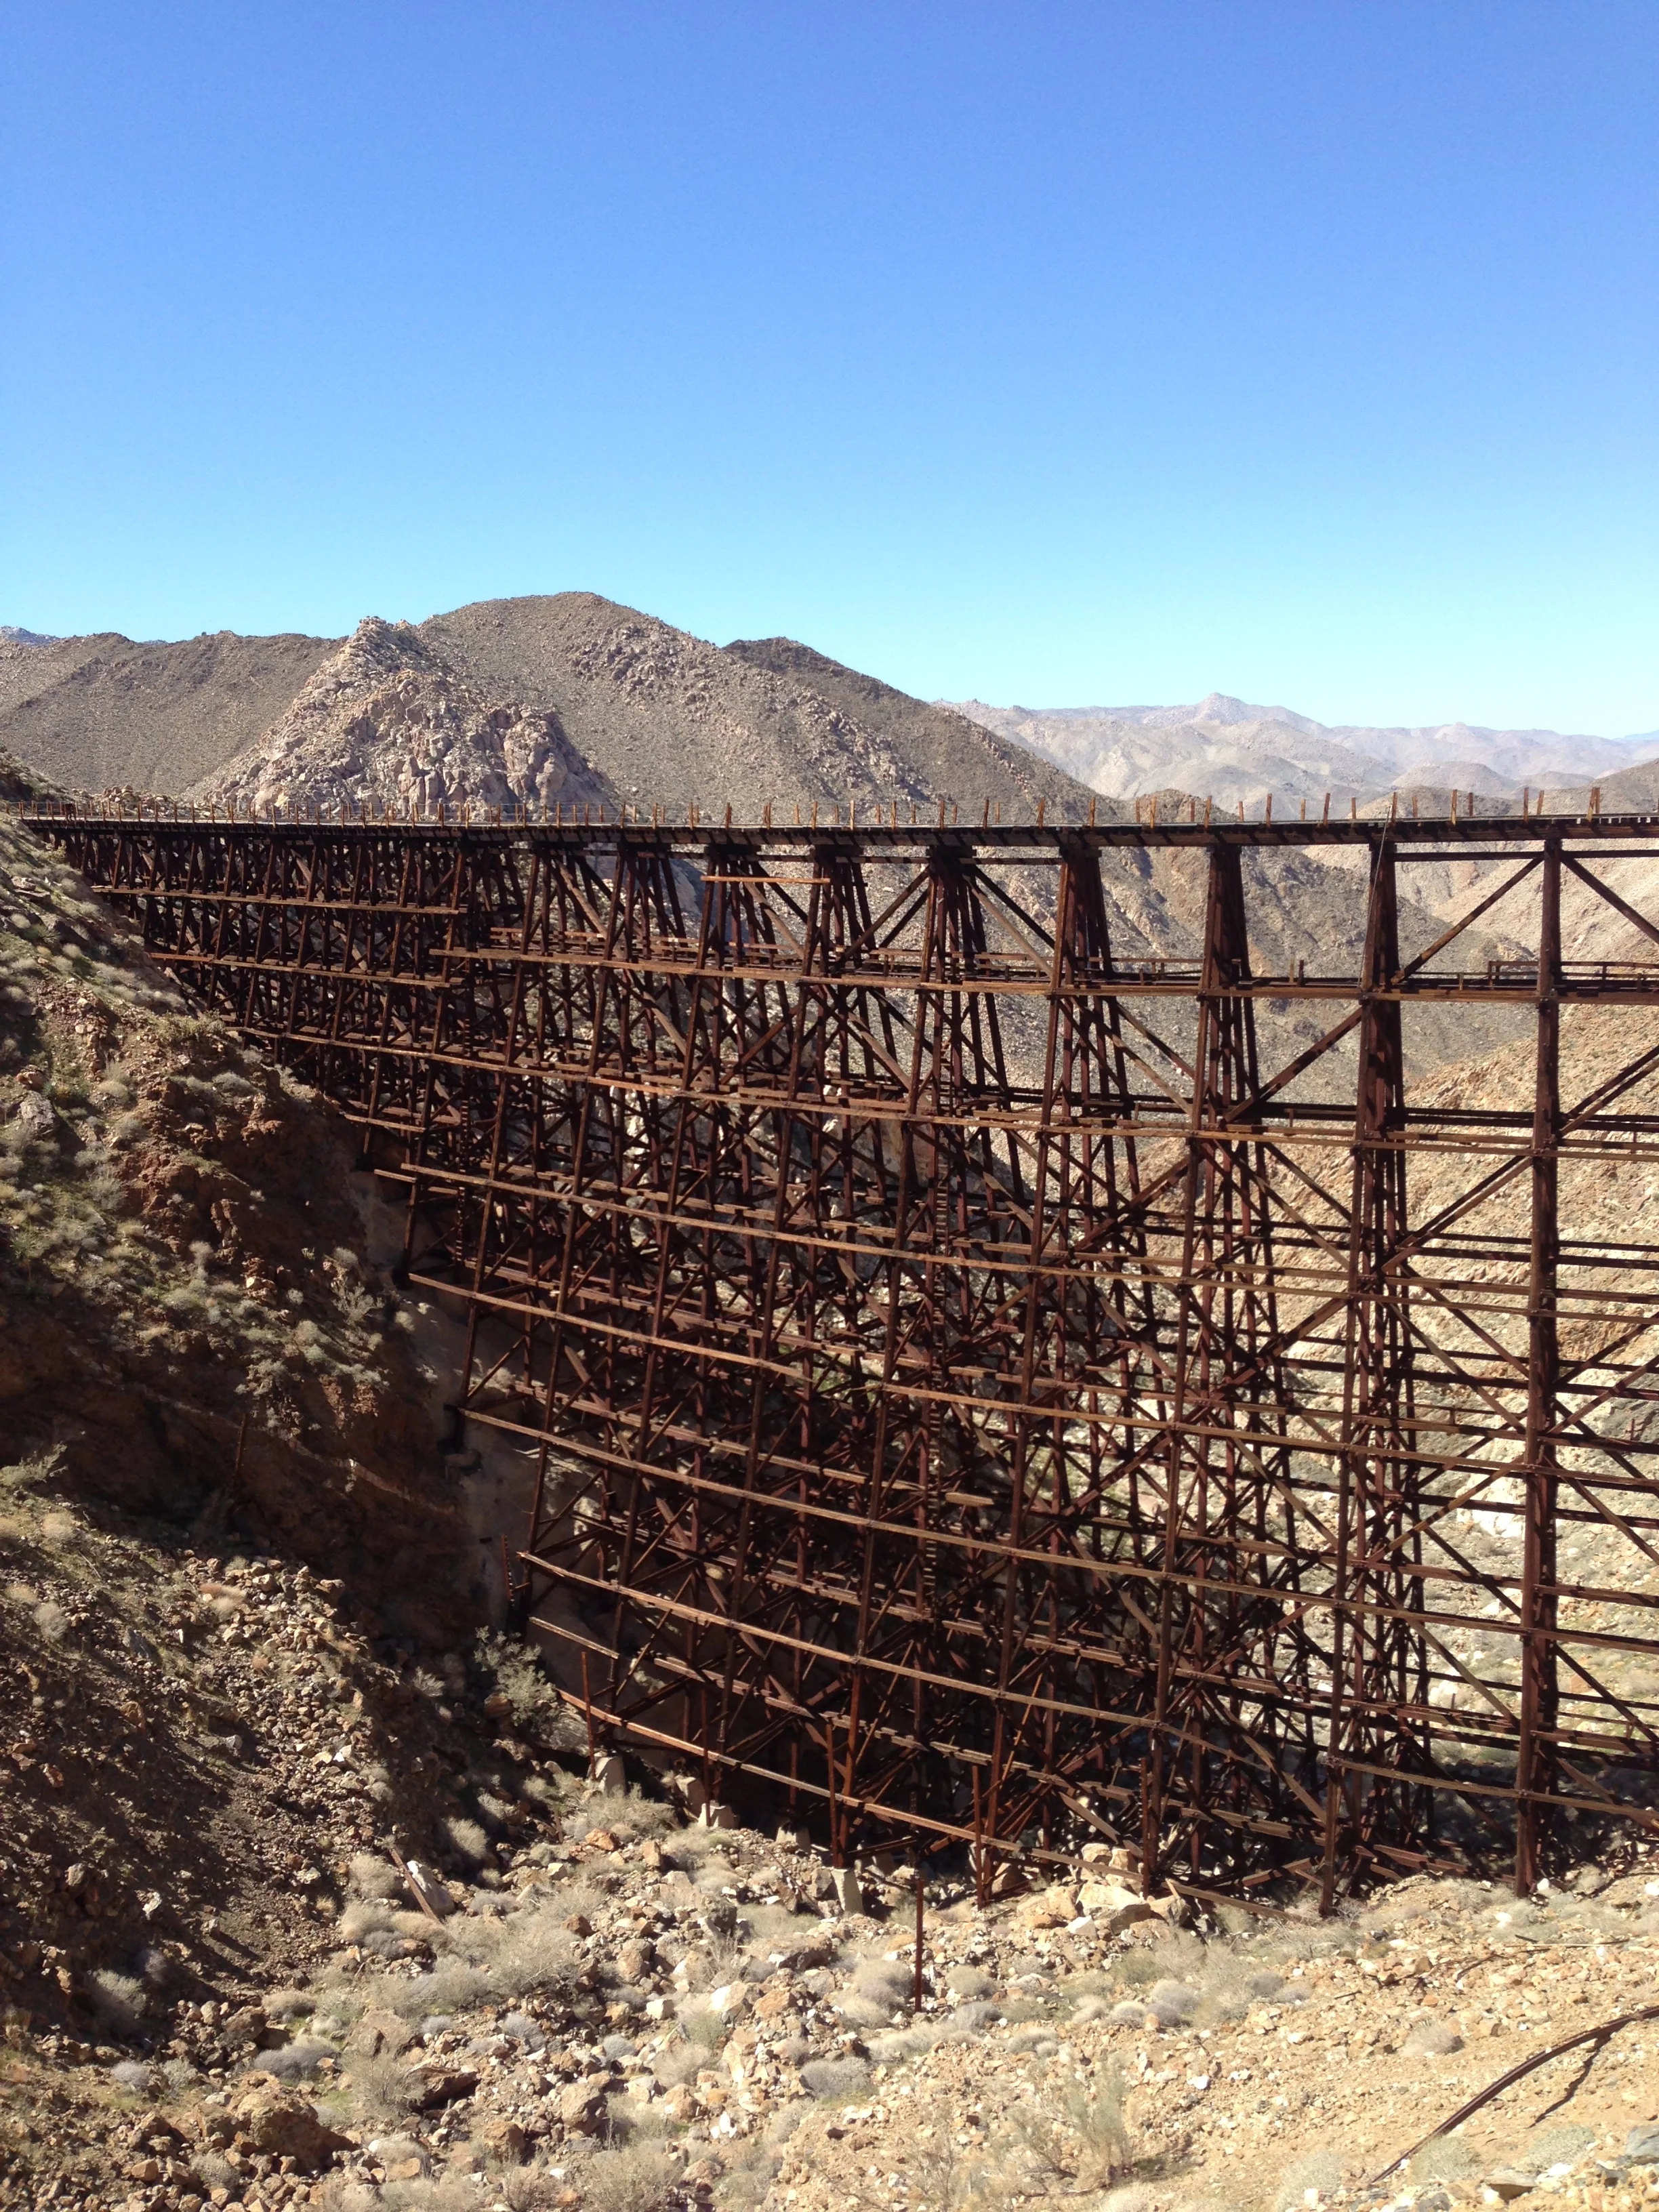
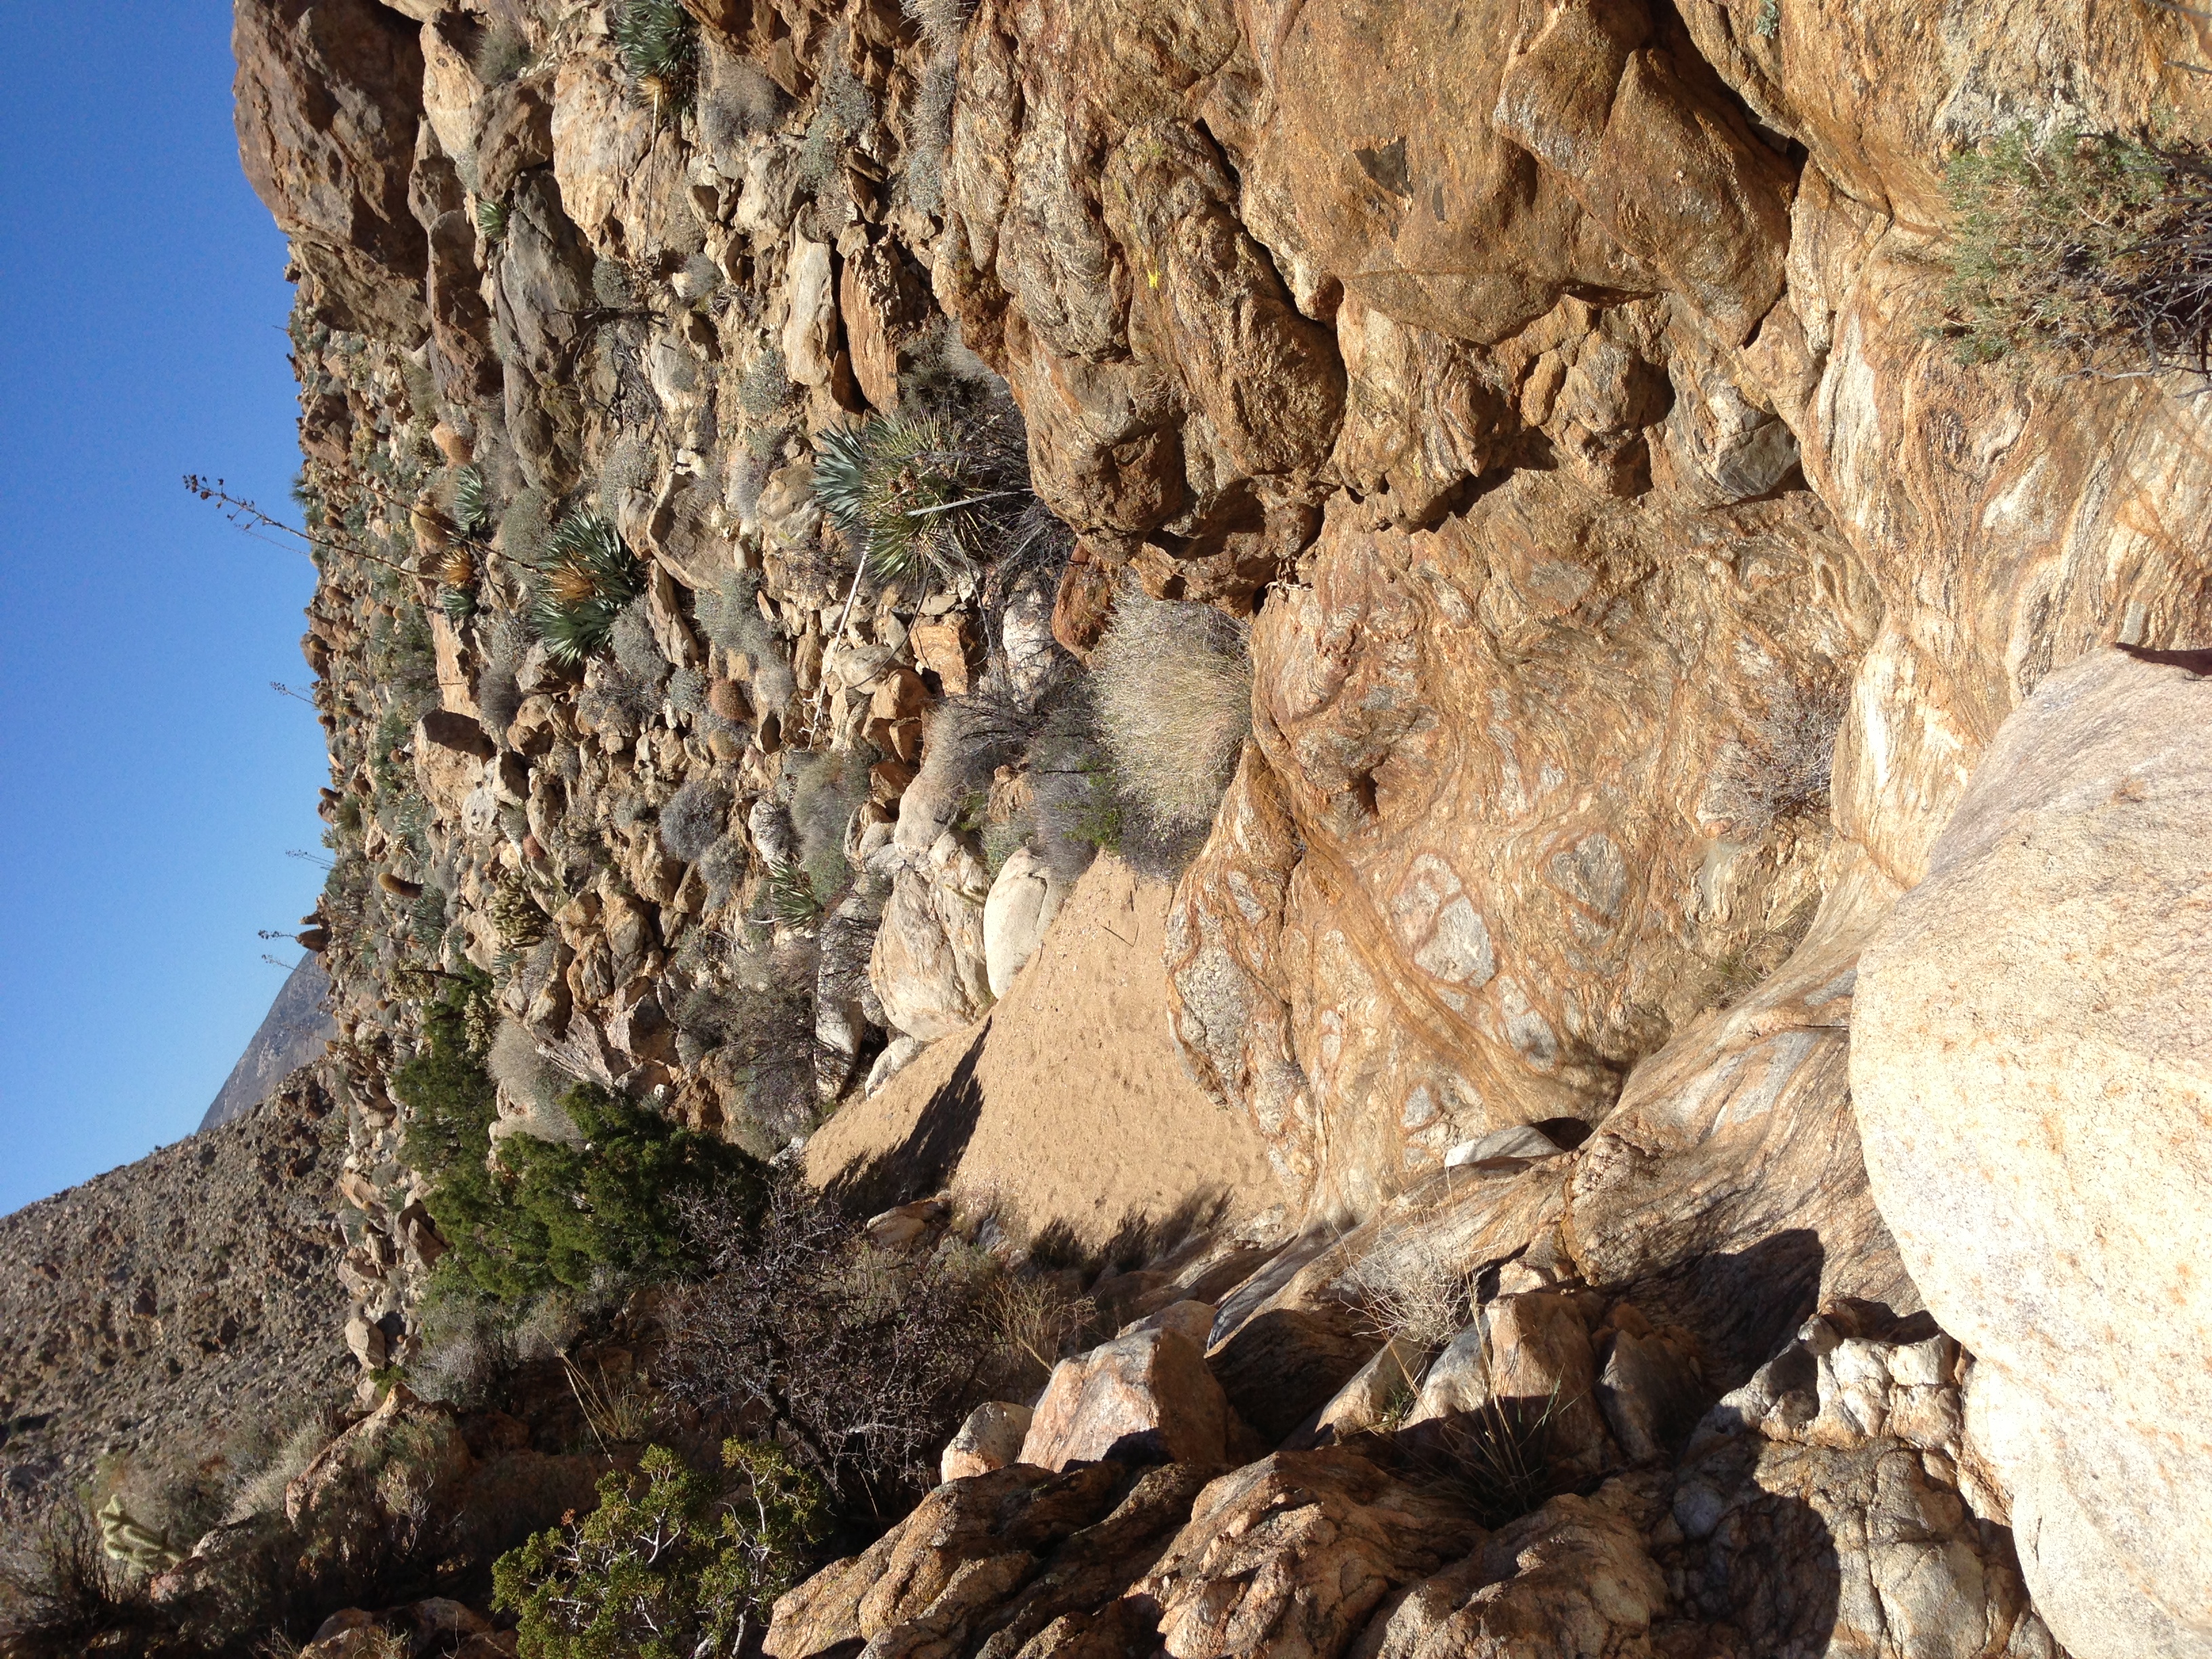
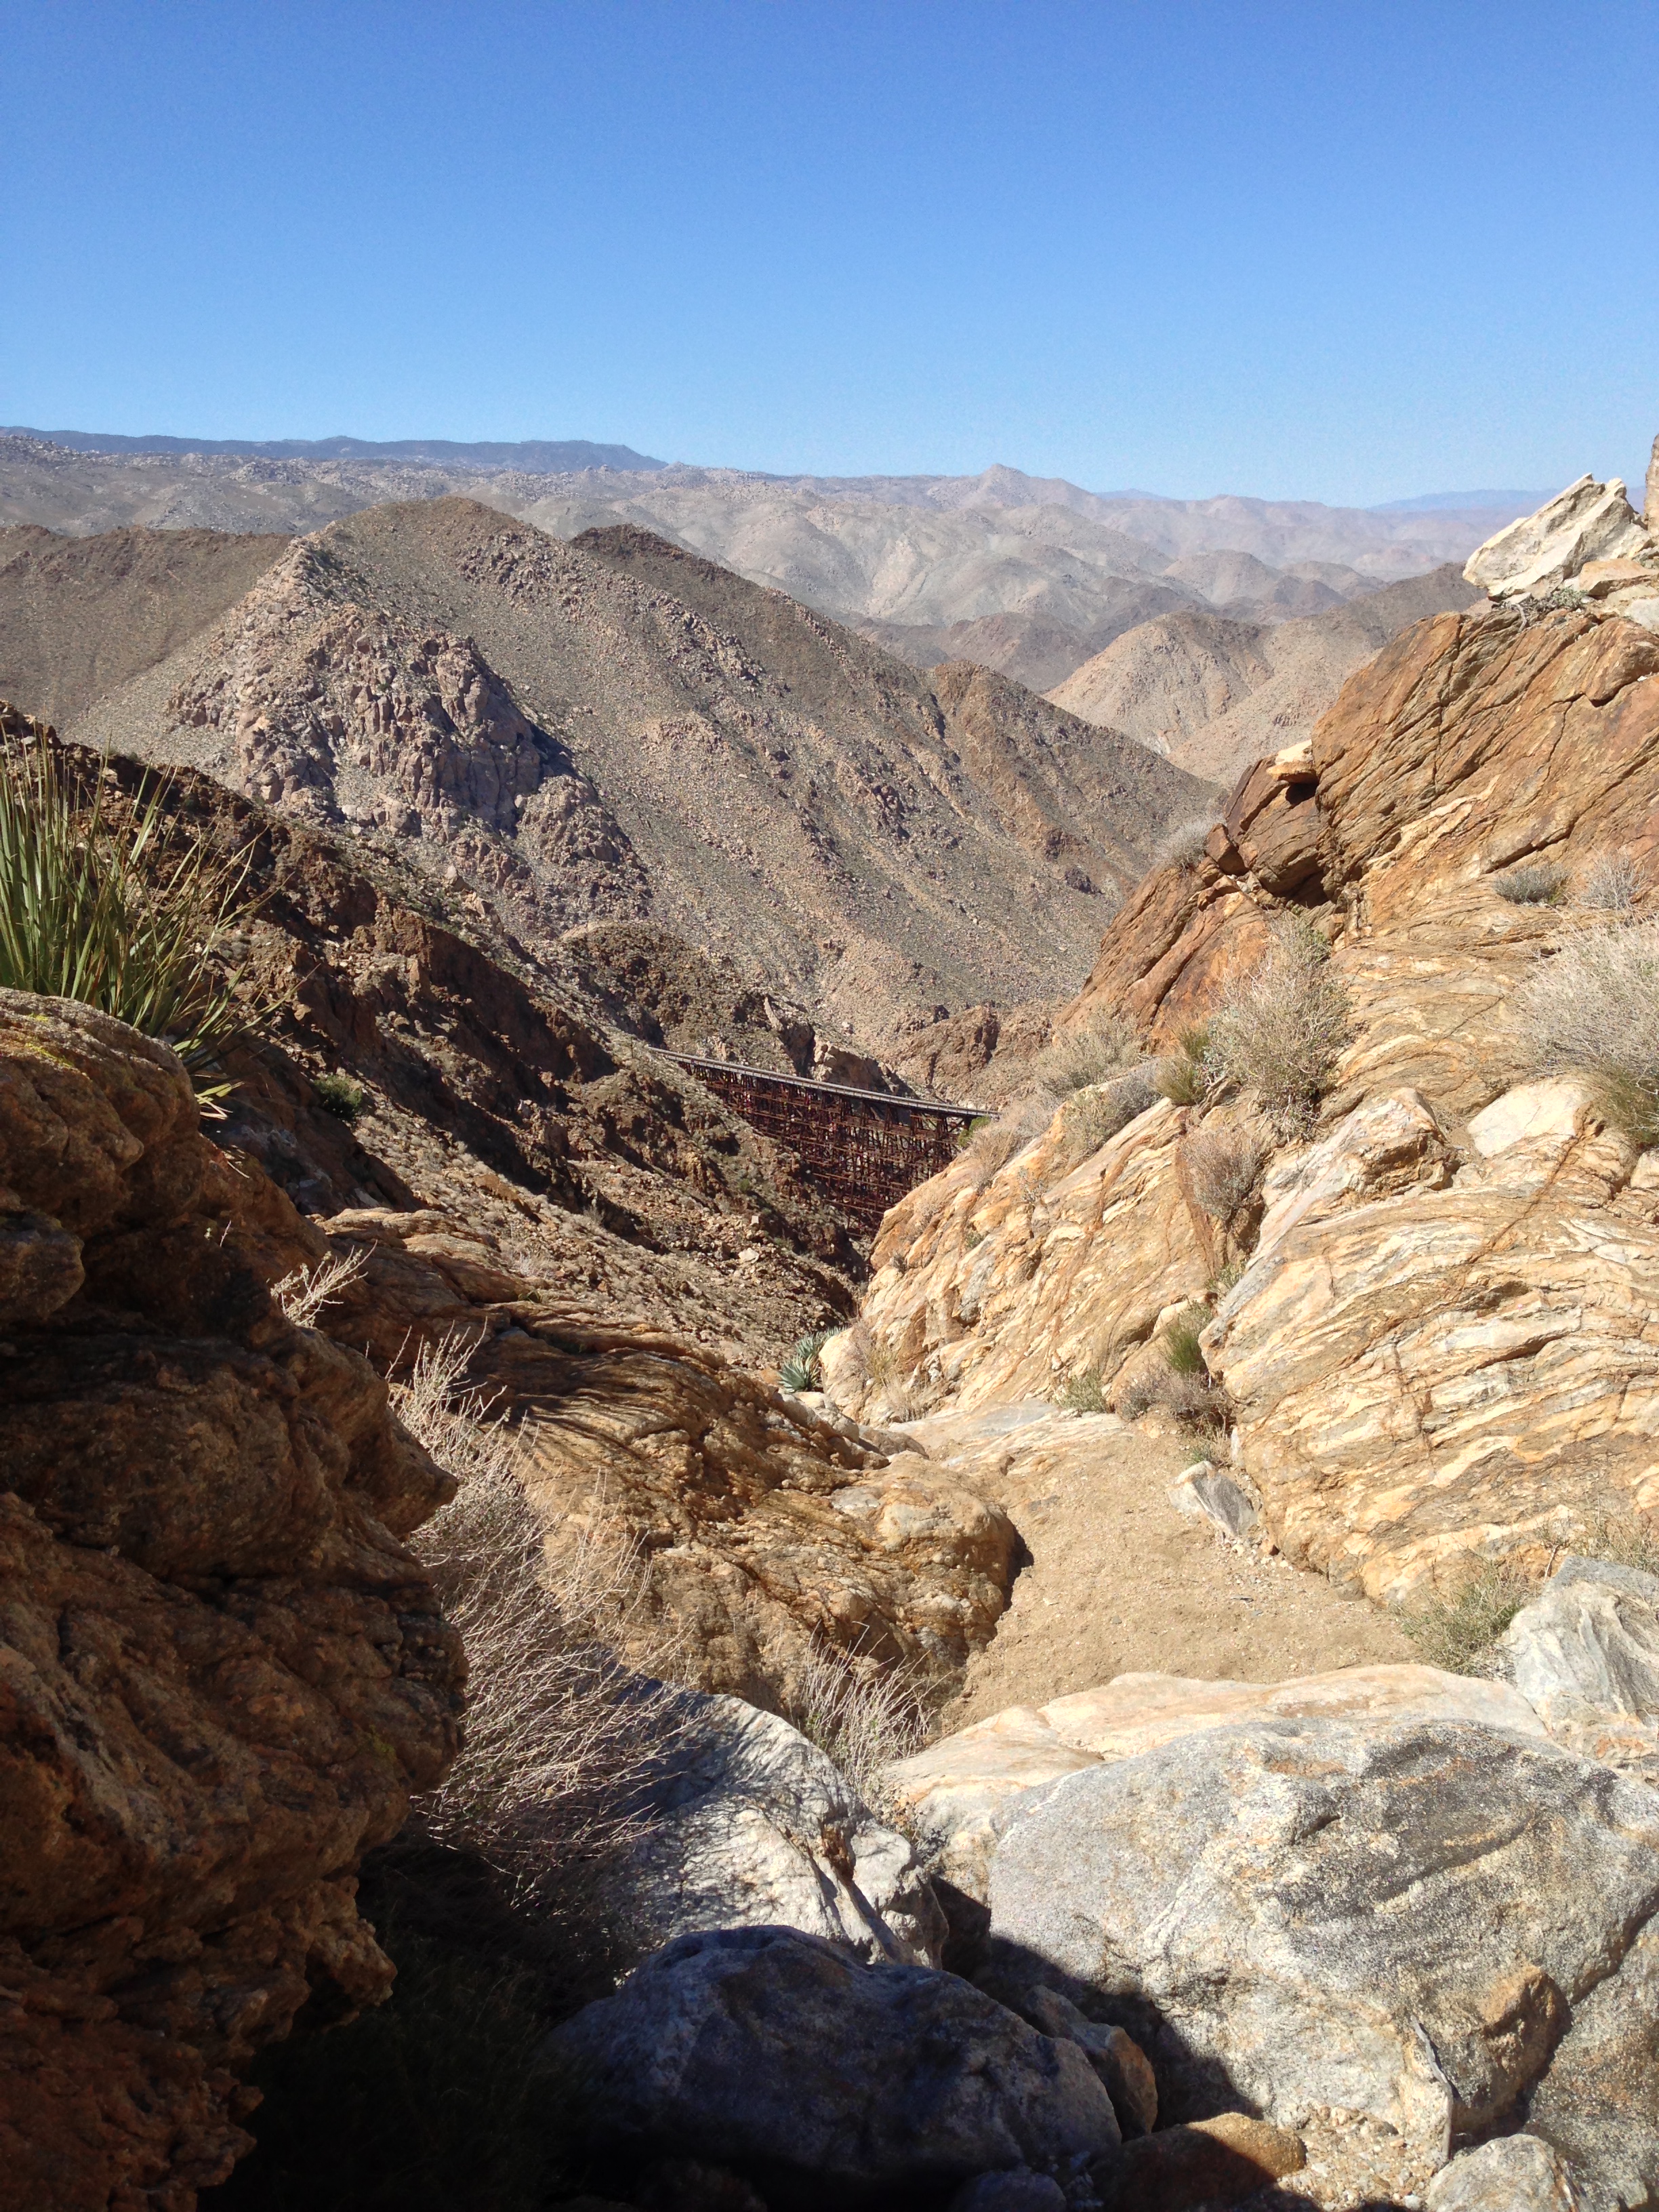
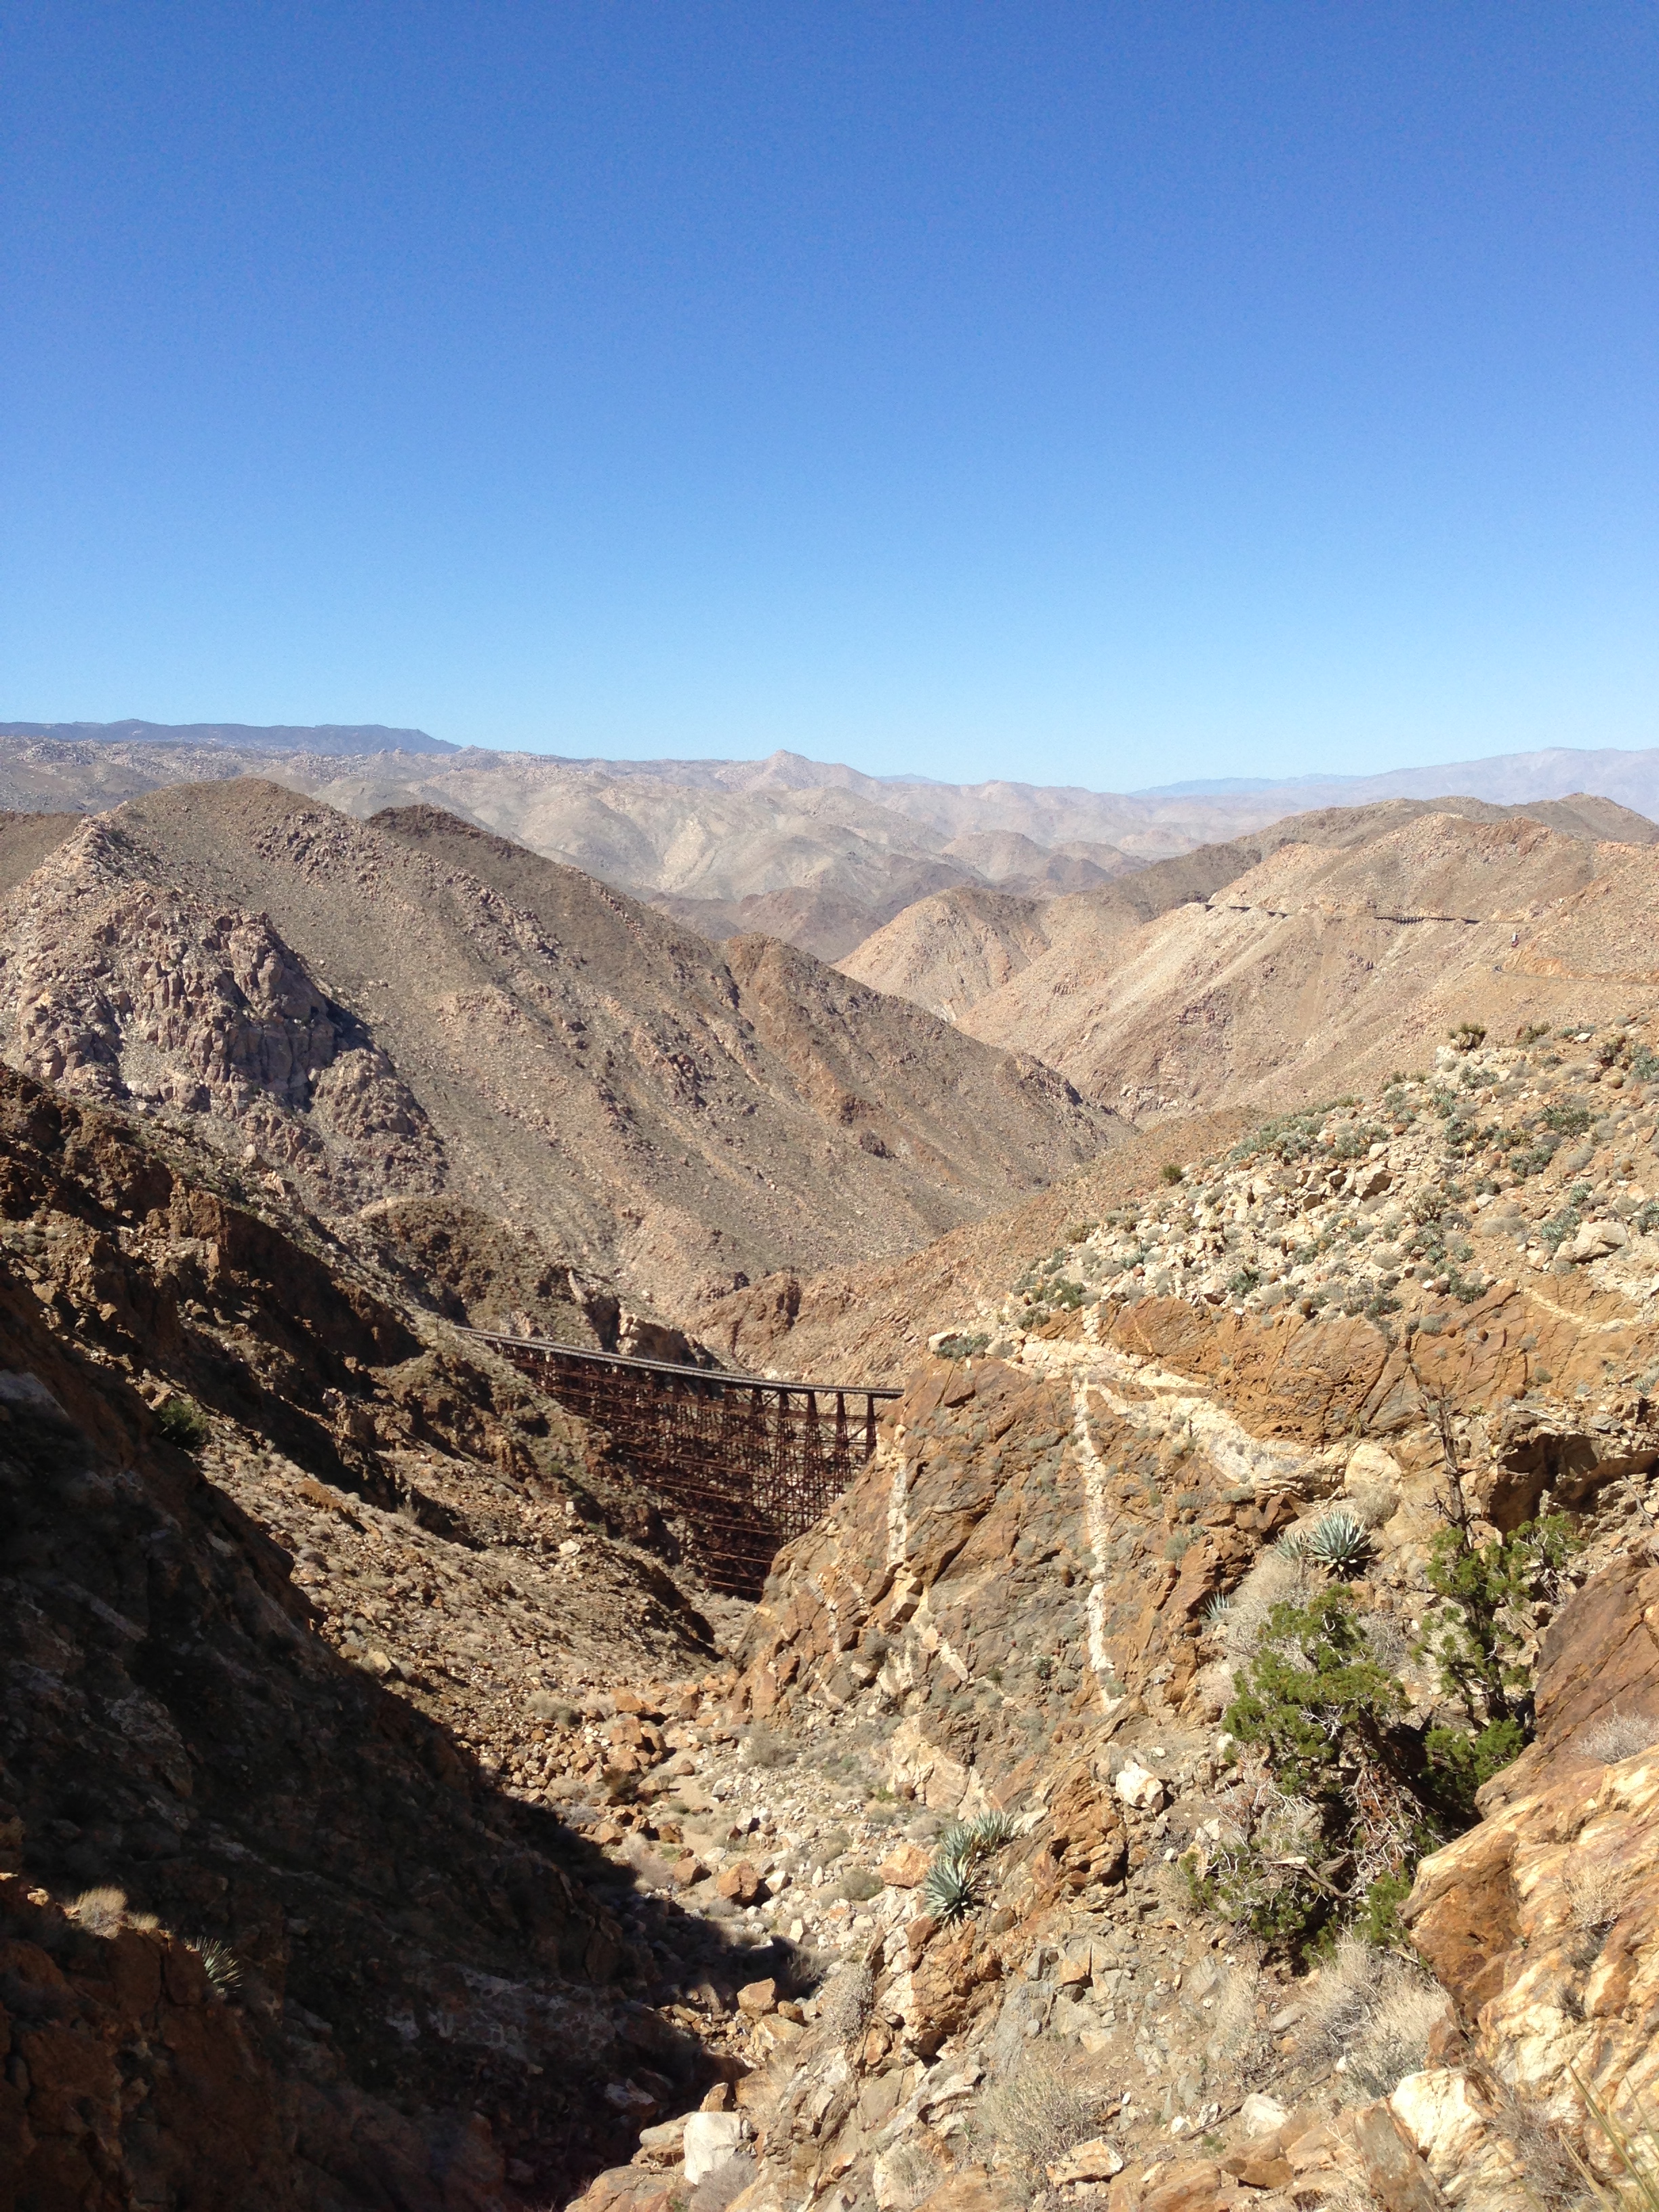
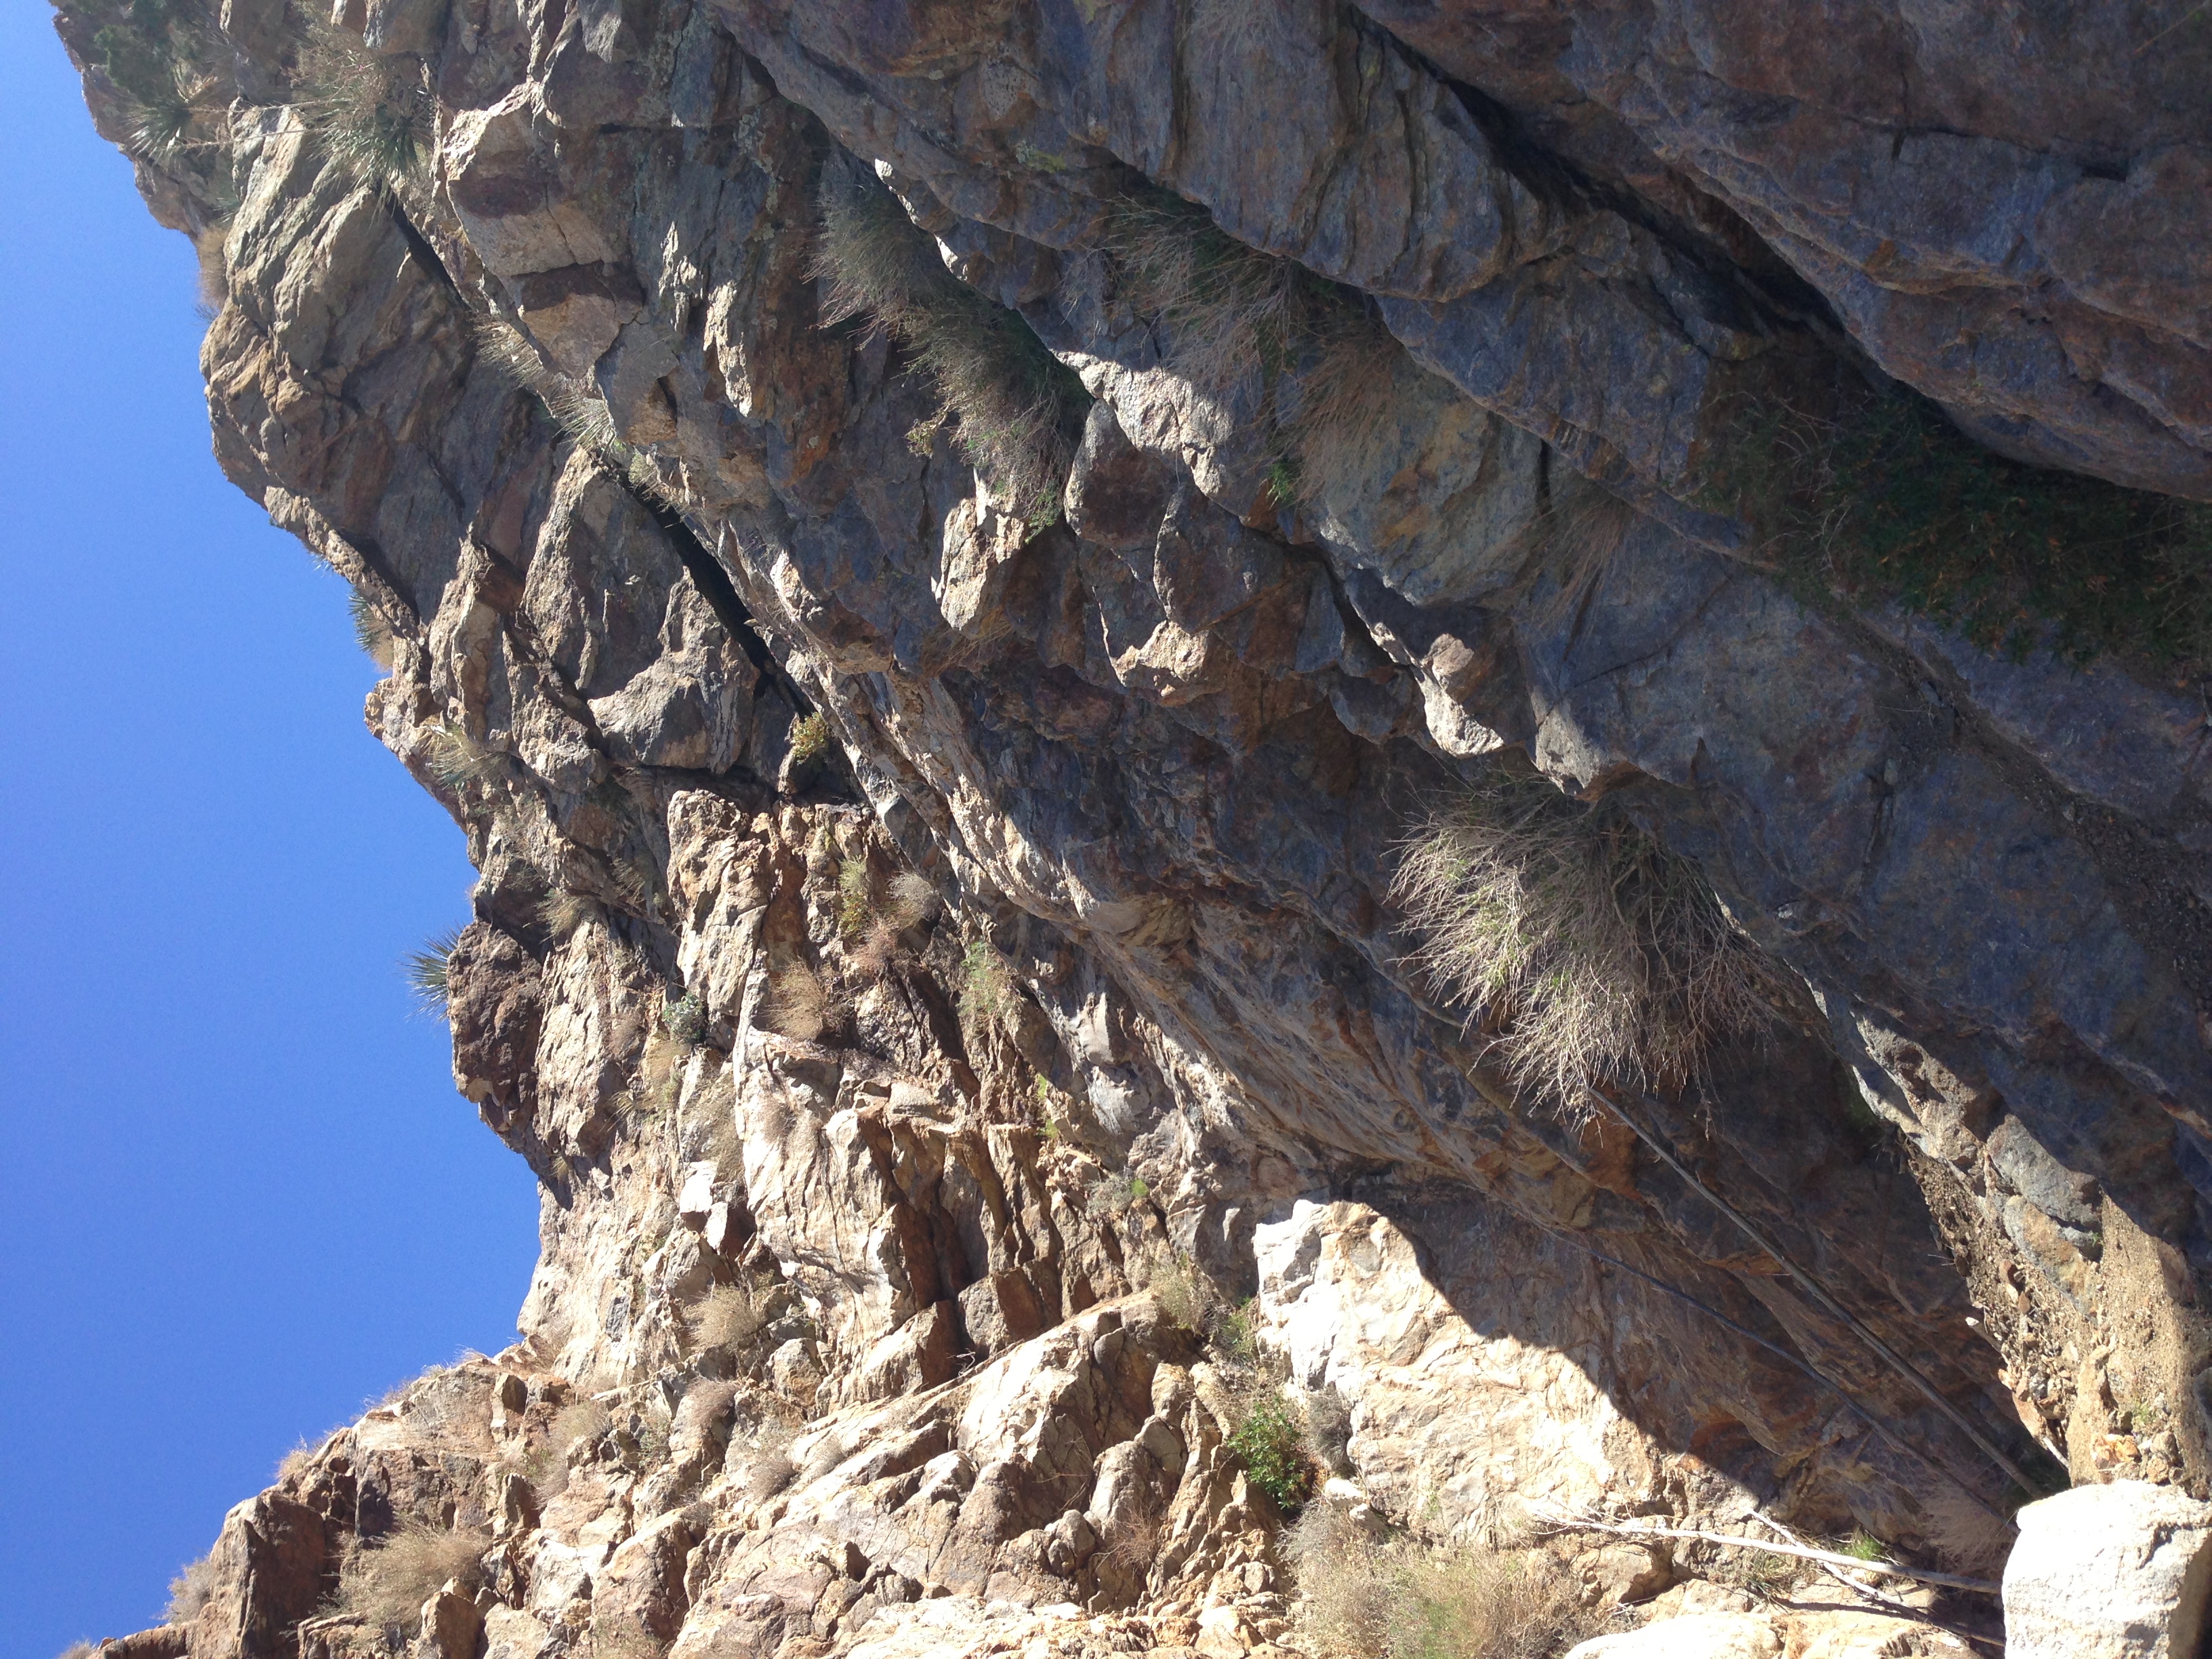
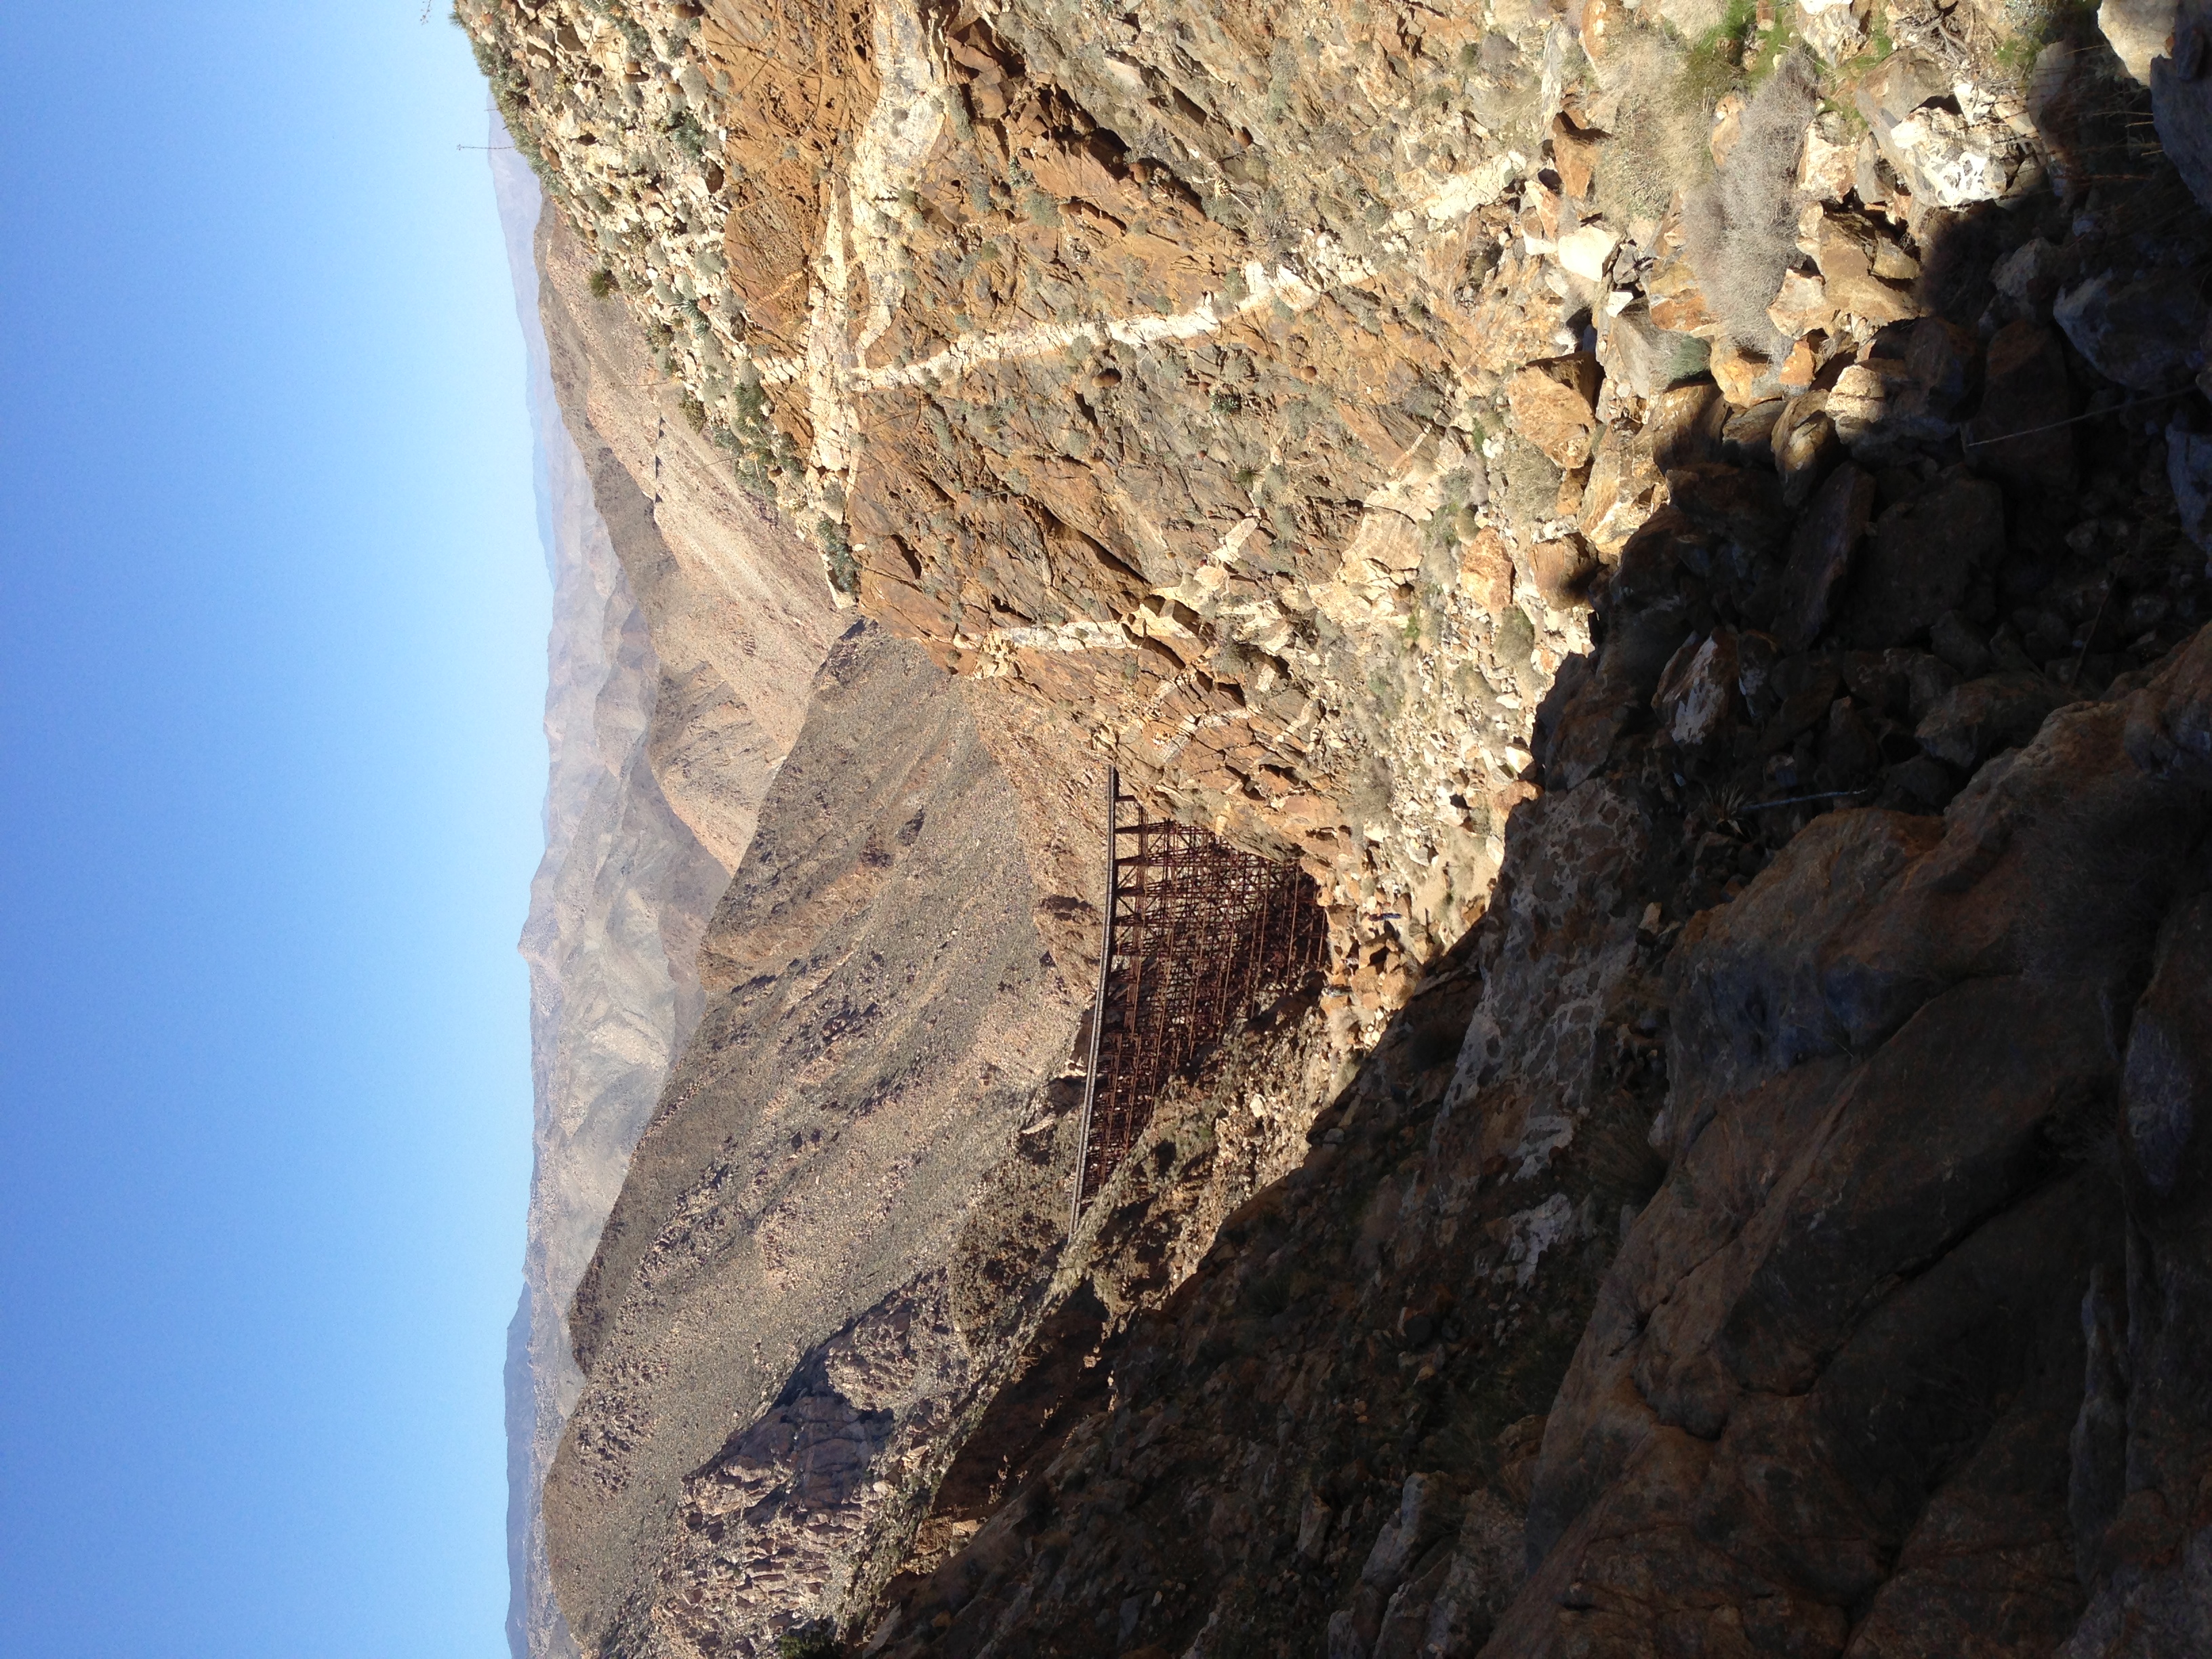
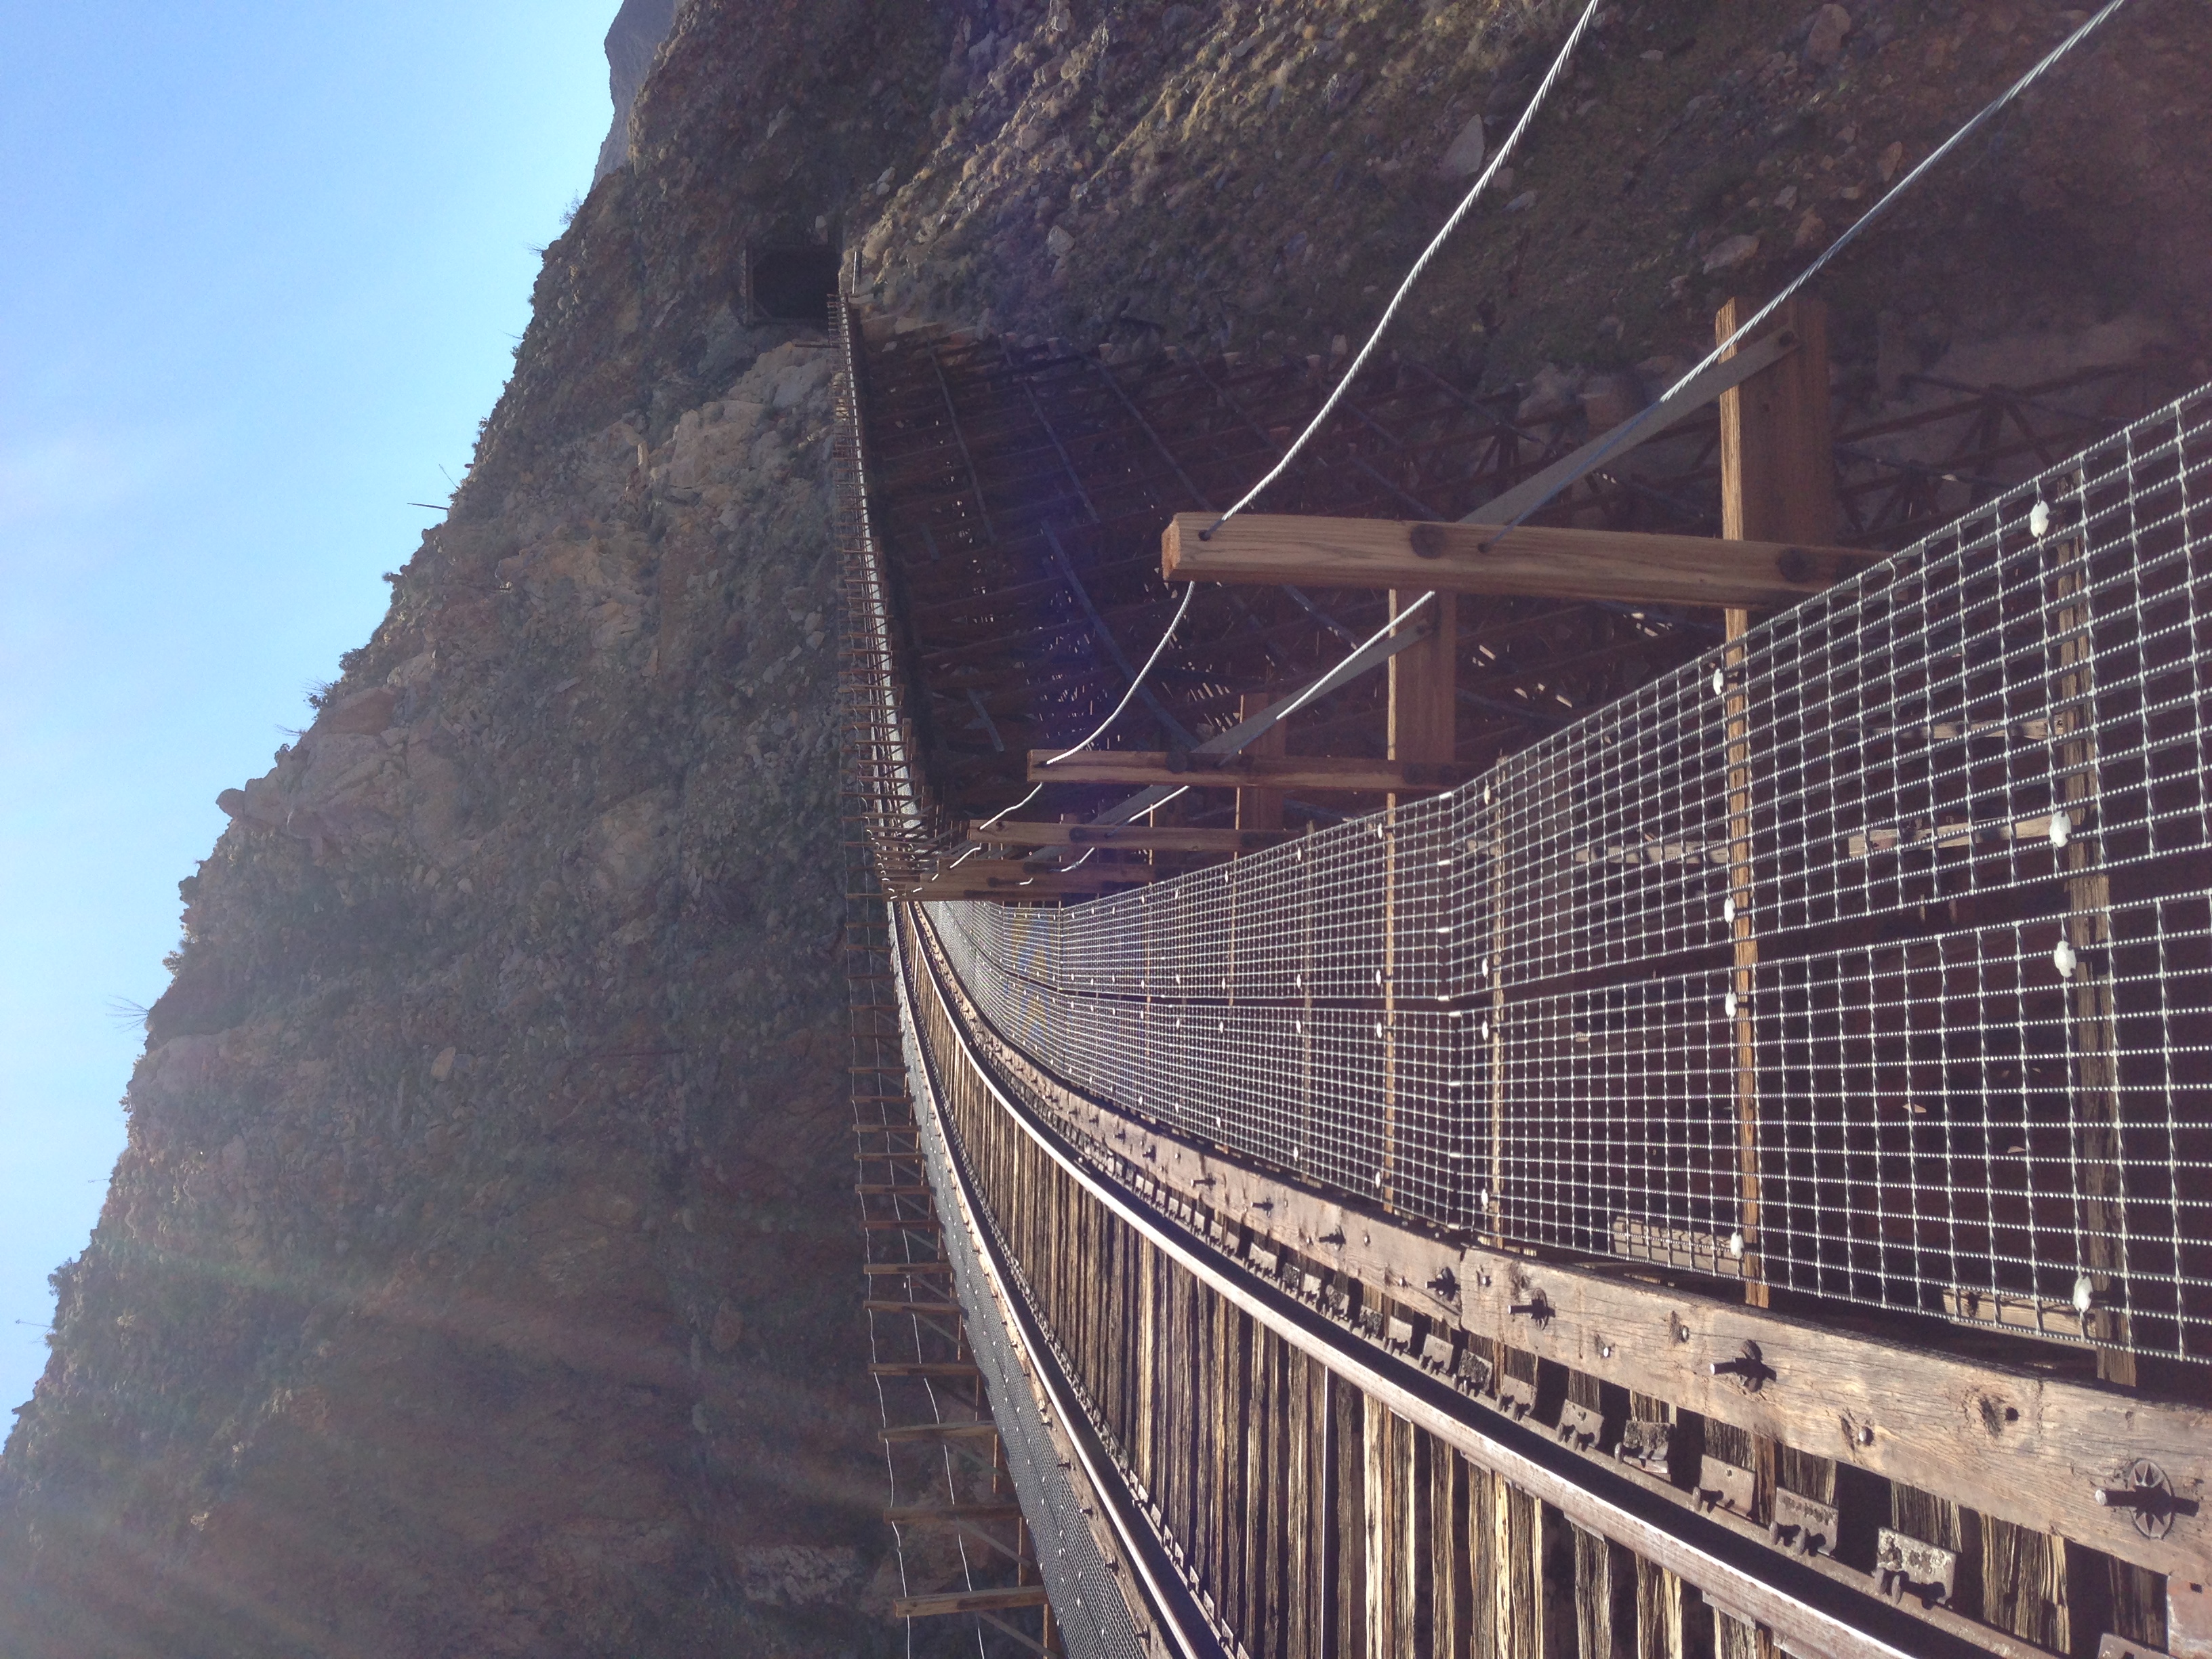
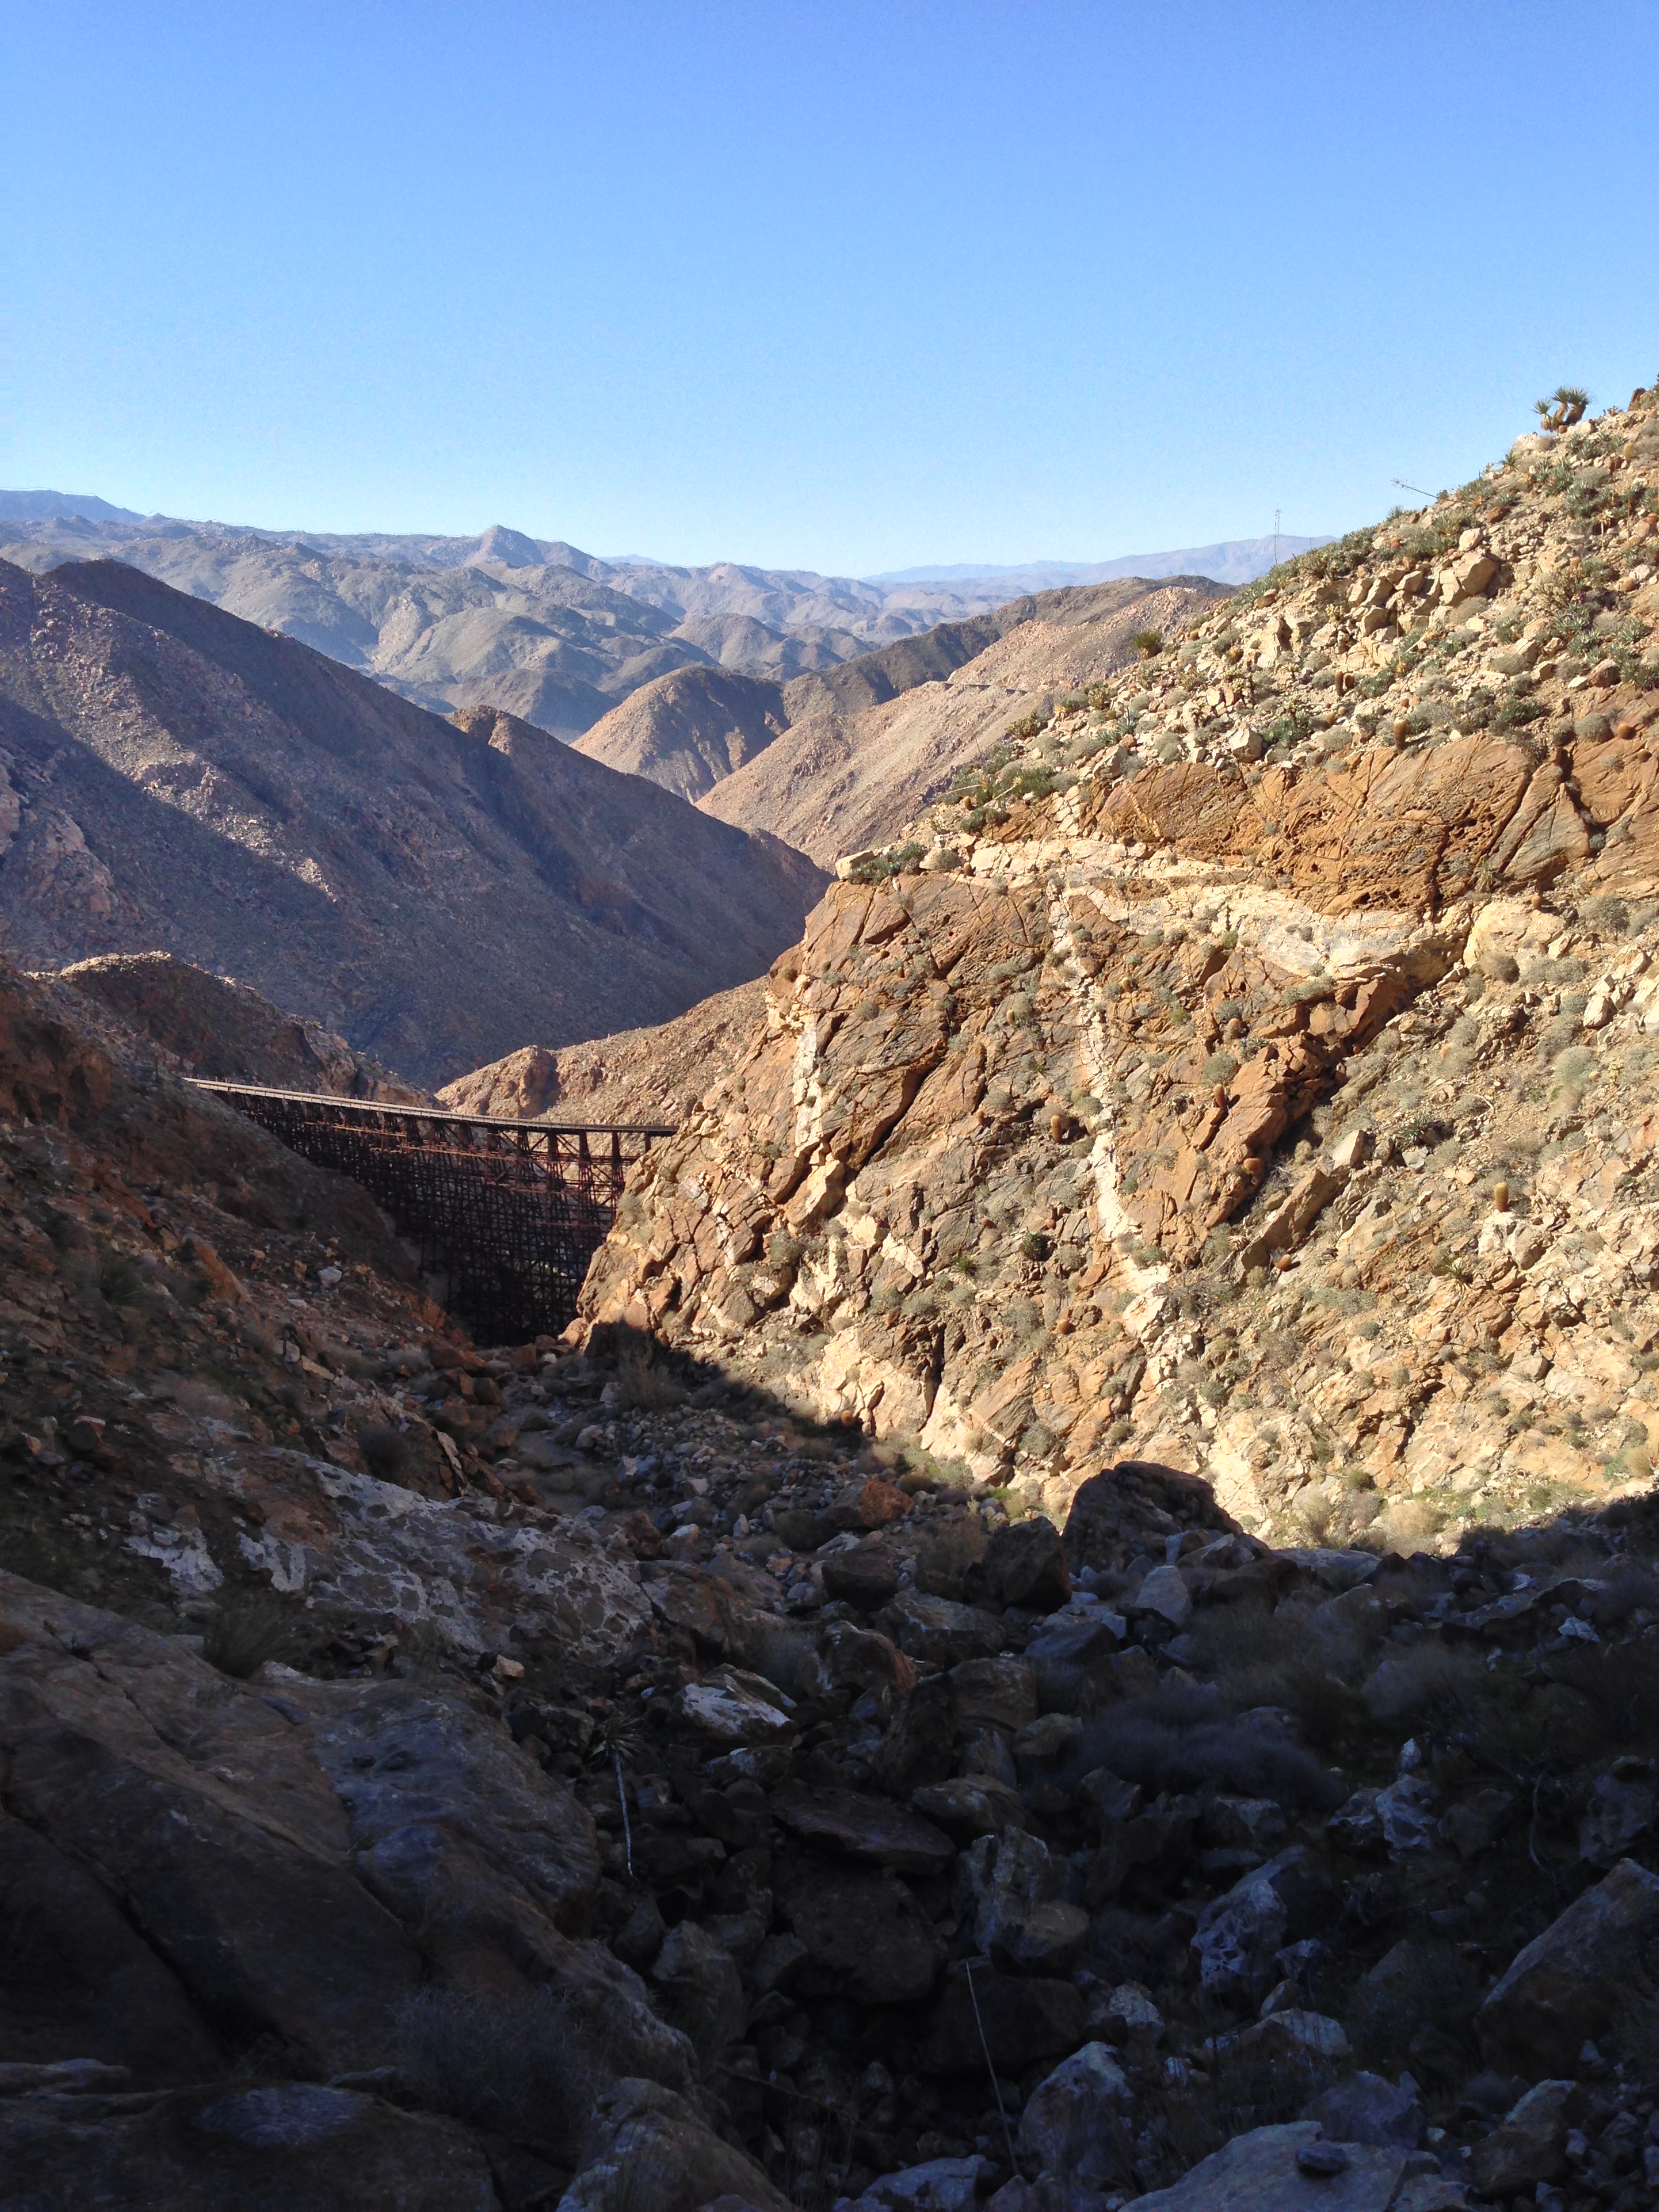
Once you enter Goat Canyon, you are only a mile from the actual trestle. This, however, is another good news/bad news type of situation. Goat Canyon is rugged terrain, and you will be traversing over rocks or brush for almost the entire mile to the trestle. Once you are approximately .25 miles from the trestle, you will see two things: 1) the trestle itself for the first time; and 2) a large steep dry waterfall. With respect to the first thing, enjoy the view, as it gives you a great perspective of the engineering skill it took to build the trestle. As for the second, you will know you are at the dryfall because you will be standing on it, and it is a steep steep drop that you cannot downclimb without a rope.
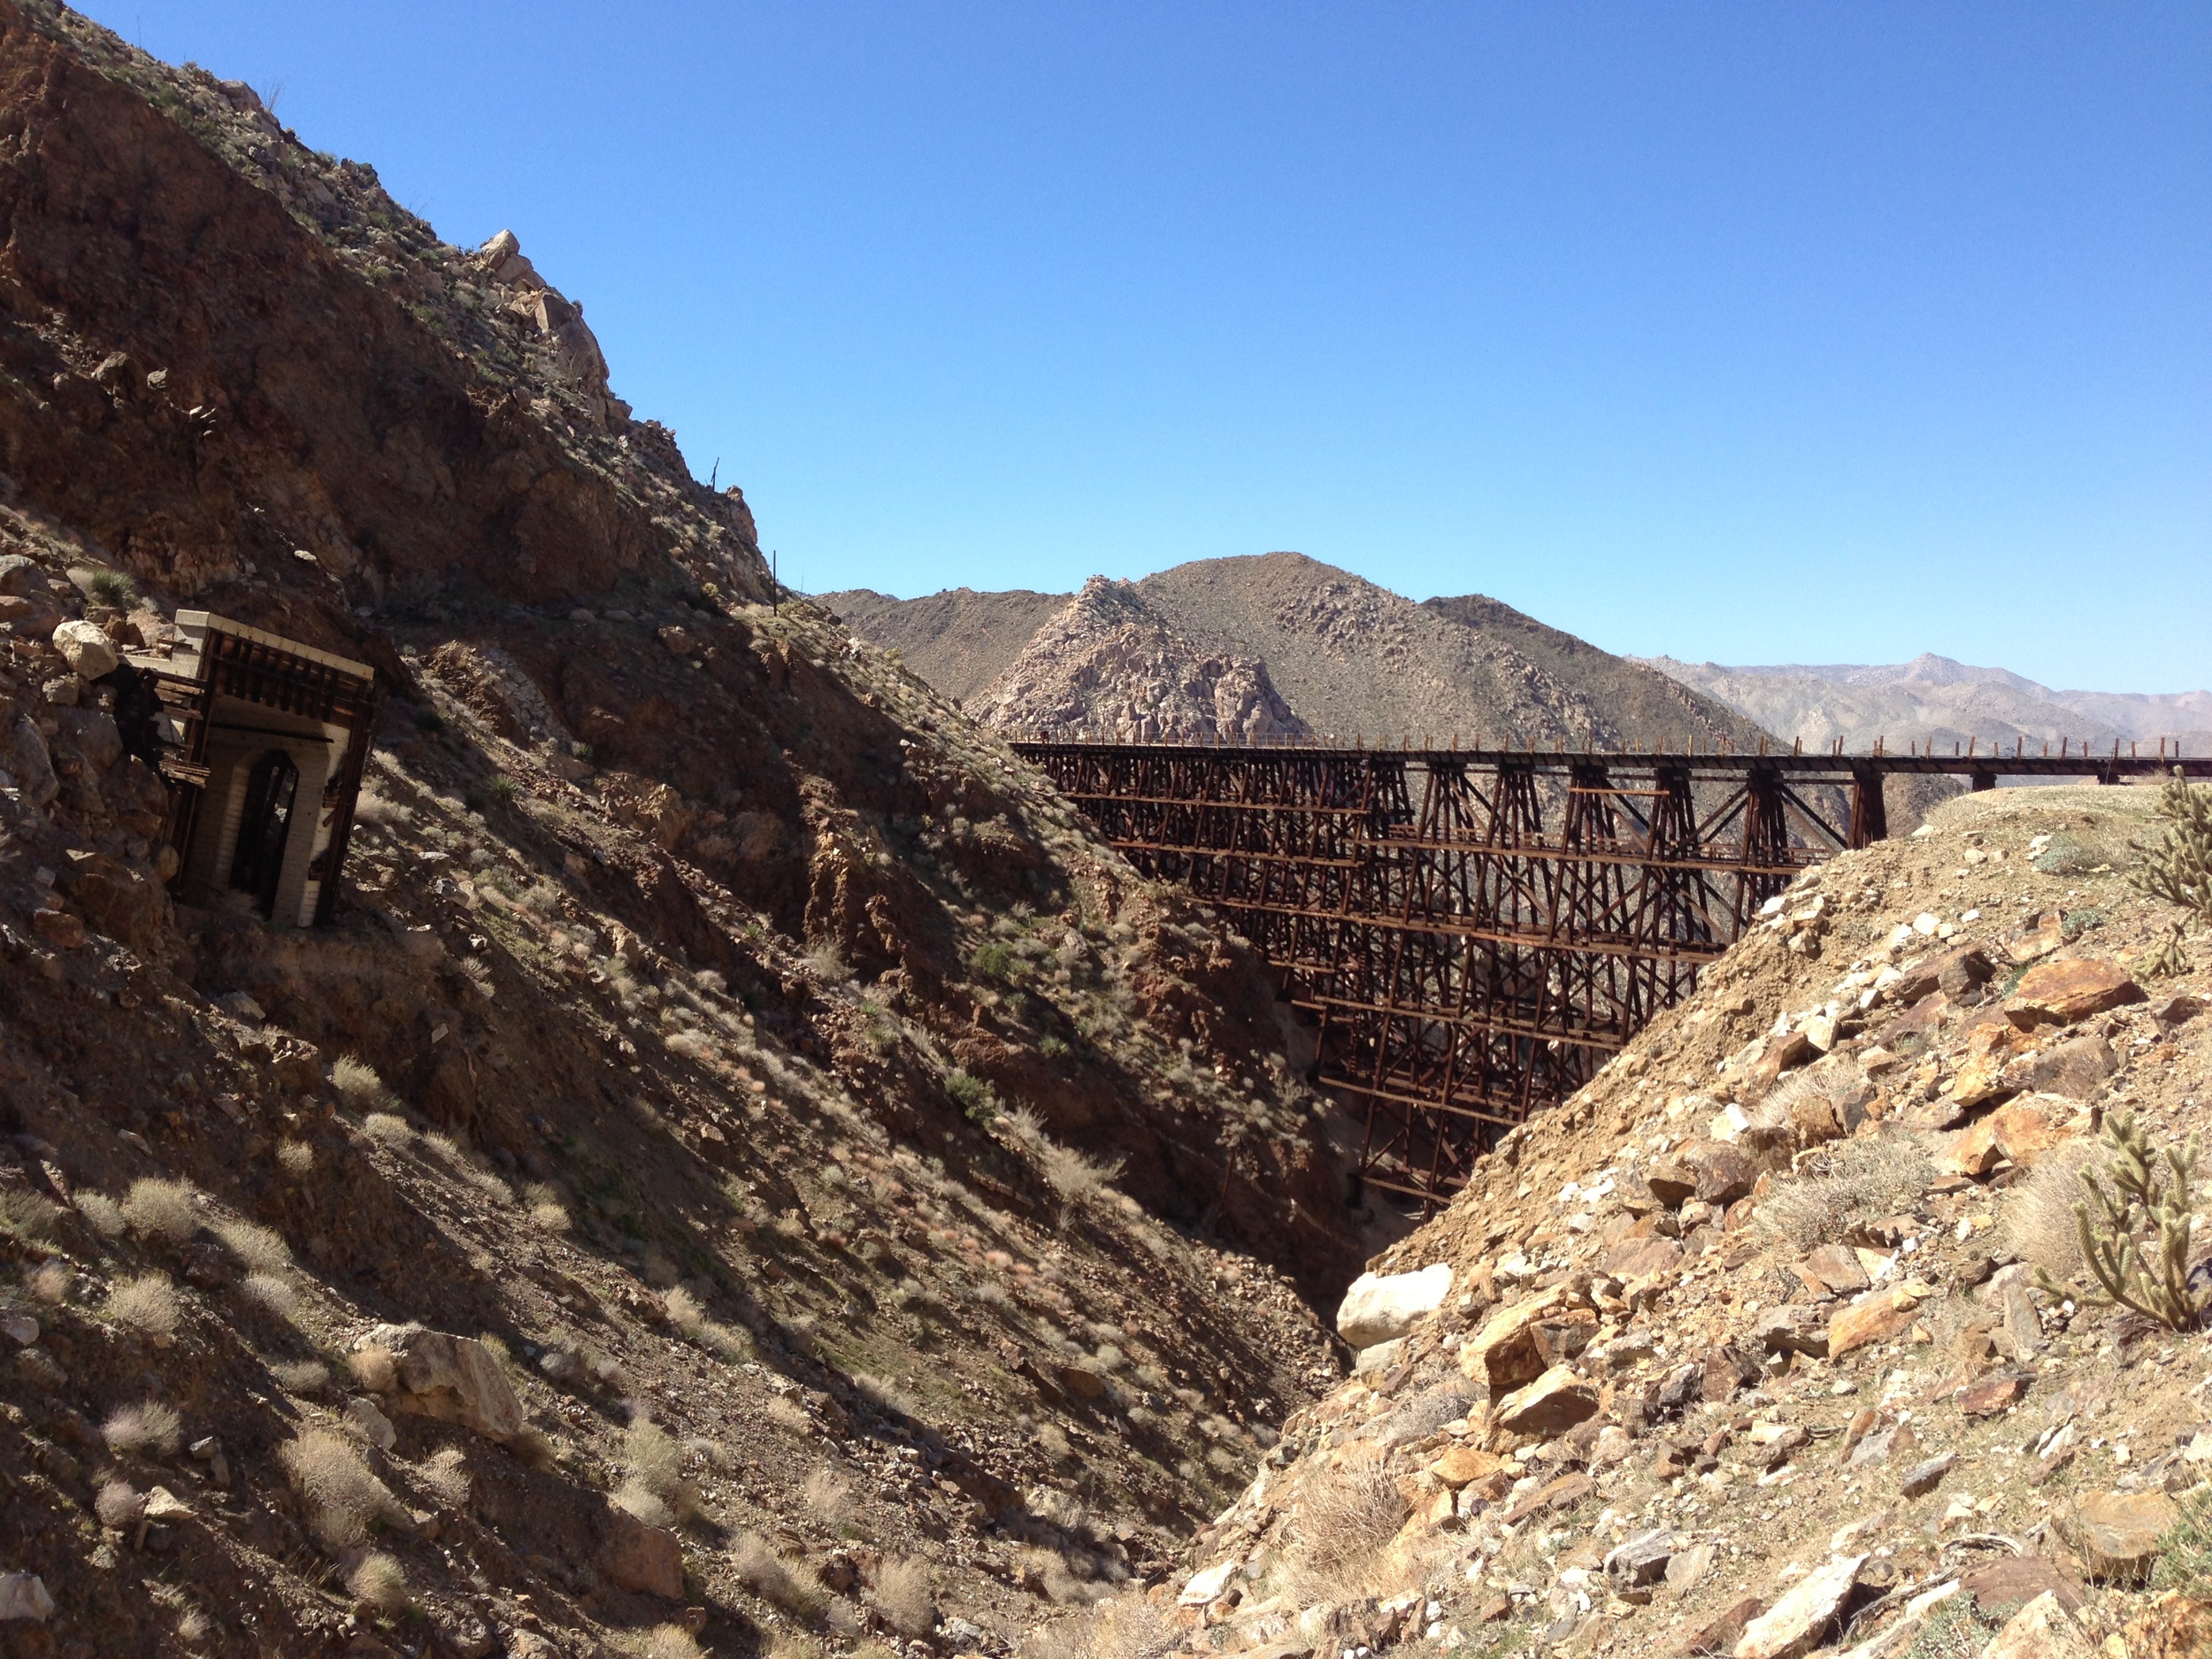
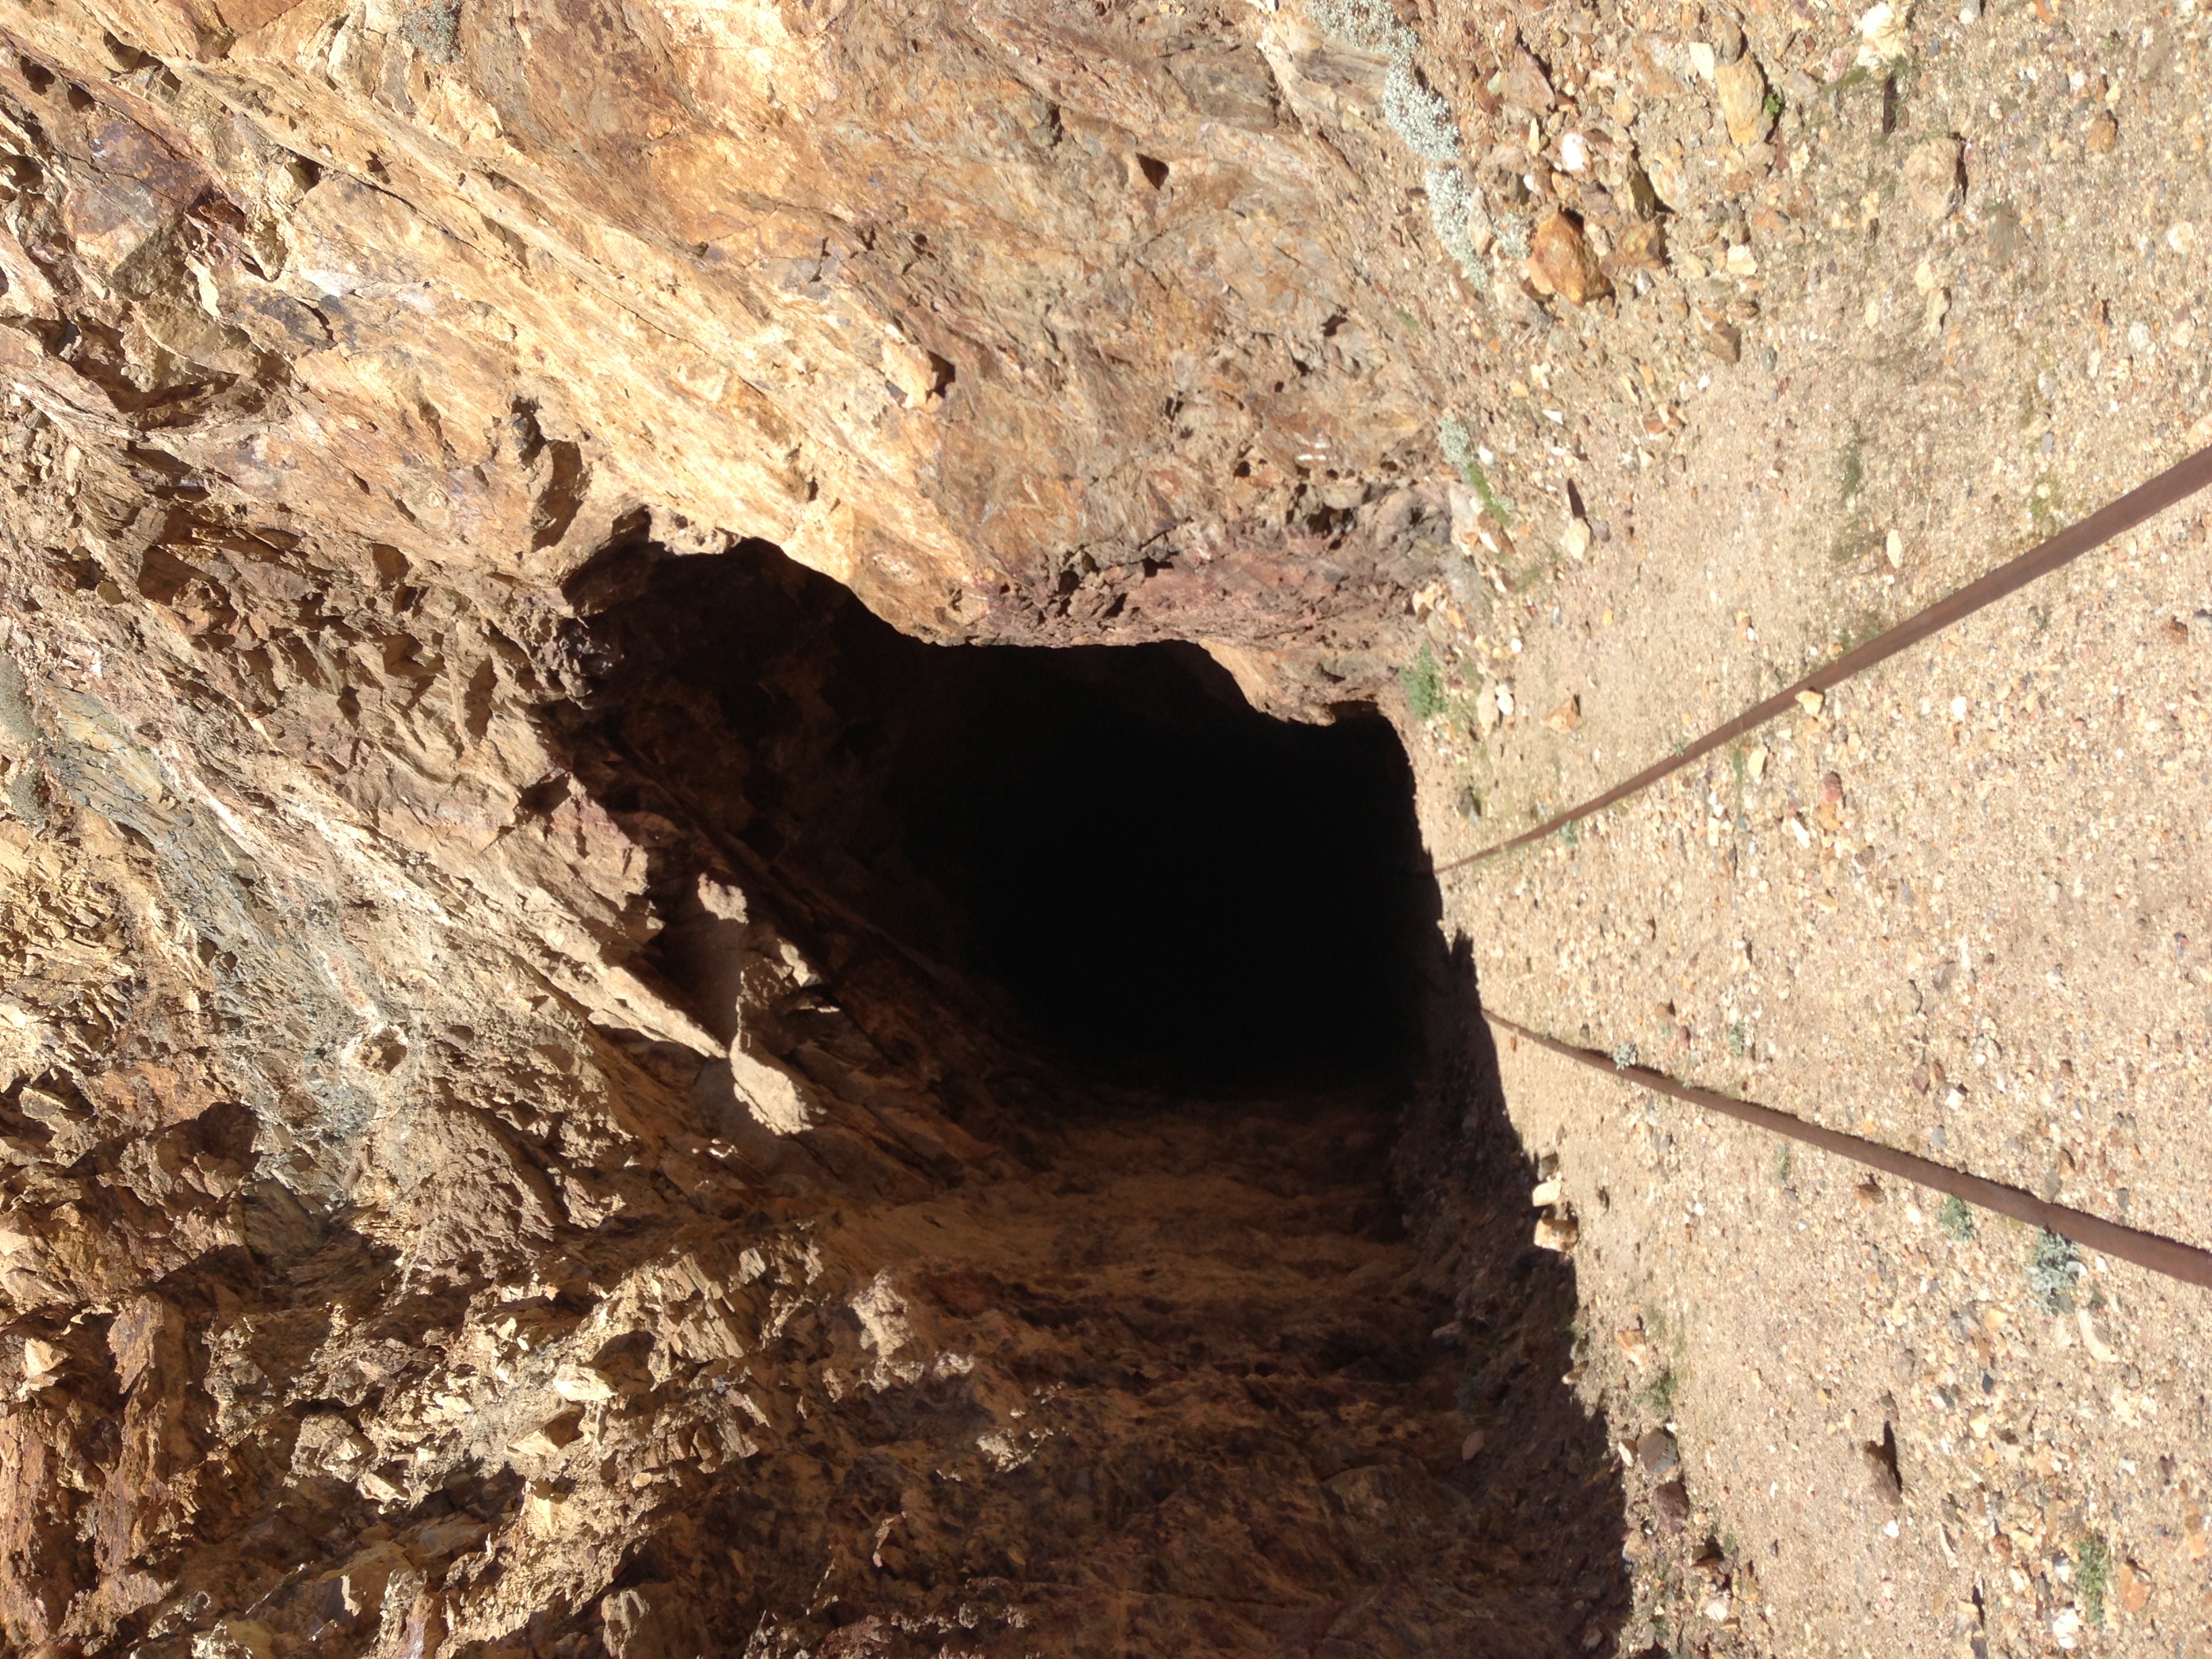
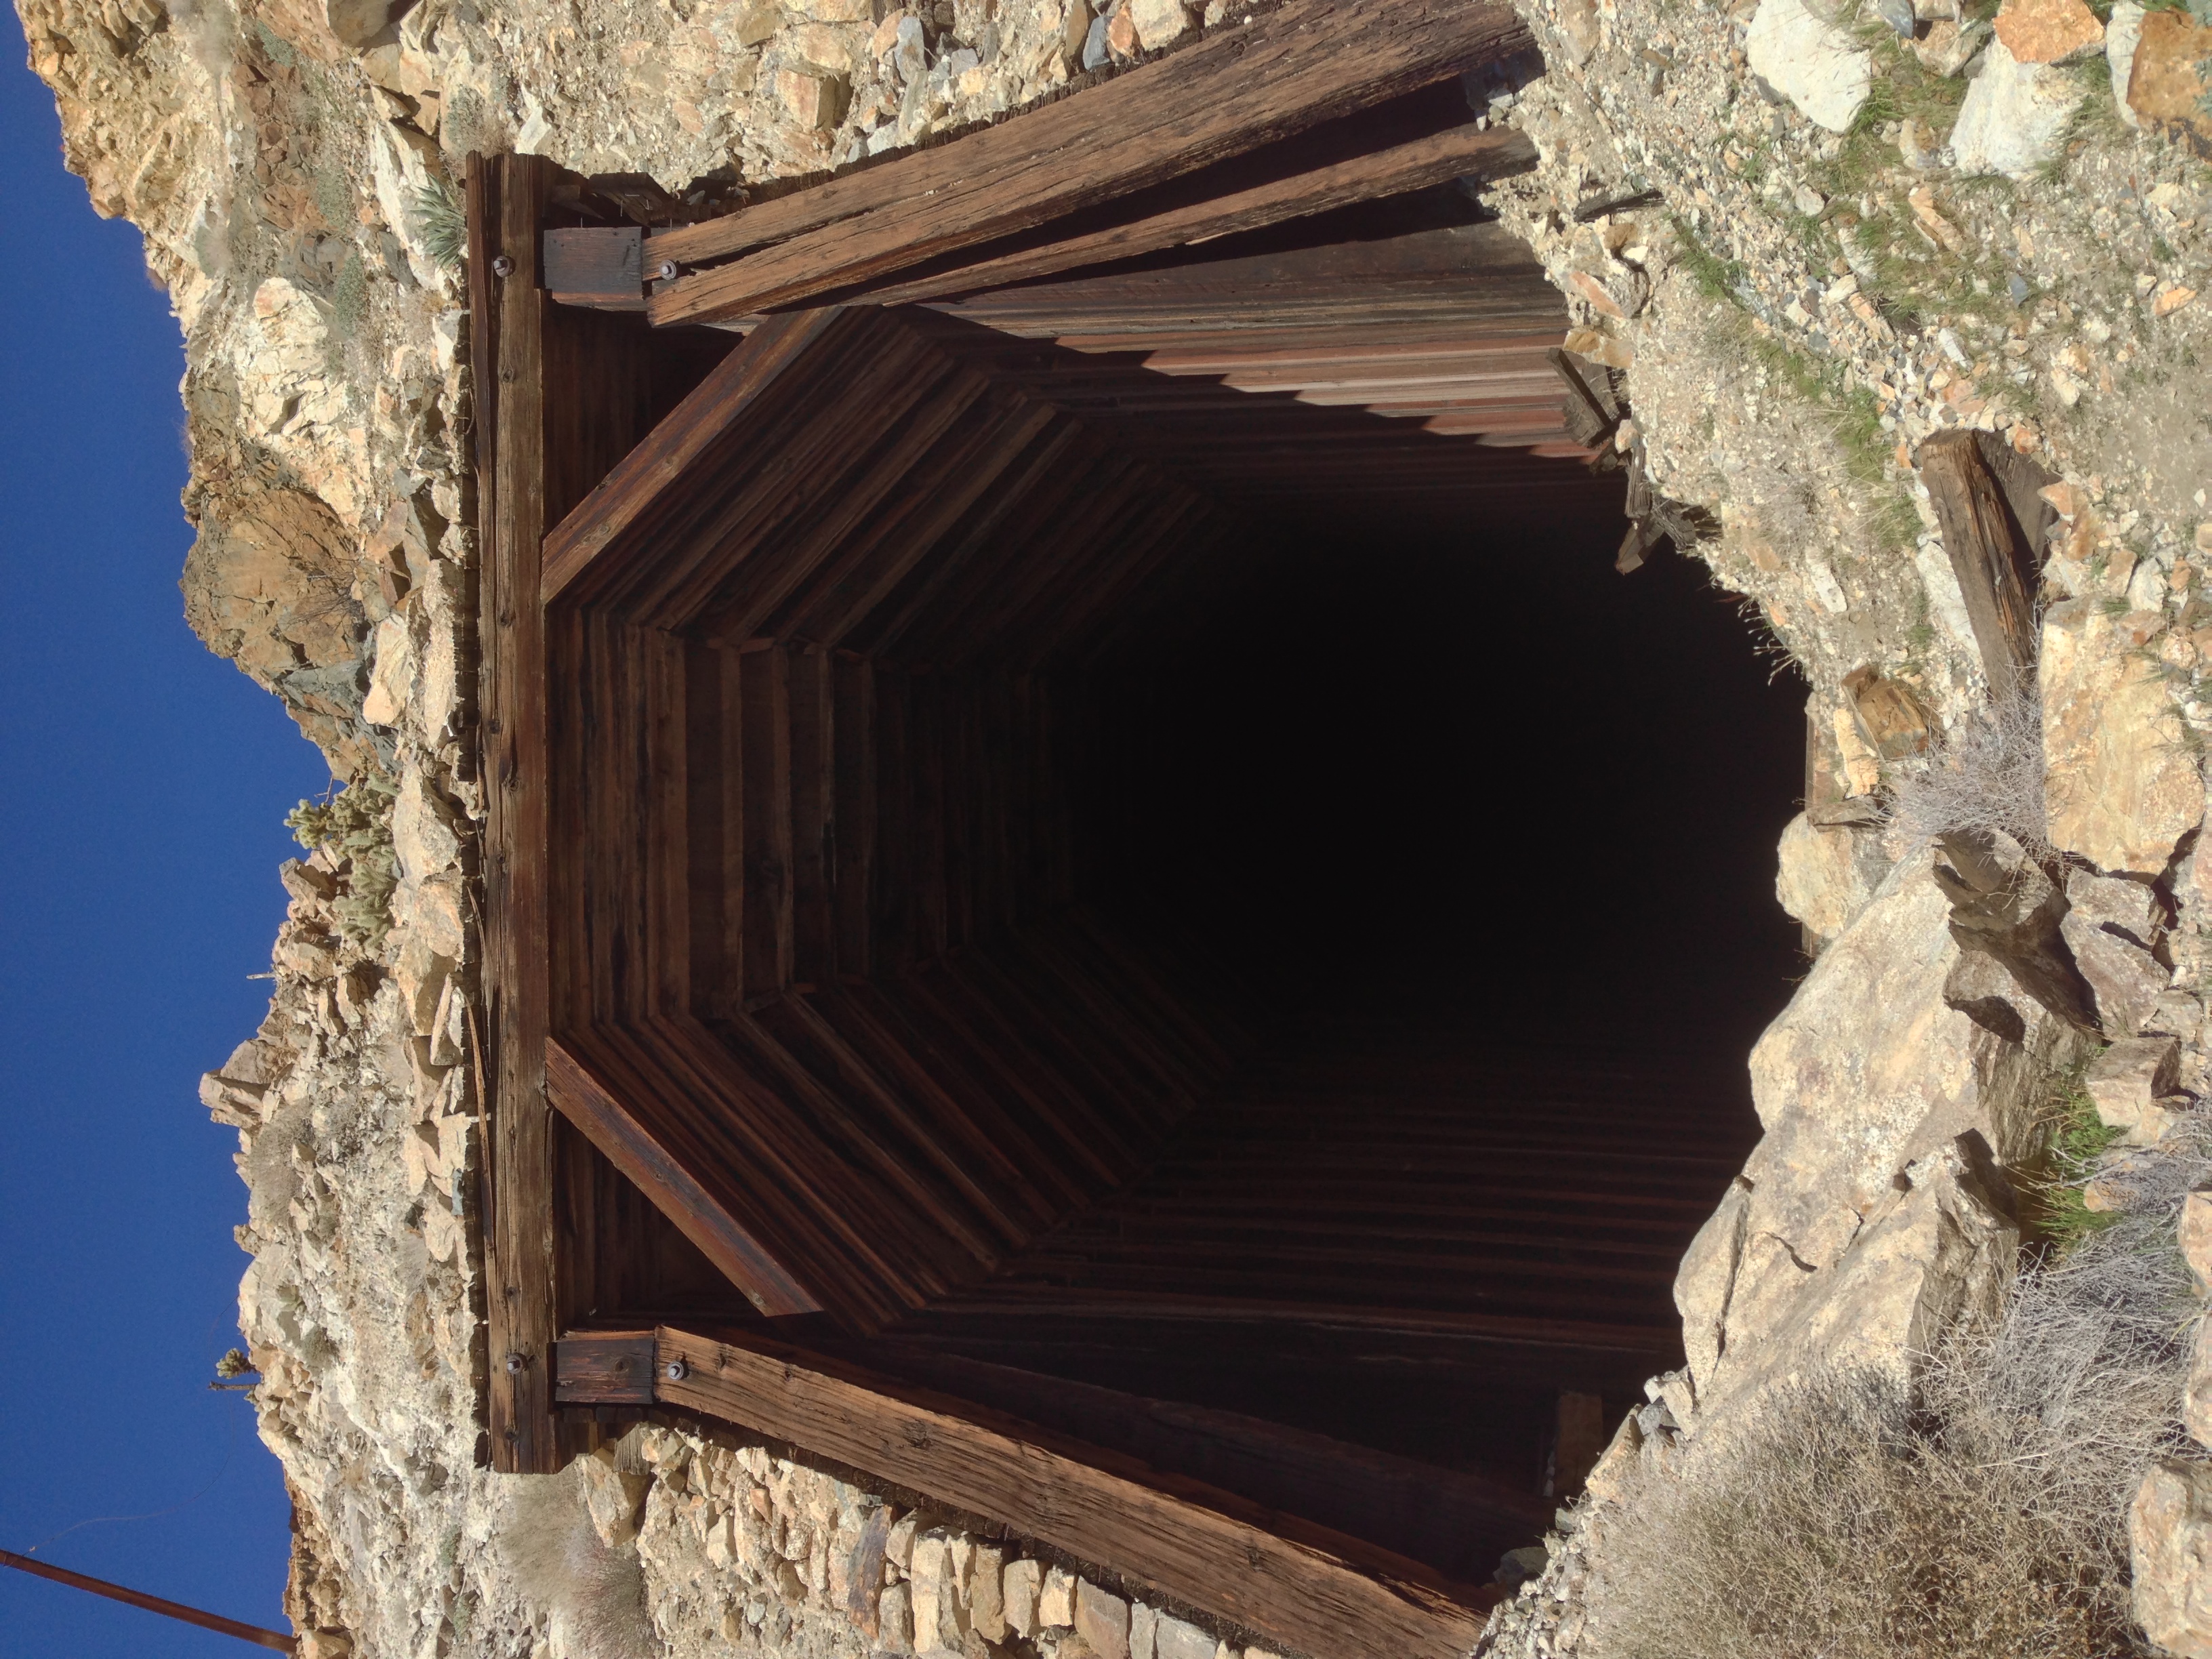
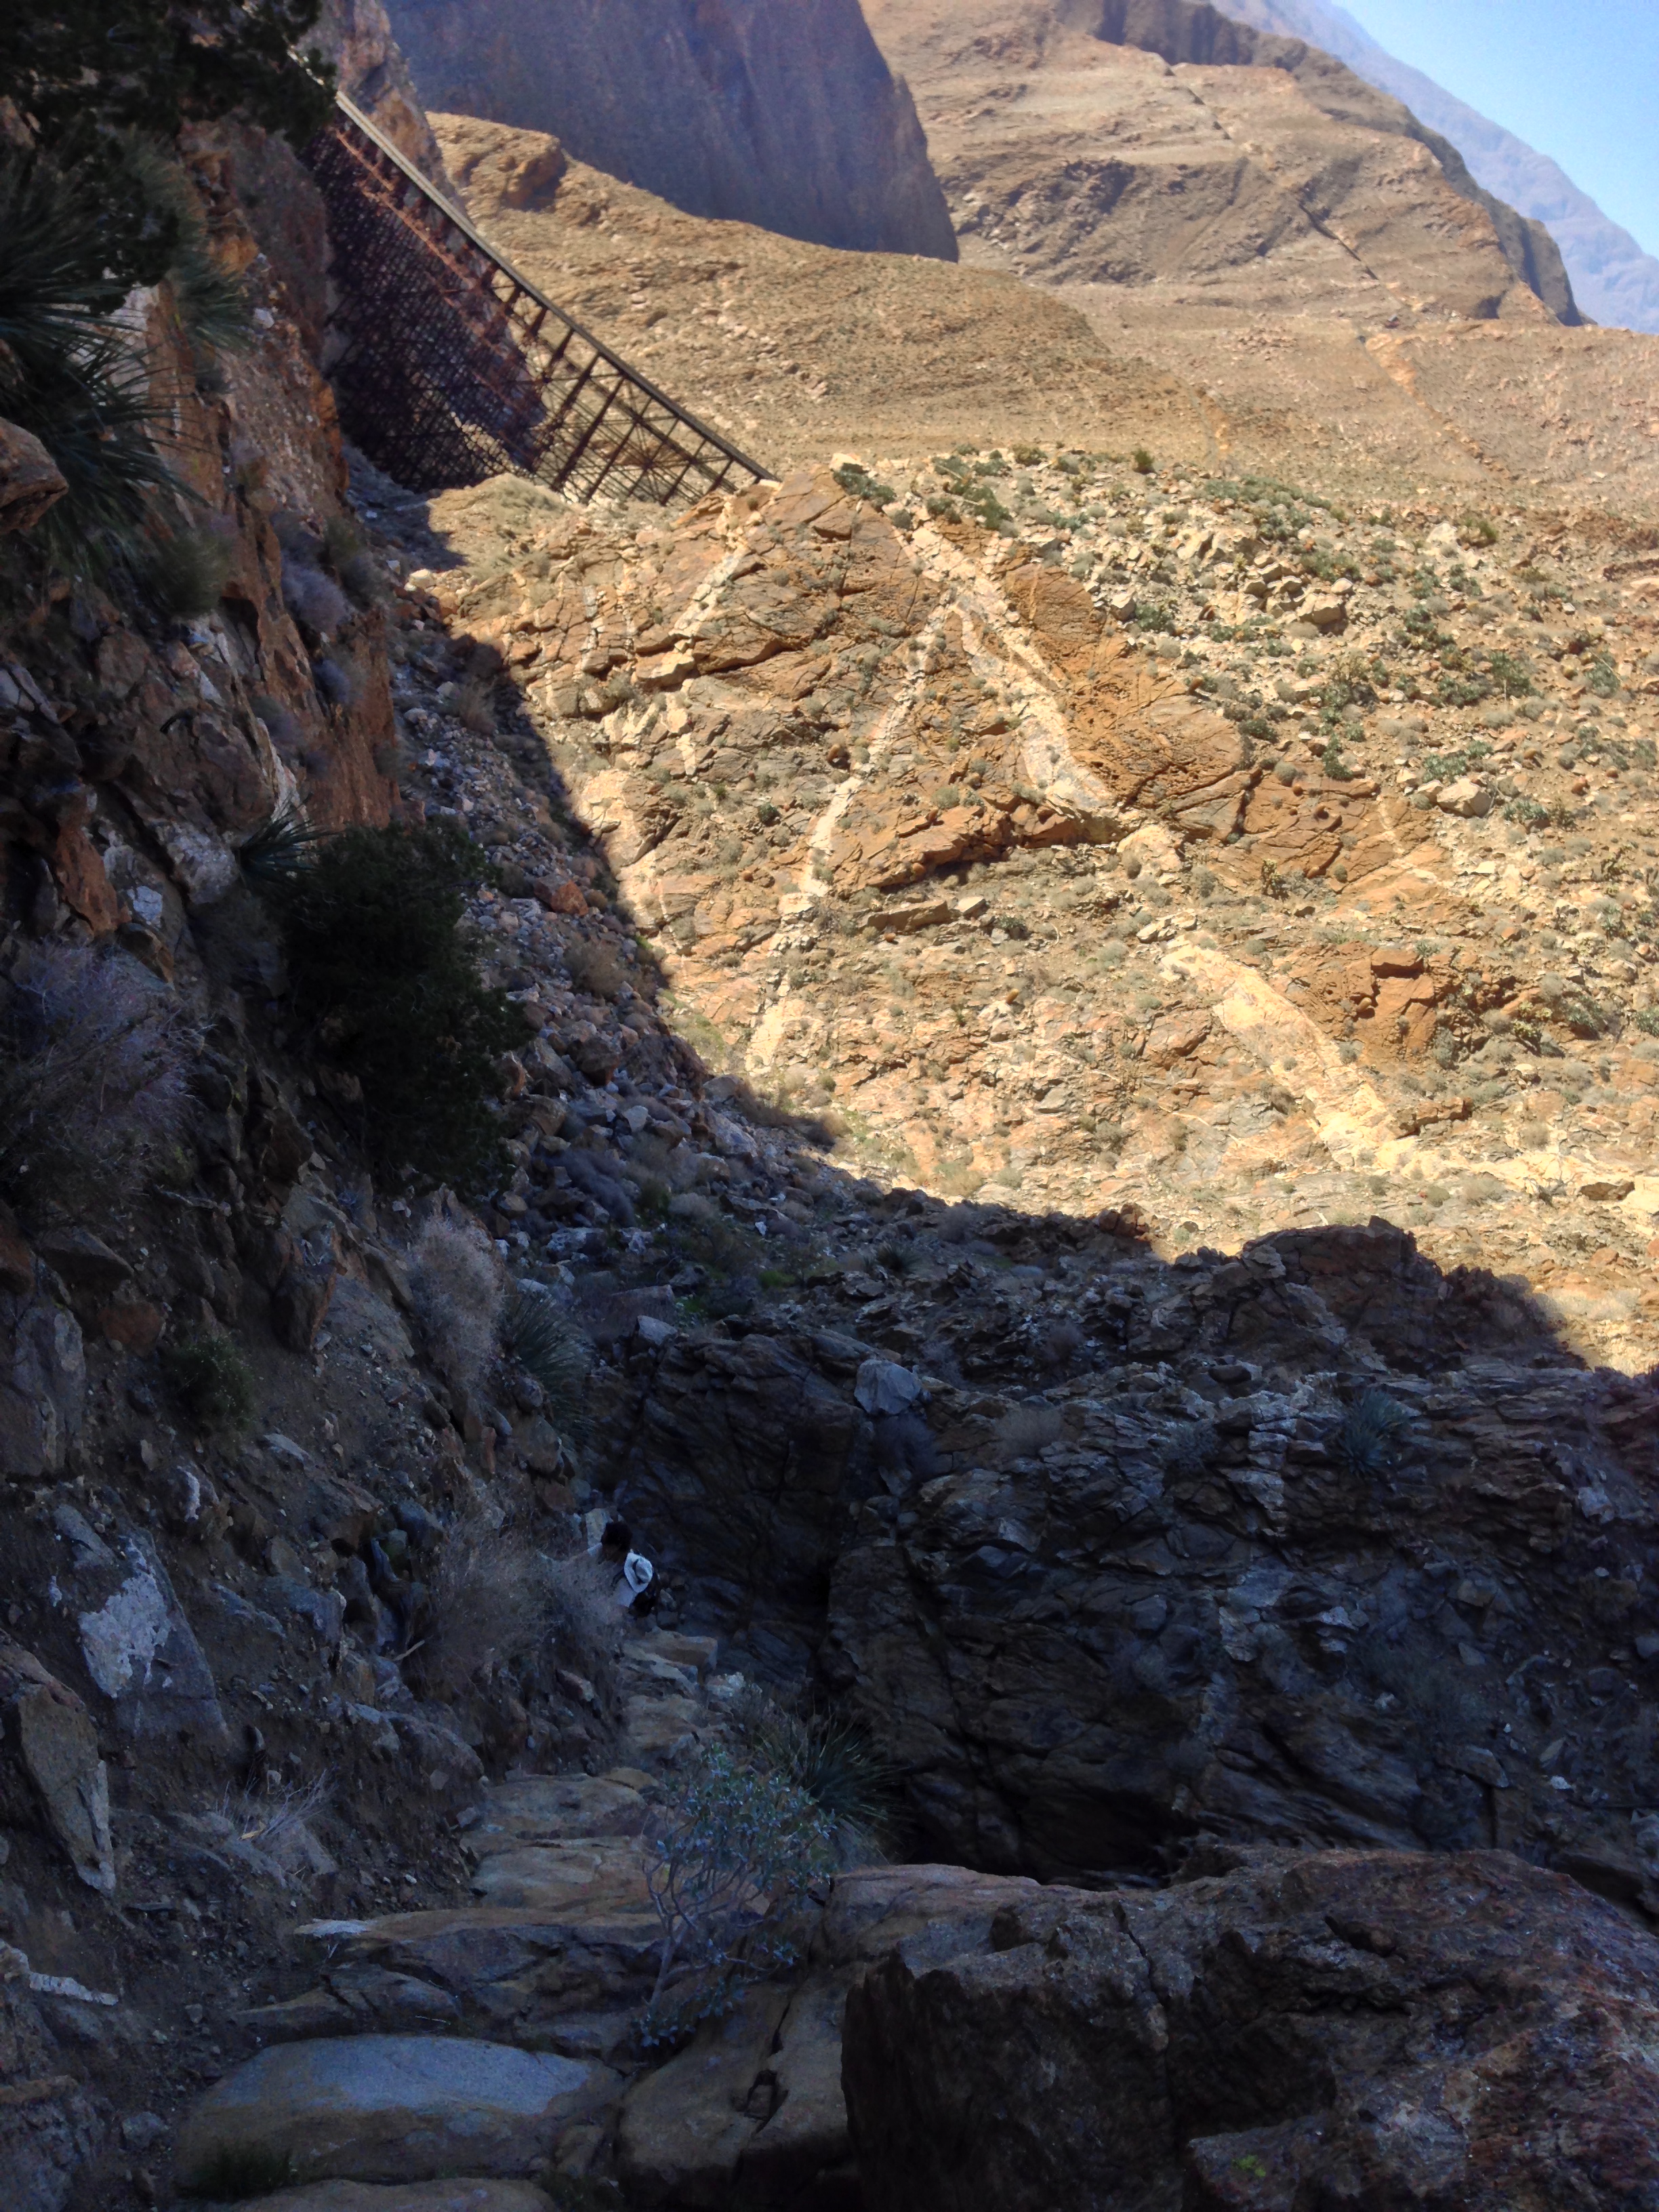
At this point, you will want to detour slightly south along the dryfall, before downclimbing a fairly steep talus/dirt slope. While you don’t need a rope for this portion of the hike, you will want to be fairly careful about your footing. Once you are at the base of the dryfall, where you are going is obvious: follow the remaining talus slope down to the trestle. This section is also fairly steep, and covered with loose rock, so again, watch your footing. At the base of the canyon, you’ll have a great view of the entrance to the prior Goat Canyon tunnel that collapsed (See yesterday’s post); and can then cross the trestle if you want .If you are an in-and-out hiker, you will probably check out the trestle and then head back for a strenuous four (4) mile roundtrip hike. If you’re like me, you’re going to want to explore around.
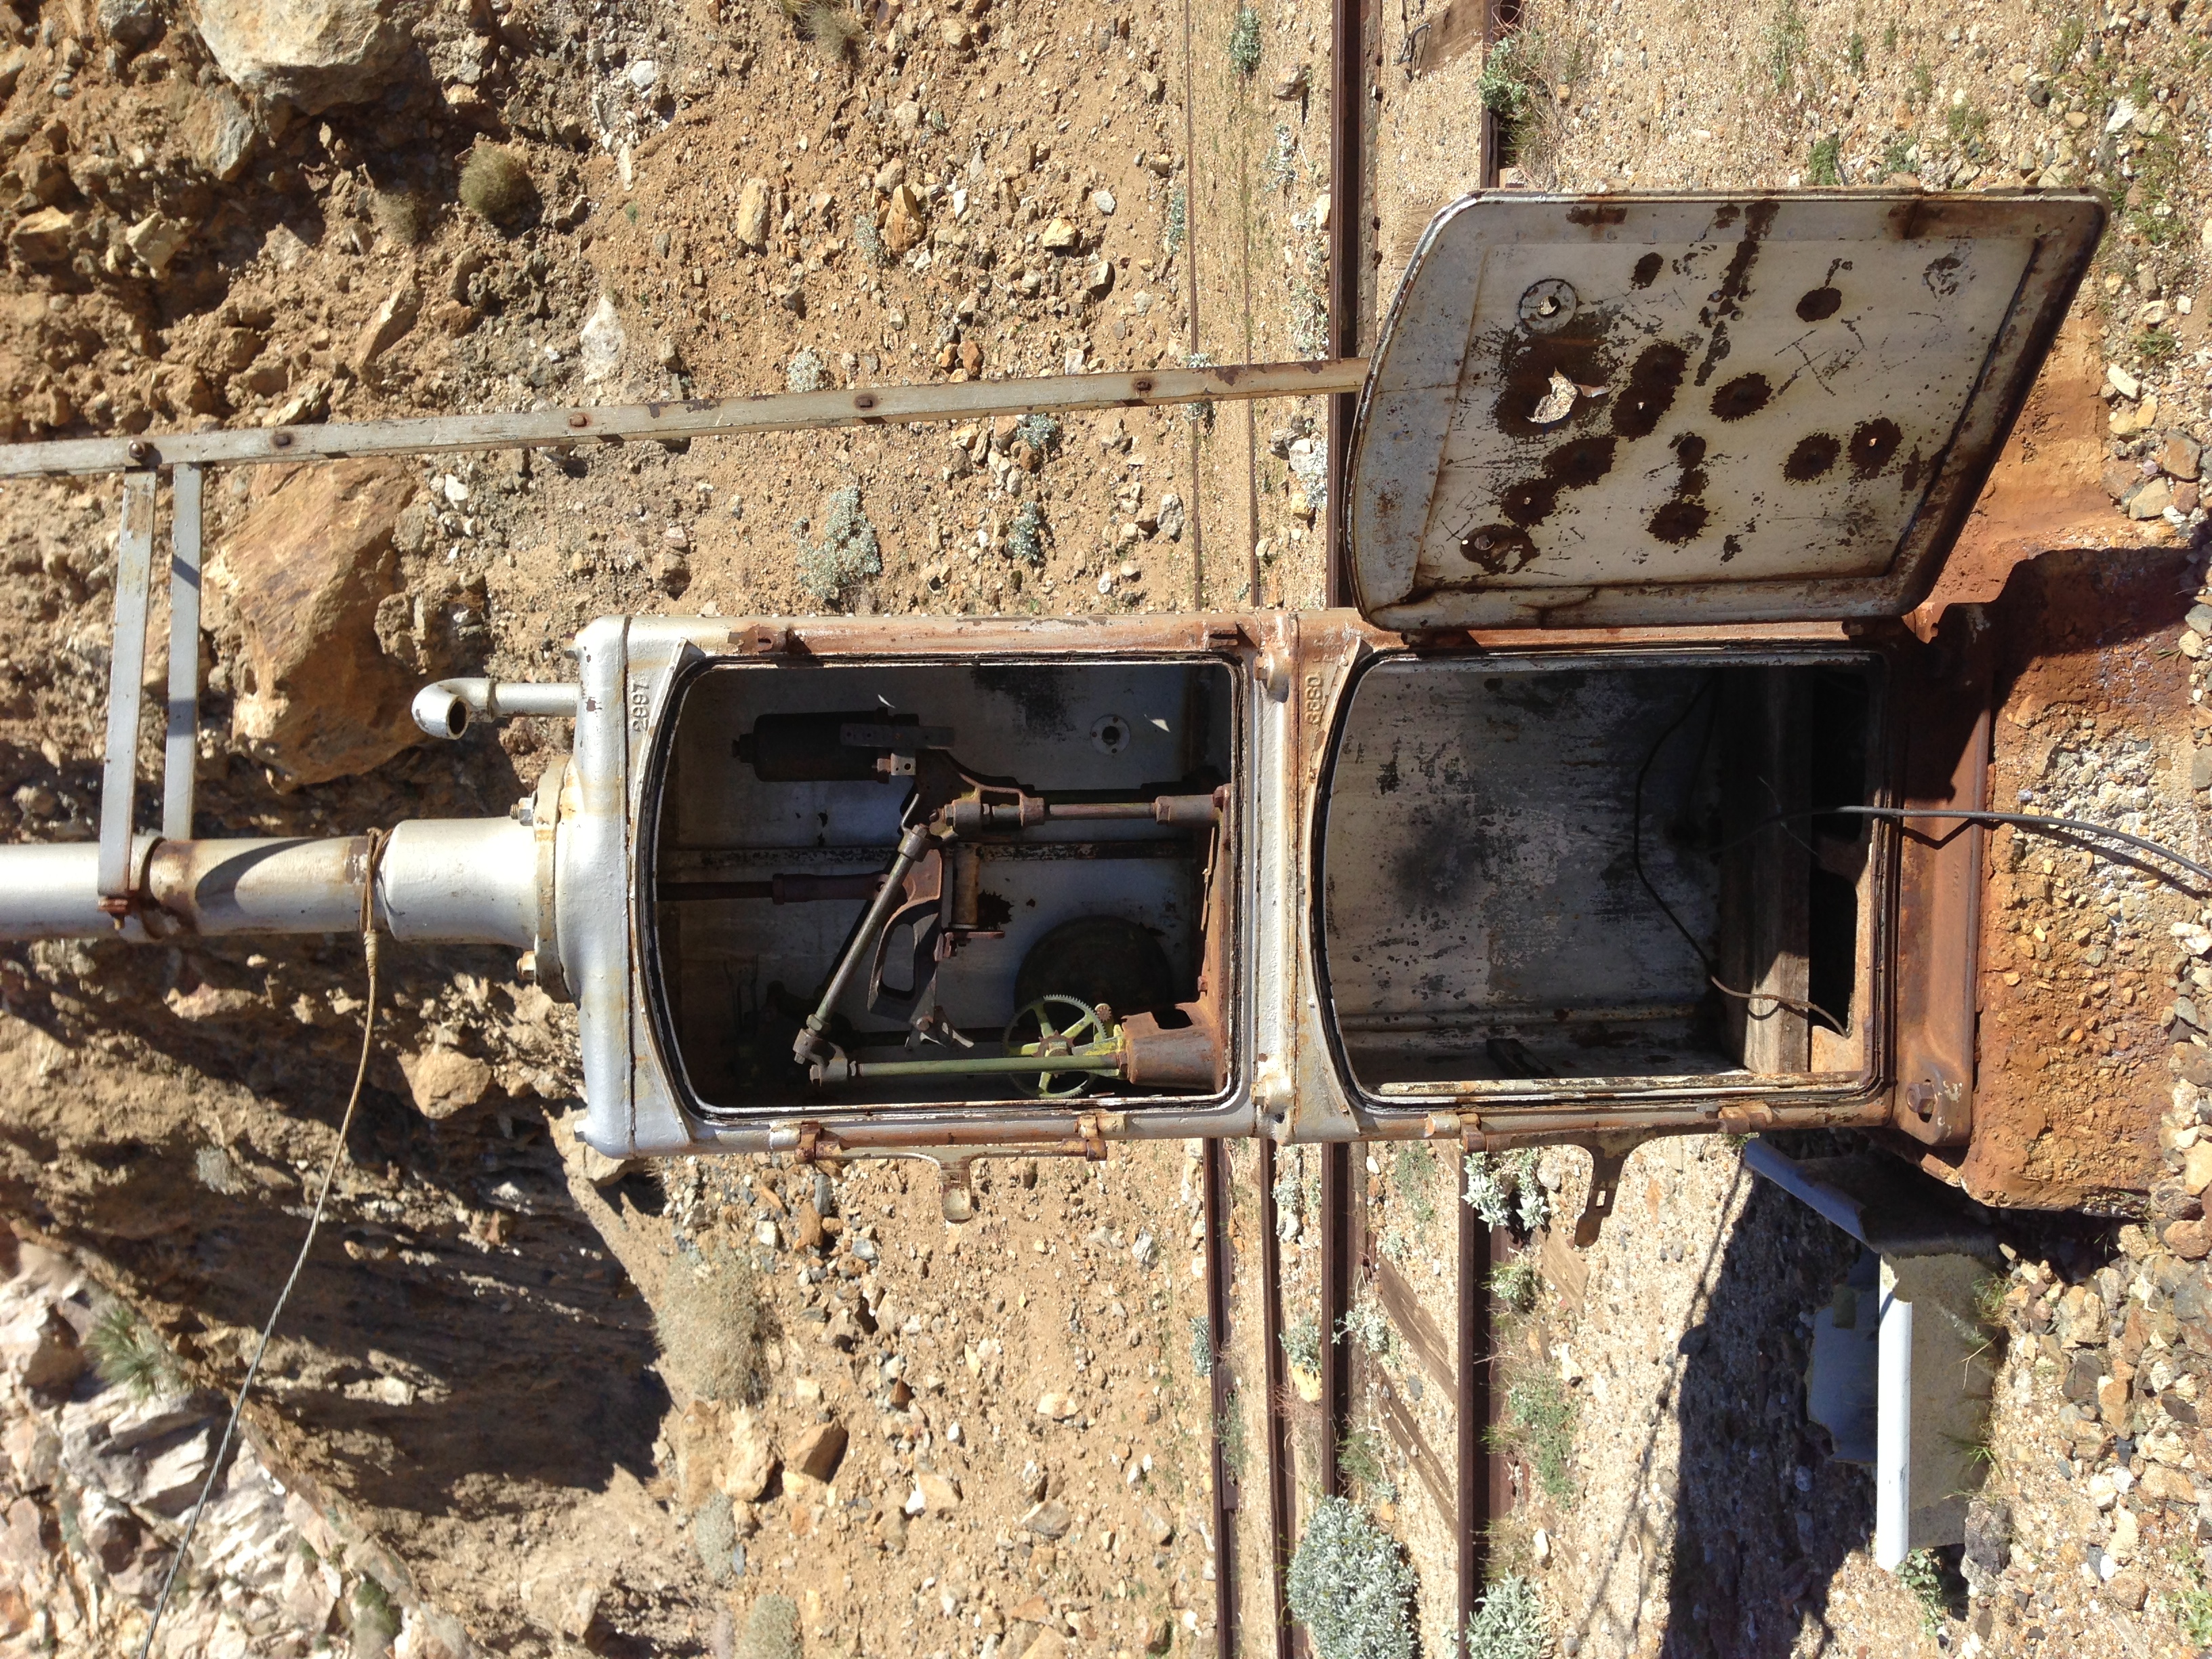
Last Adventurer’s Trail Report and Tips: I did this hike with my good friend Jaime Hernandez of off-road.com (check out some of his work here and here) and his always reliable Land Cruiser. In terms of exploring the desert, I knew Jaime would be a more than reliable partner as we’ve had a number of adventures together from climbing San Jacinto, Rogers Peak, Mt. Whitney, and finding the Blue Sun Cave. We got an early start one Sunday in March, and headed out to the Mortero Wash, as described above. While the wash is rated as a 4WD/AWD trail, I would say that 90% of it is passable by a standard drive car, mostly due to the heavy off-road traffic that the wash experiences that packs the wash into a fairly solid dirt “road”. However, there are two exceptions that require AWD/4WD: first, when crossing the tracks at the old abandoned Dos Cabezas Railway; and at a mile past that crossing.
With respect to the first obstacle at the railstation, the crossing is a man-made ramp of old railroad ties over the tracks. While a workaround probably could be found; the second obstacle a mile later, of several boulders, does not have a workaround. I seriously doubt that anyone in a standard drive car could make it over the obstacle without suffering catastrophic vehicle damage. This is only my opinion, so if you want to try it, be my guest, but don’t say I didn’t warn you. As we were in Jaime’s Land Cruiser, we had no problems at all traversing either obstacle.
As for the hike we had a great time, and it took us most of a day, and here are my tips. Number One: enjoy the flat stretches. No, really. The first section of the hike up the wash? Enjoy it. This, along with the section of trail in between Mortero Wash and Goat Canyon, when you are crossing a meadow, are the only stretches that your legs can relax during, as you will not be either: a) bouldering up; or b) bouldering down. Number Two: when you park at the trailhead, there is a wash right in front of you, tailing off to the North/Northeast. This is the Mortero Wash. To the South-Southwest, there is part of the range of mountains, and a slot canyon. Toward the West there is a low cluster of hills that heads up into the mountains. From the parking area, you want to head down the wash to the North, before following it up into the mountains. You do not want to follow the slot canyon that heads to the South-Southwest. We received this tip from some departing hikers, and it was a great tip, so that is why I am passing it along to you.
Number Three: know how to use a map and compass or GPS. Really. I know I keep hitting this in both posts, but it’s important. There is no maintained trail. The route finding, even with all of these descriptions, online and off, is tricky. While someone has flagged out portions of the route, you cannot count on relying on these flags, as they are sporadically placed, and may not be there when you are there. You also cannot count on relying on directions from any blog, even mine, as if and when you get lost, your “guide” – the blogger – will not be there! I’m also hitting the map/GPS point hard, because even I got slightly lost on the return back to the car.
While we weren’t lost, we were off-route. You can call this Tip Three – A, if you want, but while finding the route toward Goat Canyon across the meadow is easy, finding the route back toward the trailhead is a little tougher. At one point, I led Jaime and I off-route. It’s important to note that since we were still headed in the right direction, it was just a side-adventure, and not use being really lost. Even more importantly, though, during this time we whipped out the GPS to check where we were; and where we were going. I don’t get lost often, so this story is fairly telling: be sure to have a route-finding device that is not just your eyes. Also, Jaime, thanks for being a saint for those fifteen minutes.
Number Four: enjoy your time in Goat Canyon. Really. While the route overall is rugged; Goat Canyon is particularly rugged. Don’t let that ruin your trip. Enjoy it! There are some very interesting rock features within the canyon that you should appreciate, rather than worrying about your ankles and knees as you hop from boulder to boulder. Number Five: watch for snakes in Goat Canyon. This is self-explanatory: you will be traversing an area with no trail and lots of rocks and brush in the desert. Keep one eye on your footing; and one eye out for snakes! Number Six: this is a strenuous hike – be prepared for it. On the surface, four miles sounds like an easy hike. But think about this for a moment: you’re traveling up and down some serious slopes all day in the desert, and there is no trail. All of these factors make the route/trail challenging. You will be hopping from rocks. You will go through some brush. You will be navigating. This is rugged country; and even though I don’t usually use the term, I will use it here, this is a strenuous hike. Four miles may take you four hours; or in the case of Jaime and I who explored, seven miles may take you six hours. Be ready for the challenge, and have lots of water.
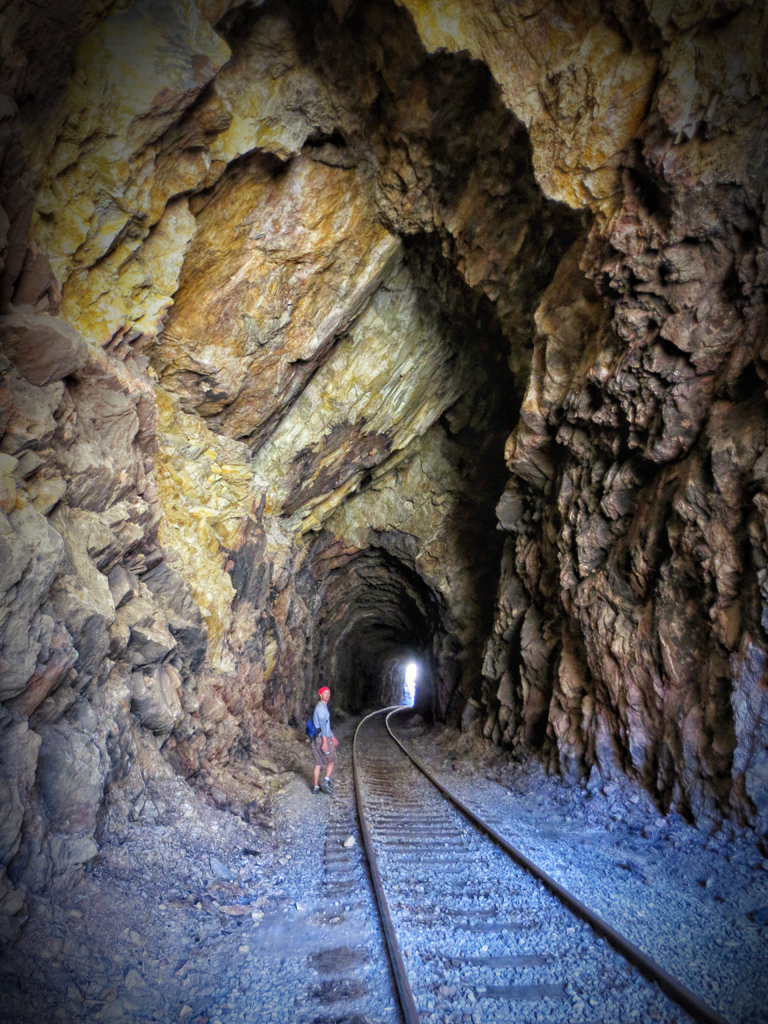
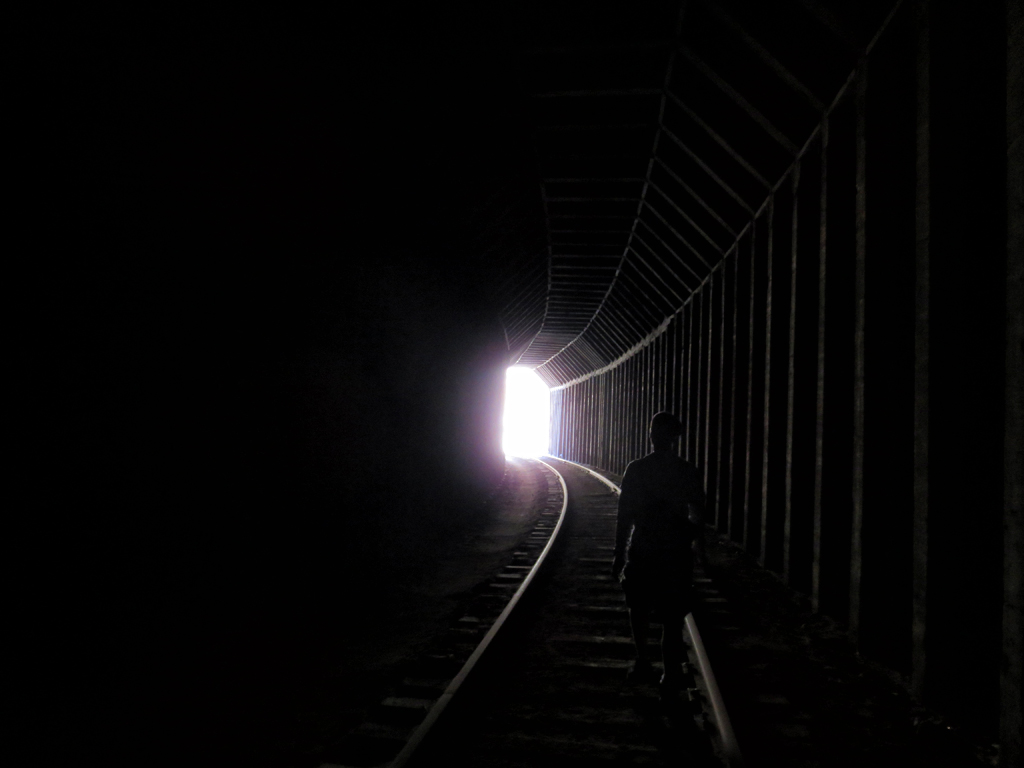

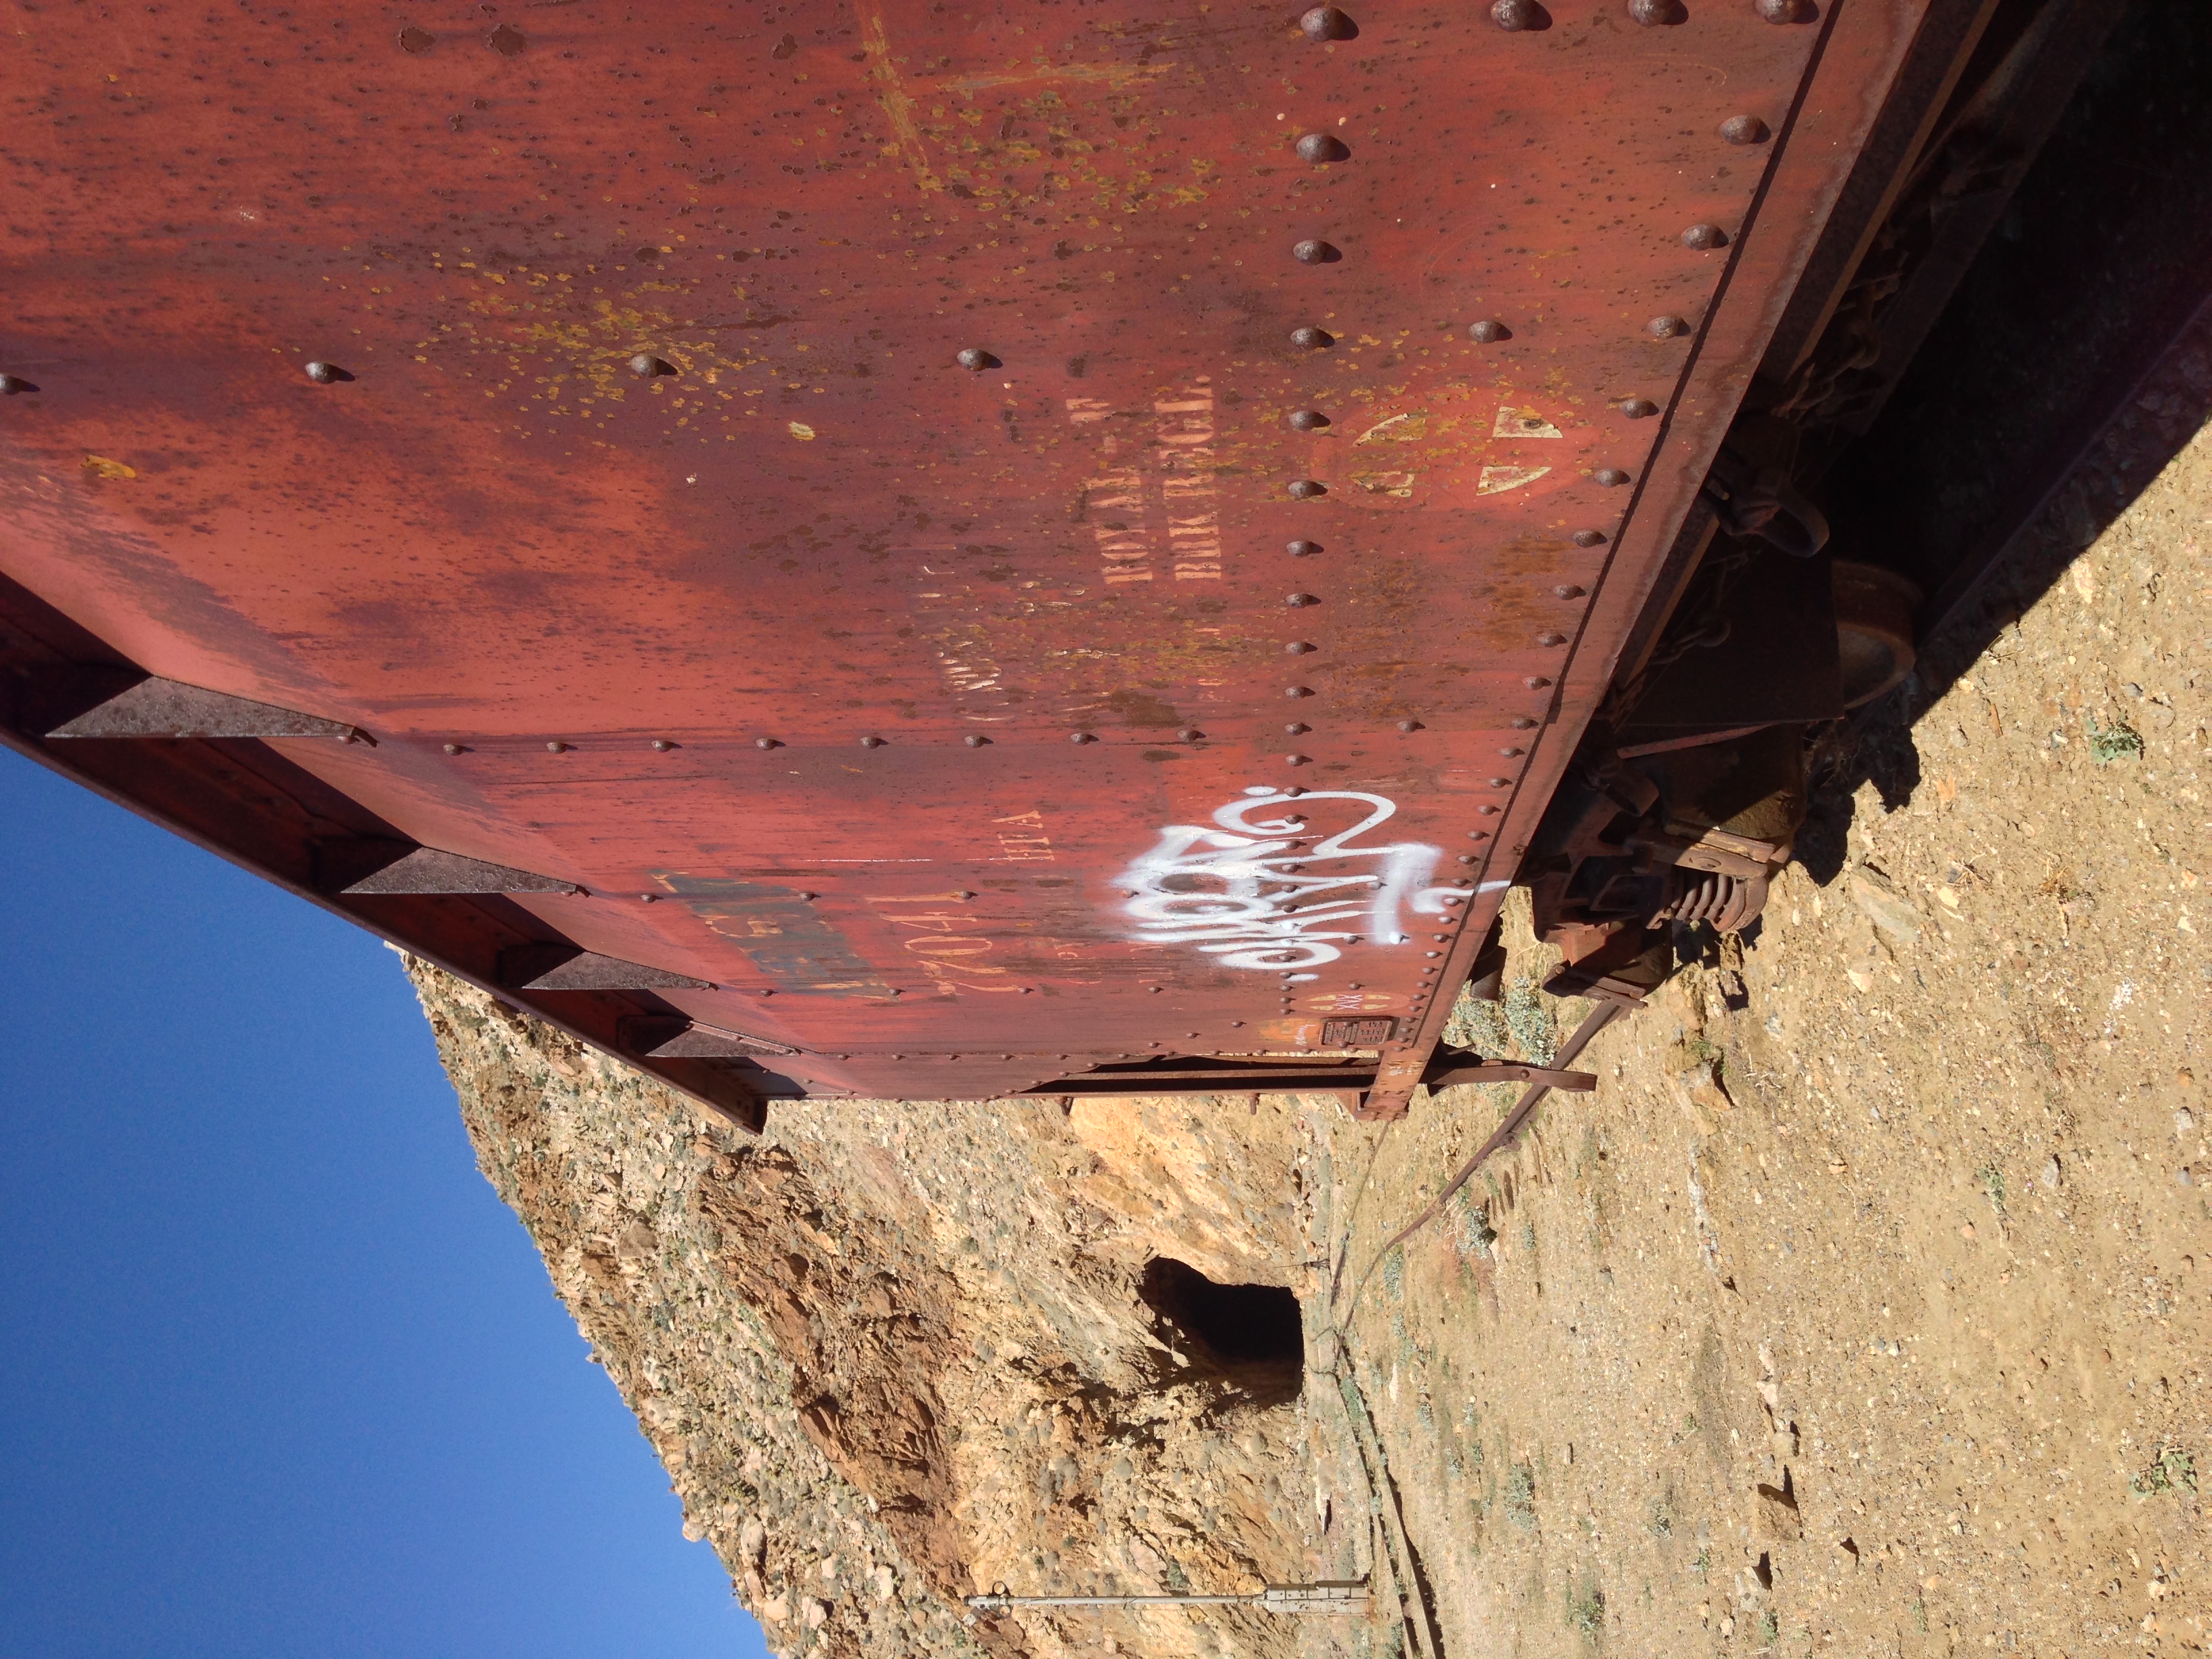
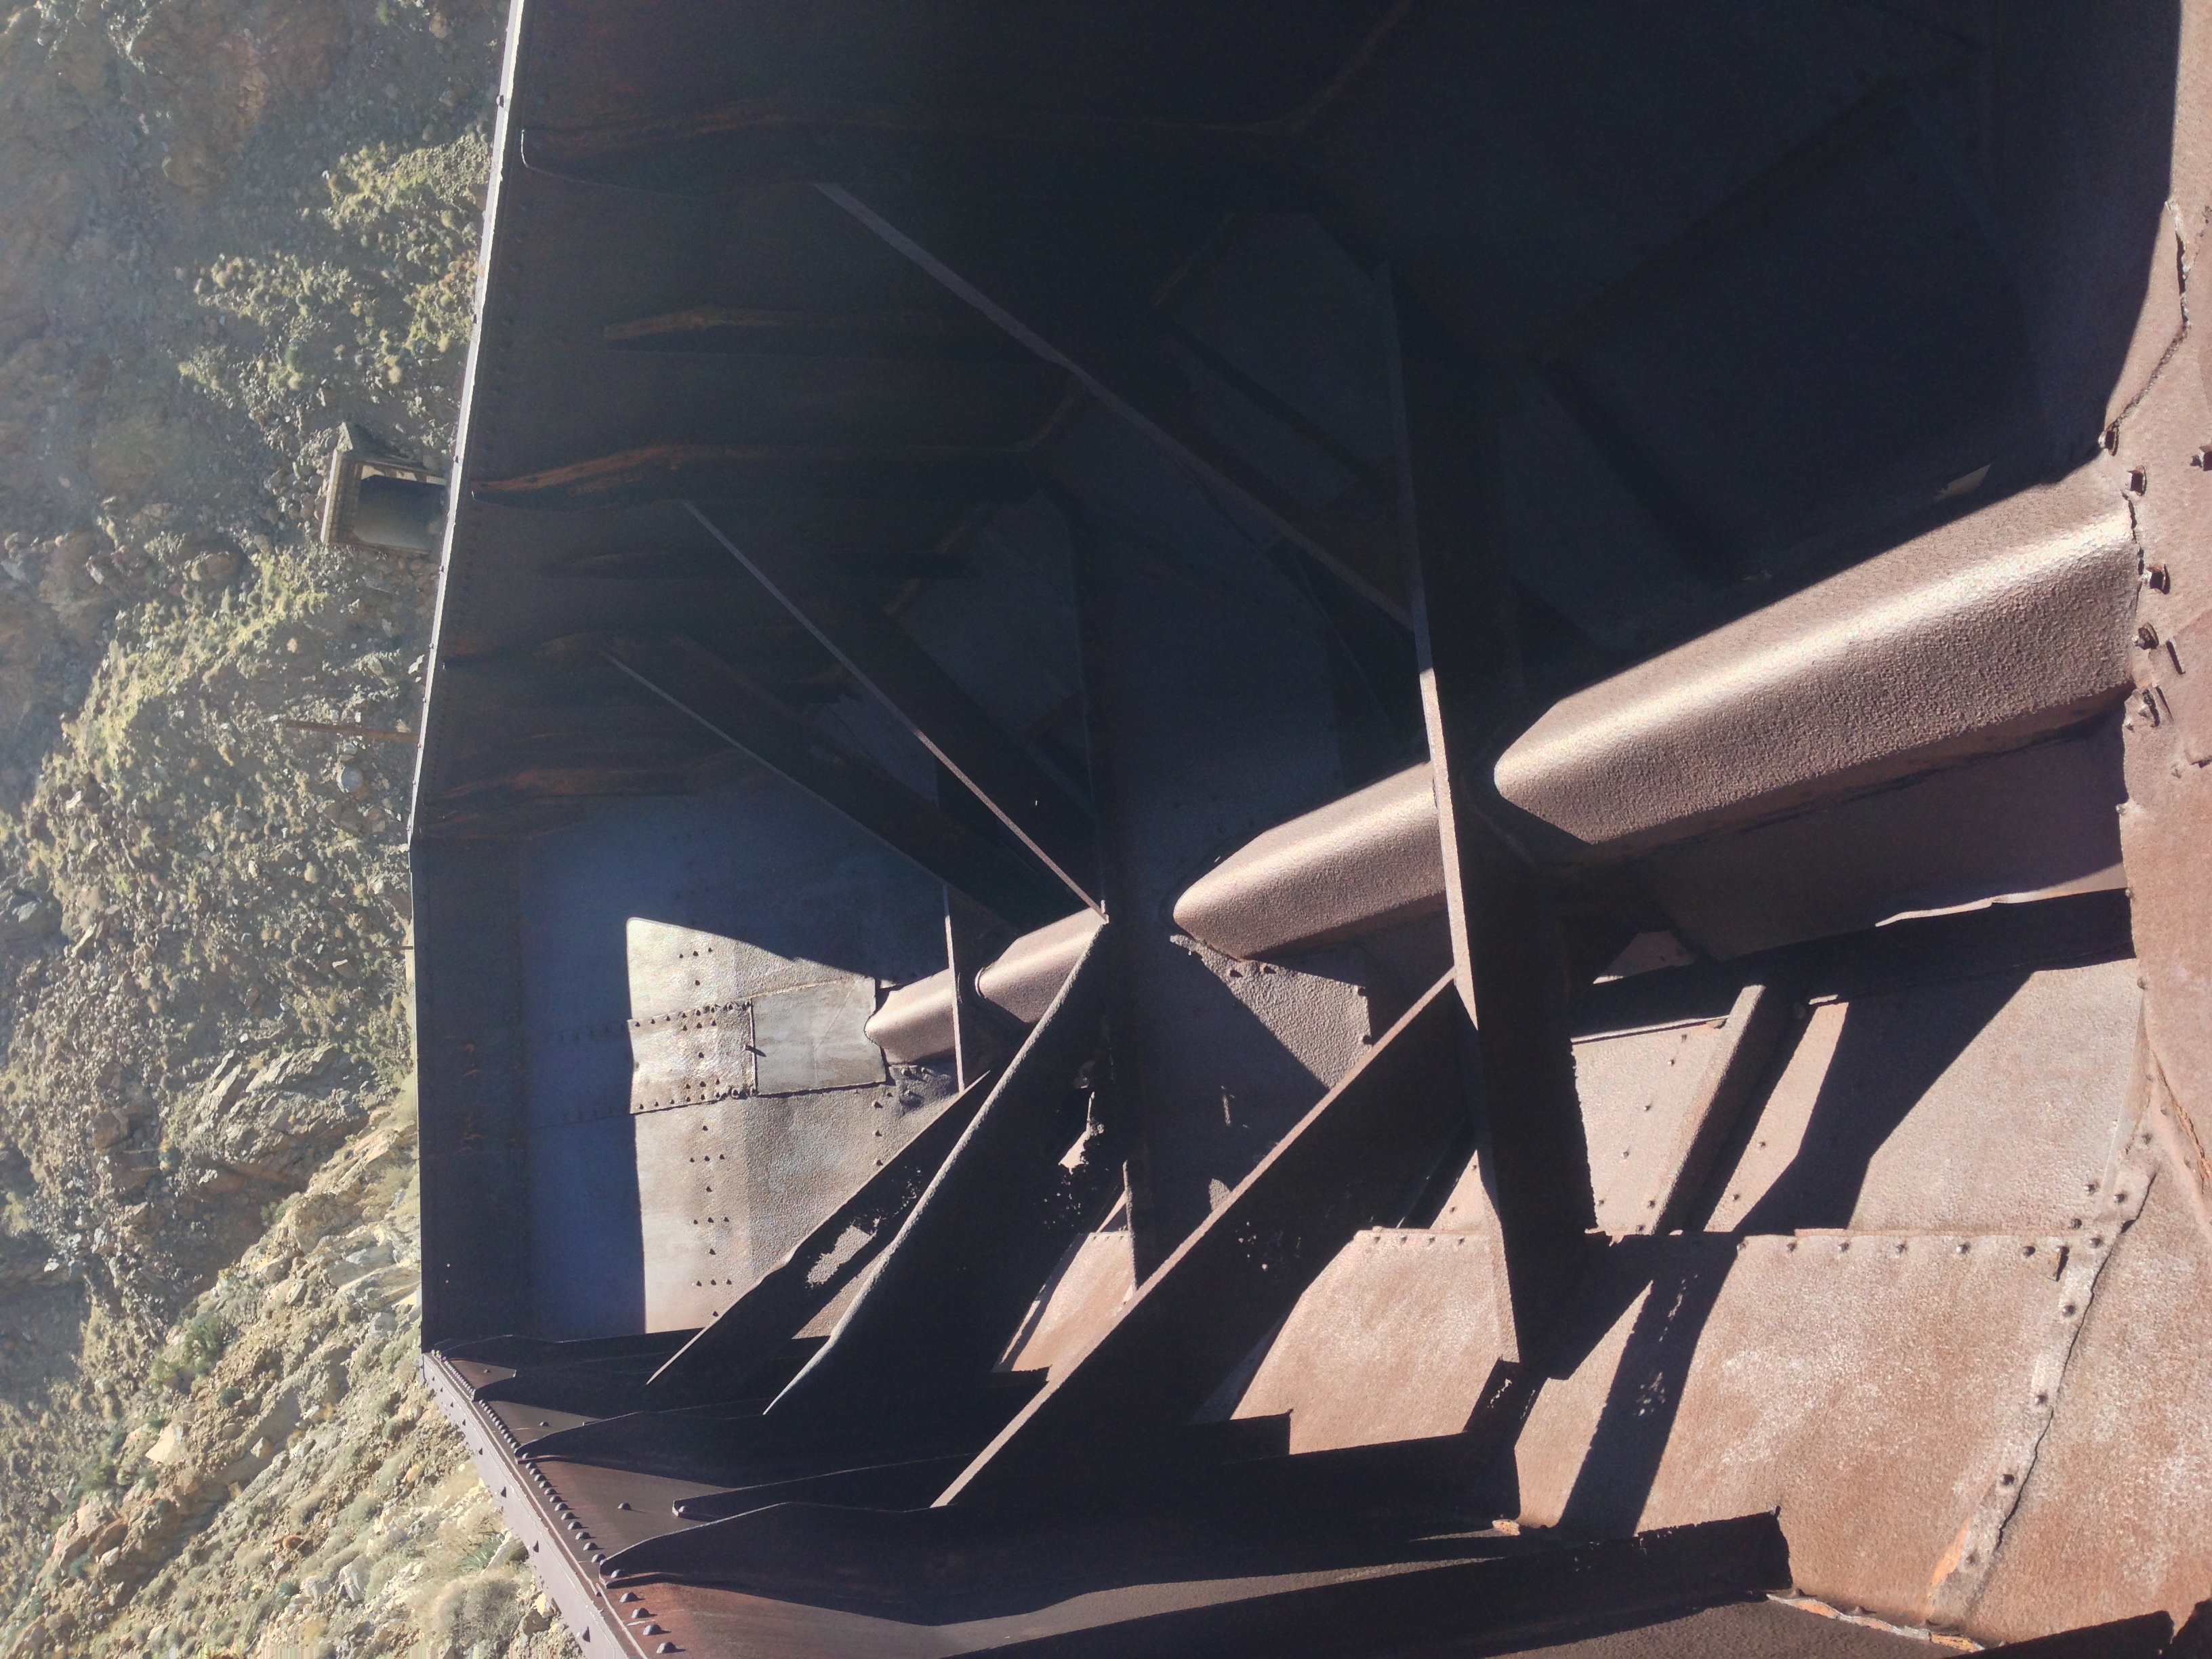
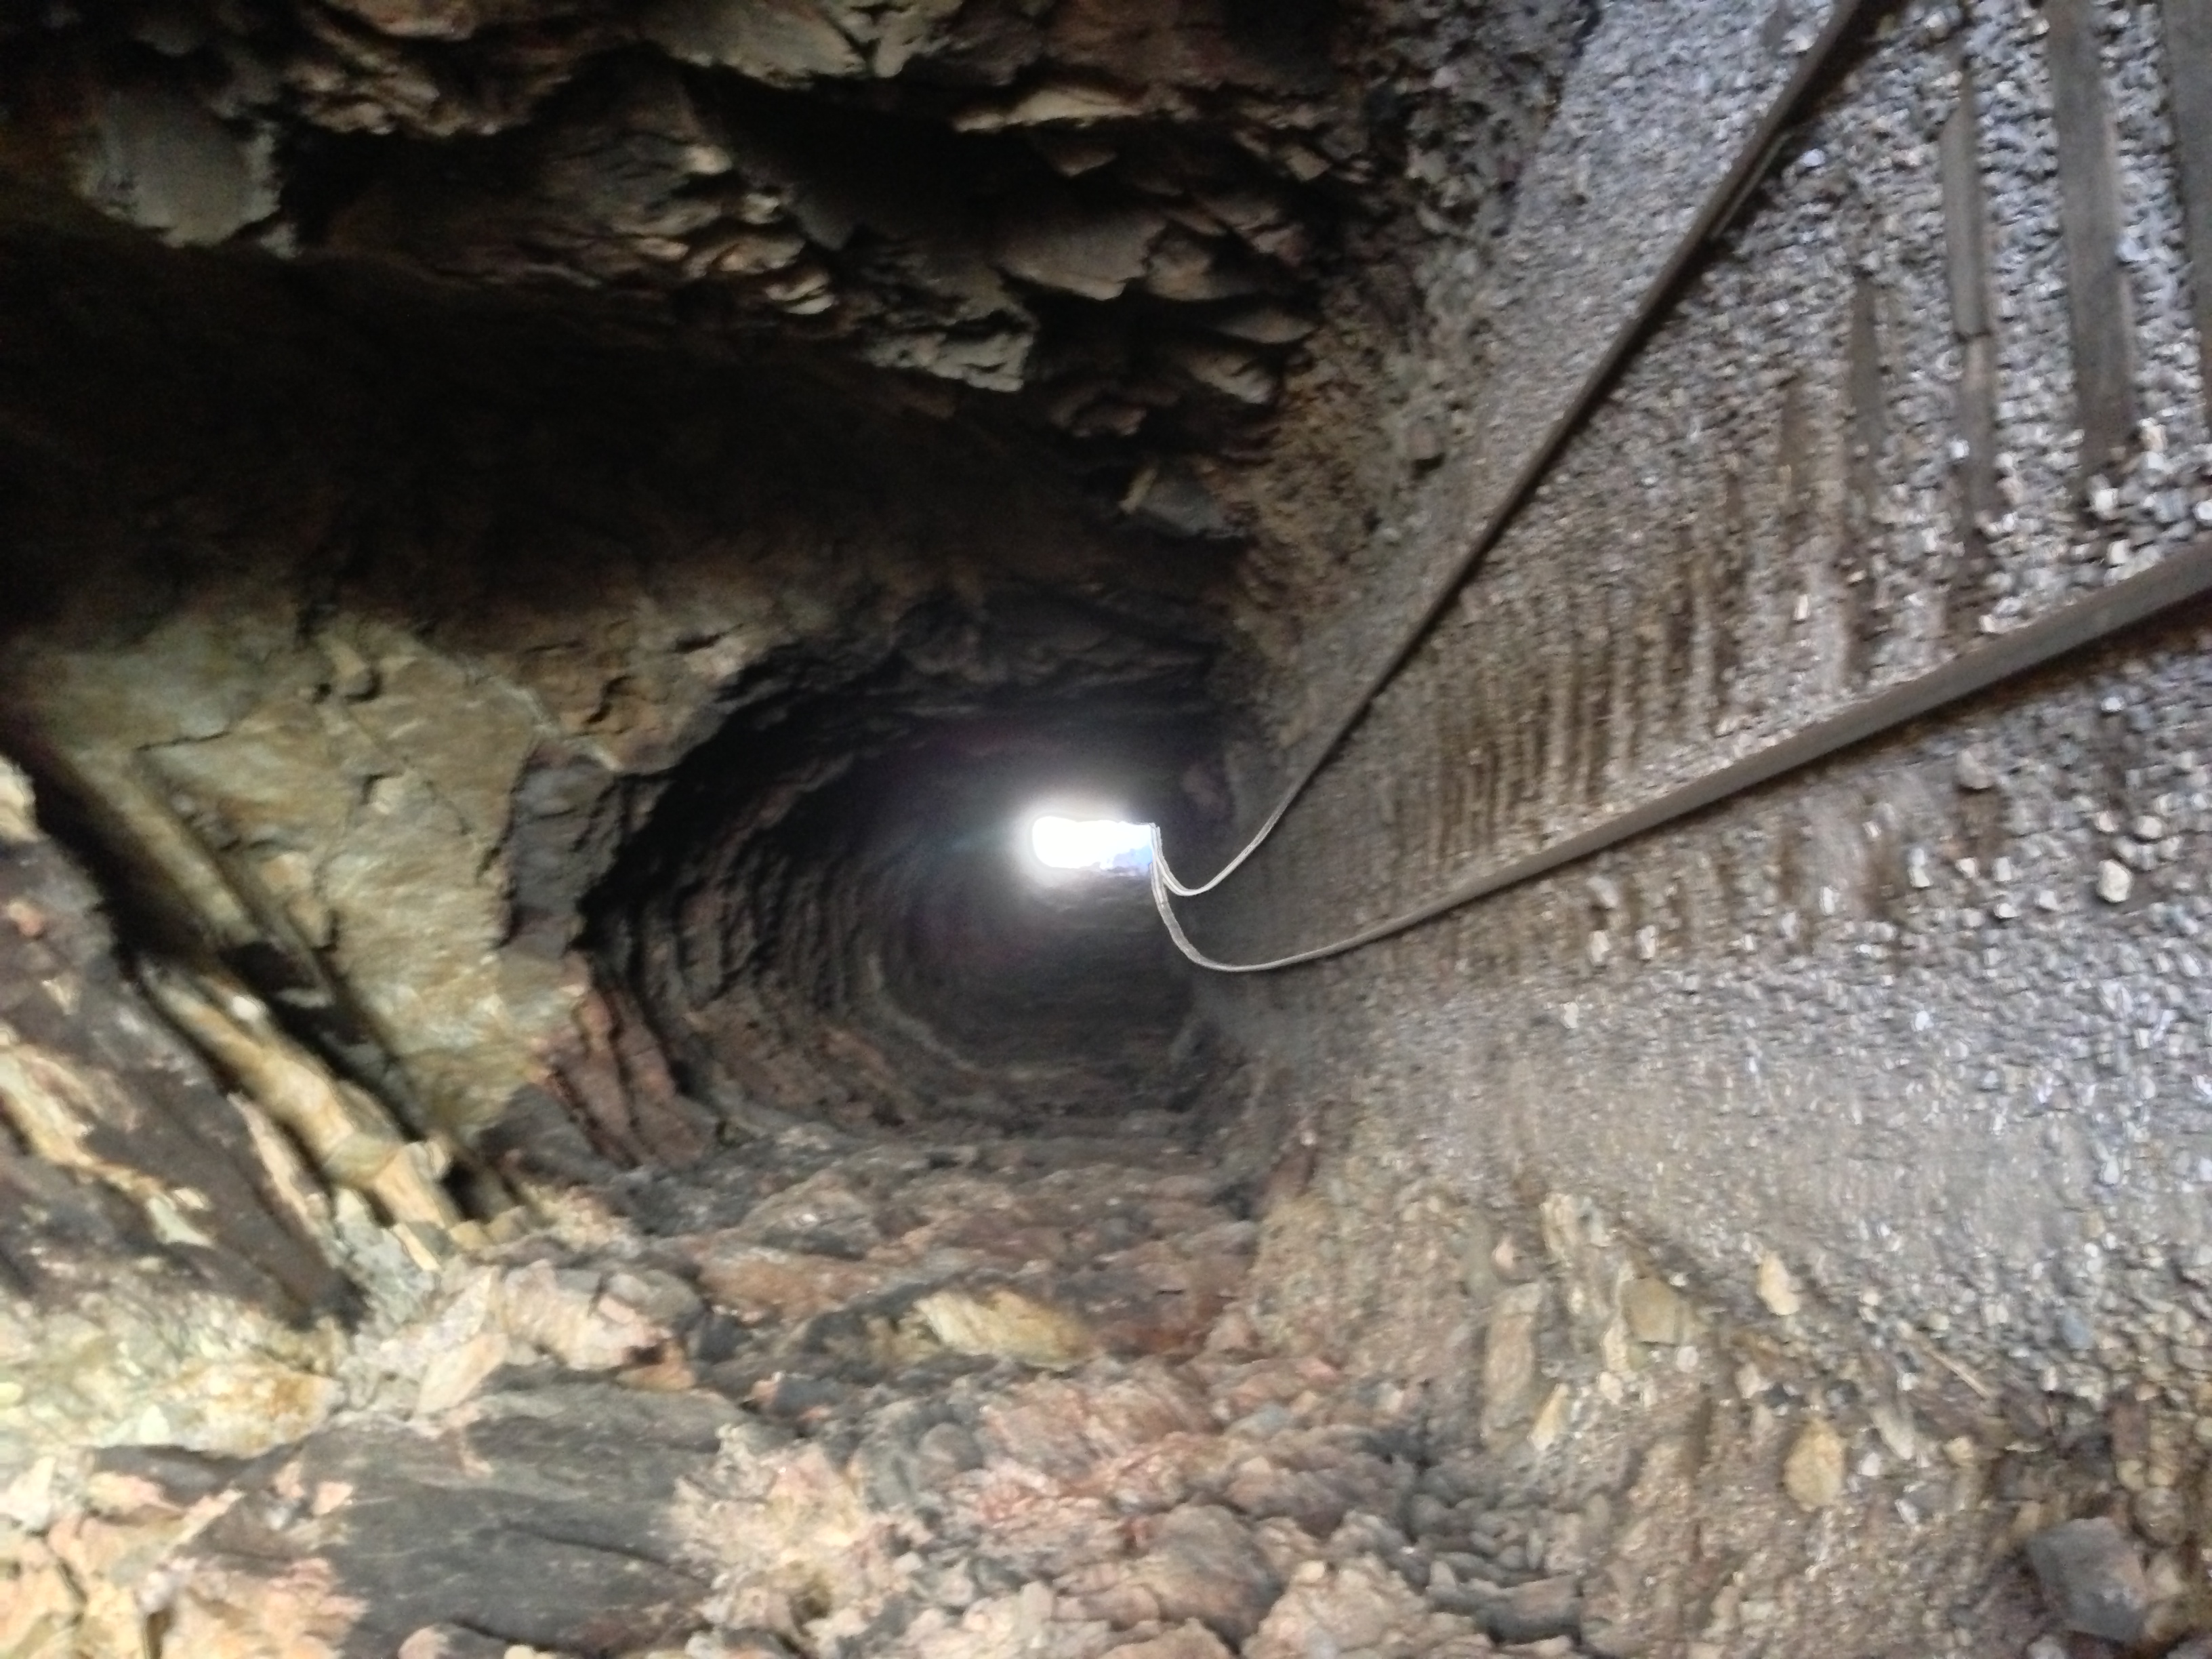
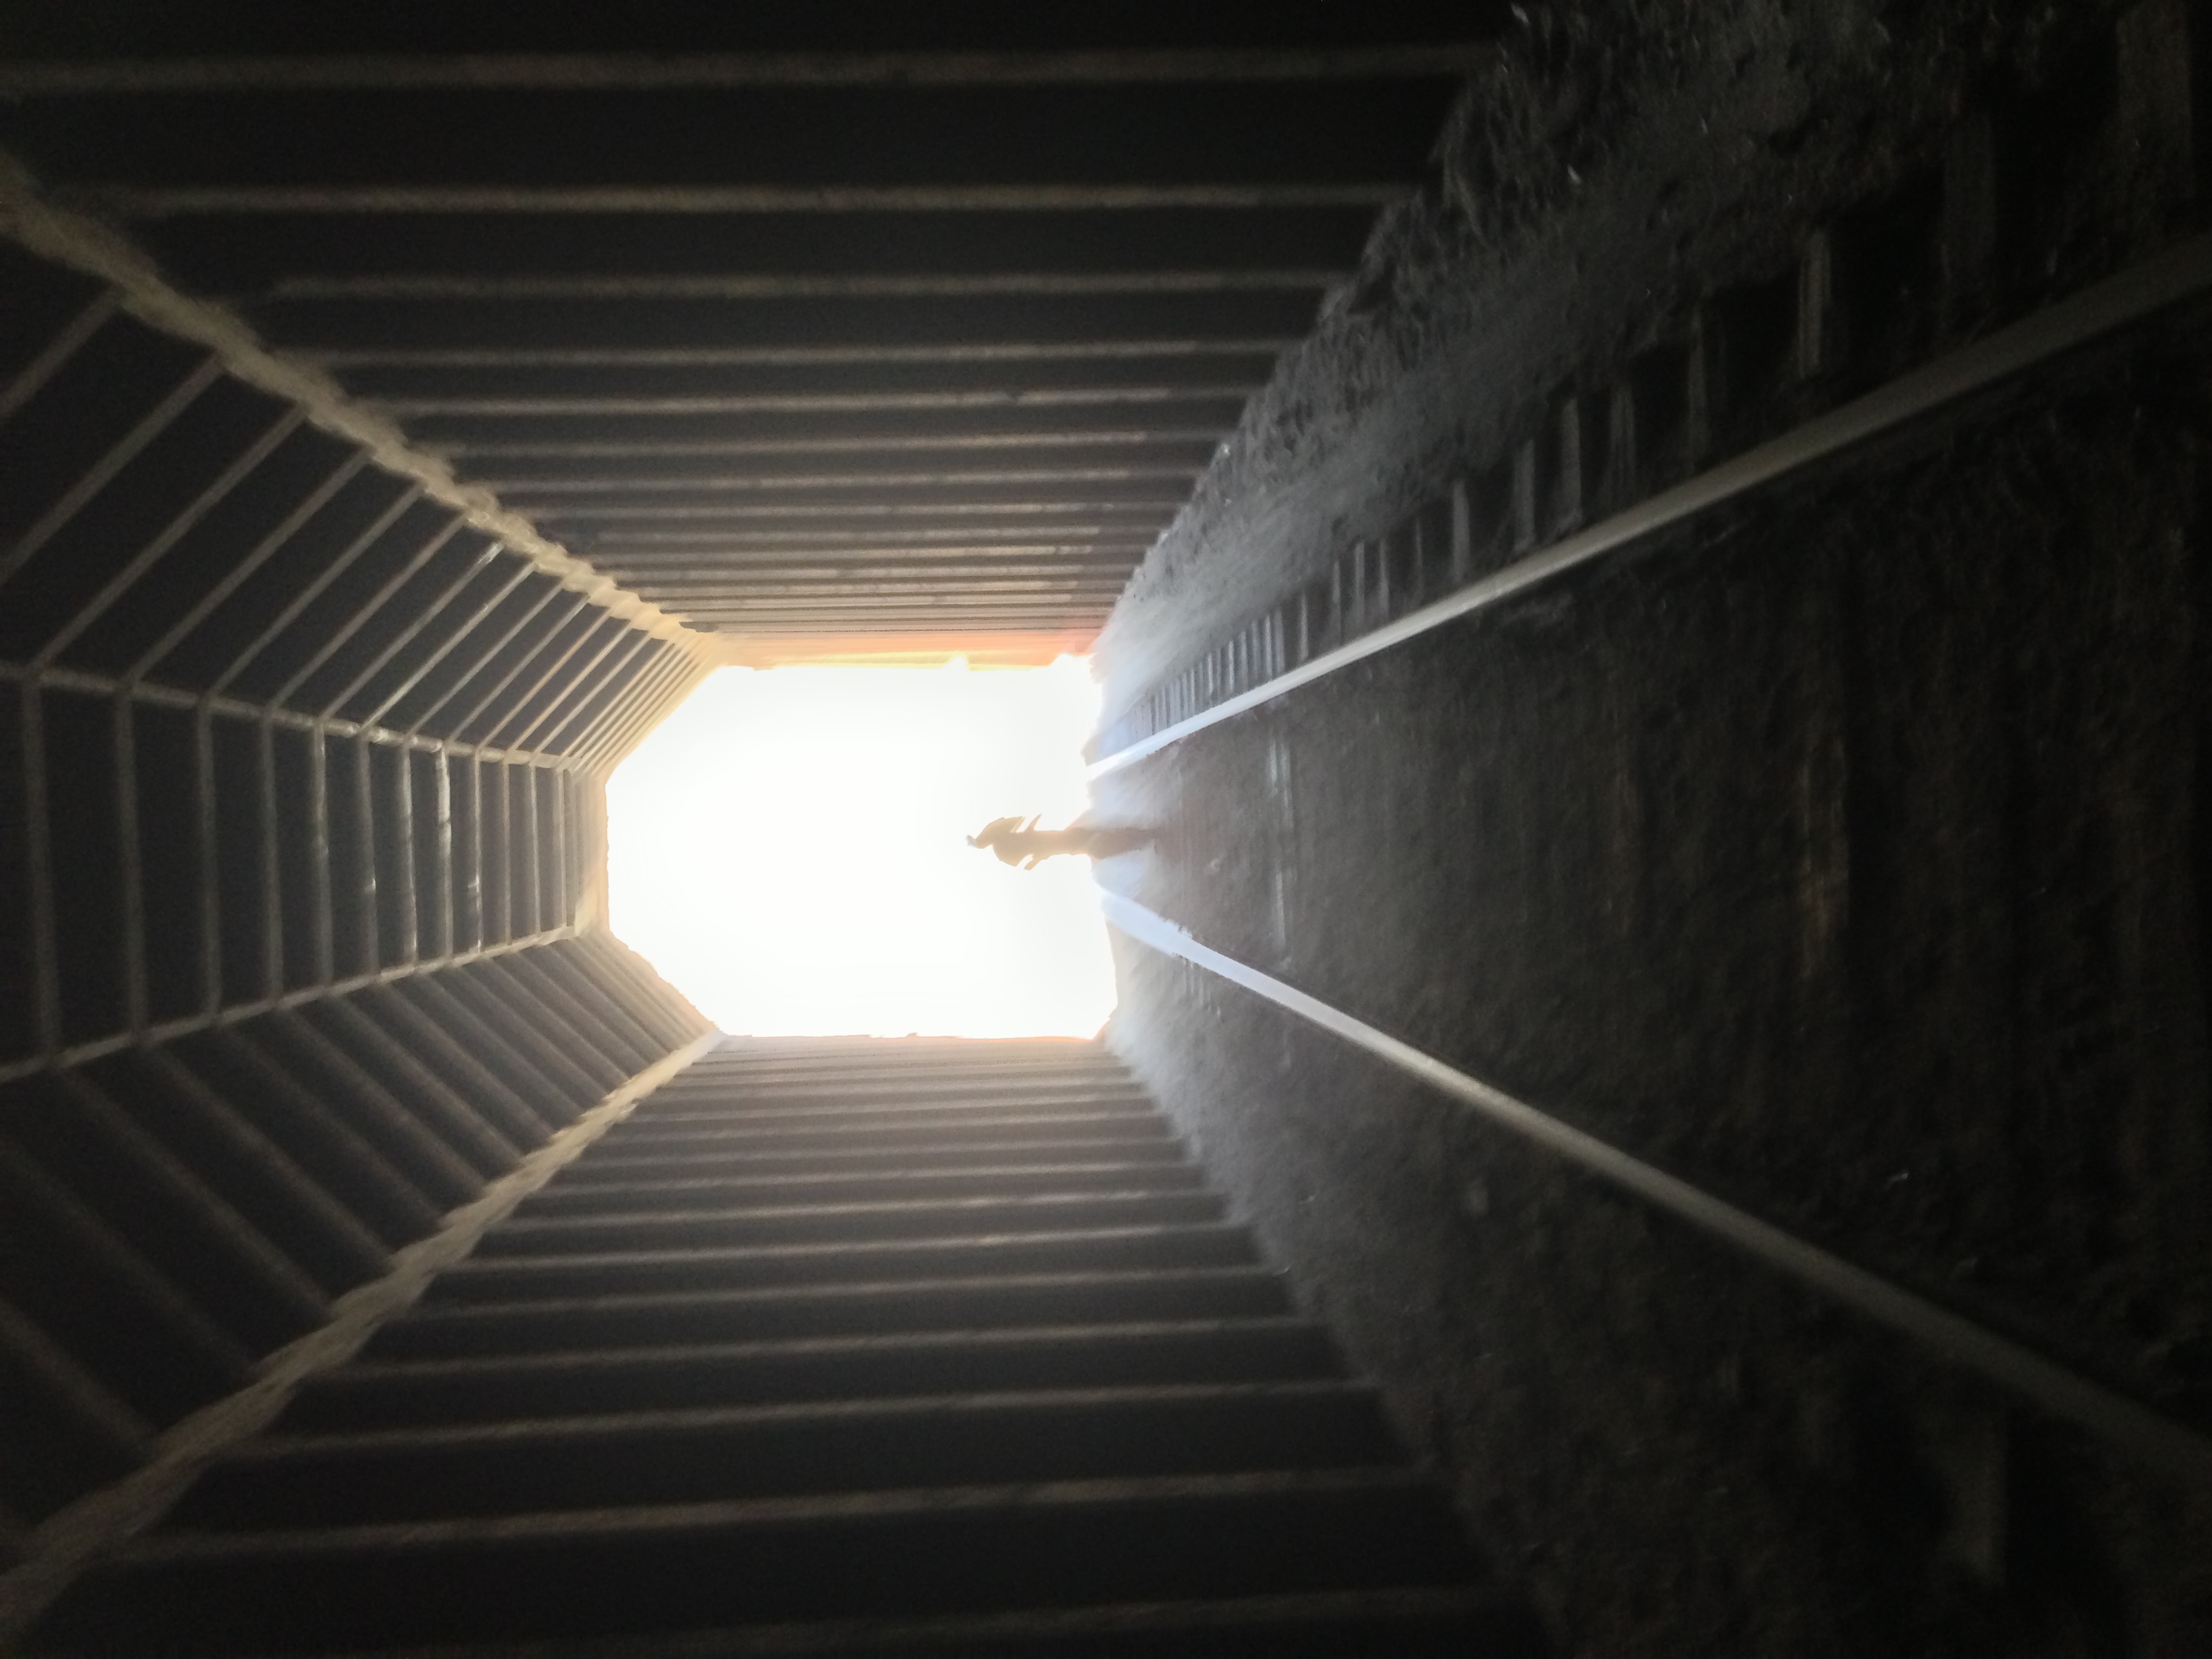
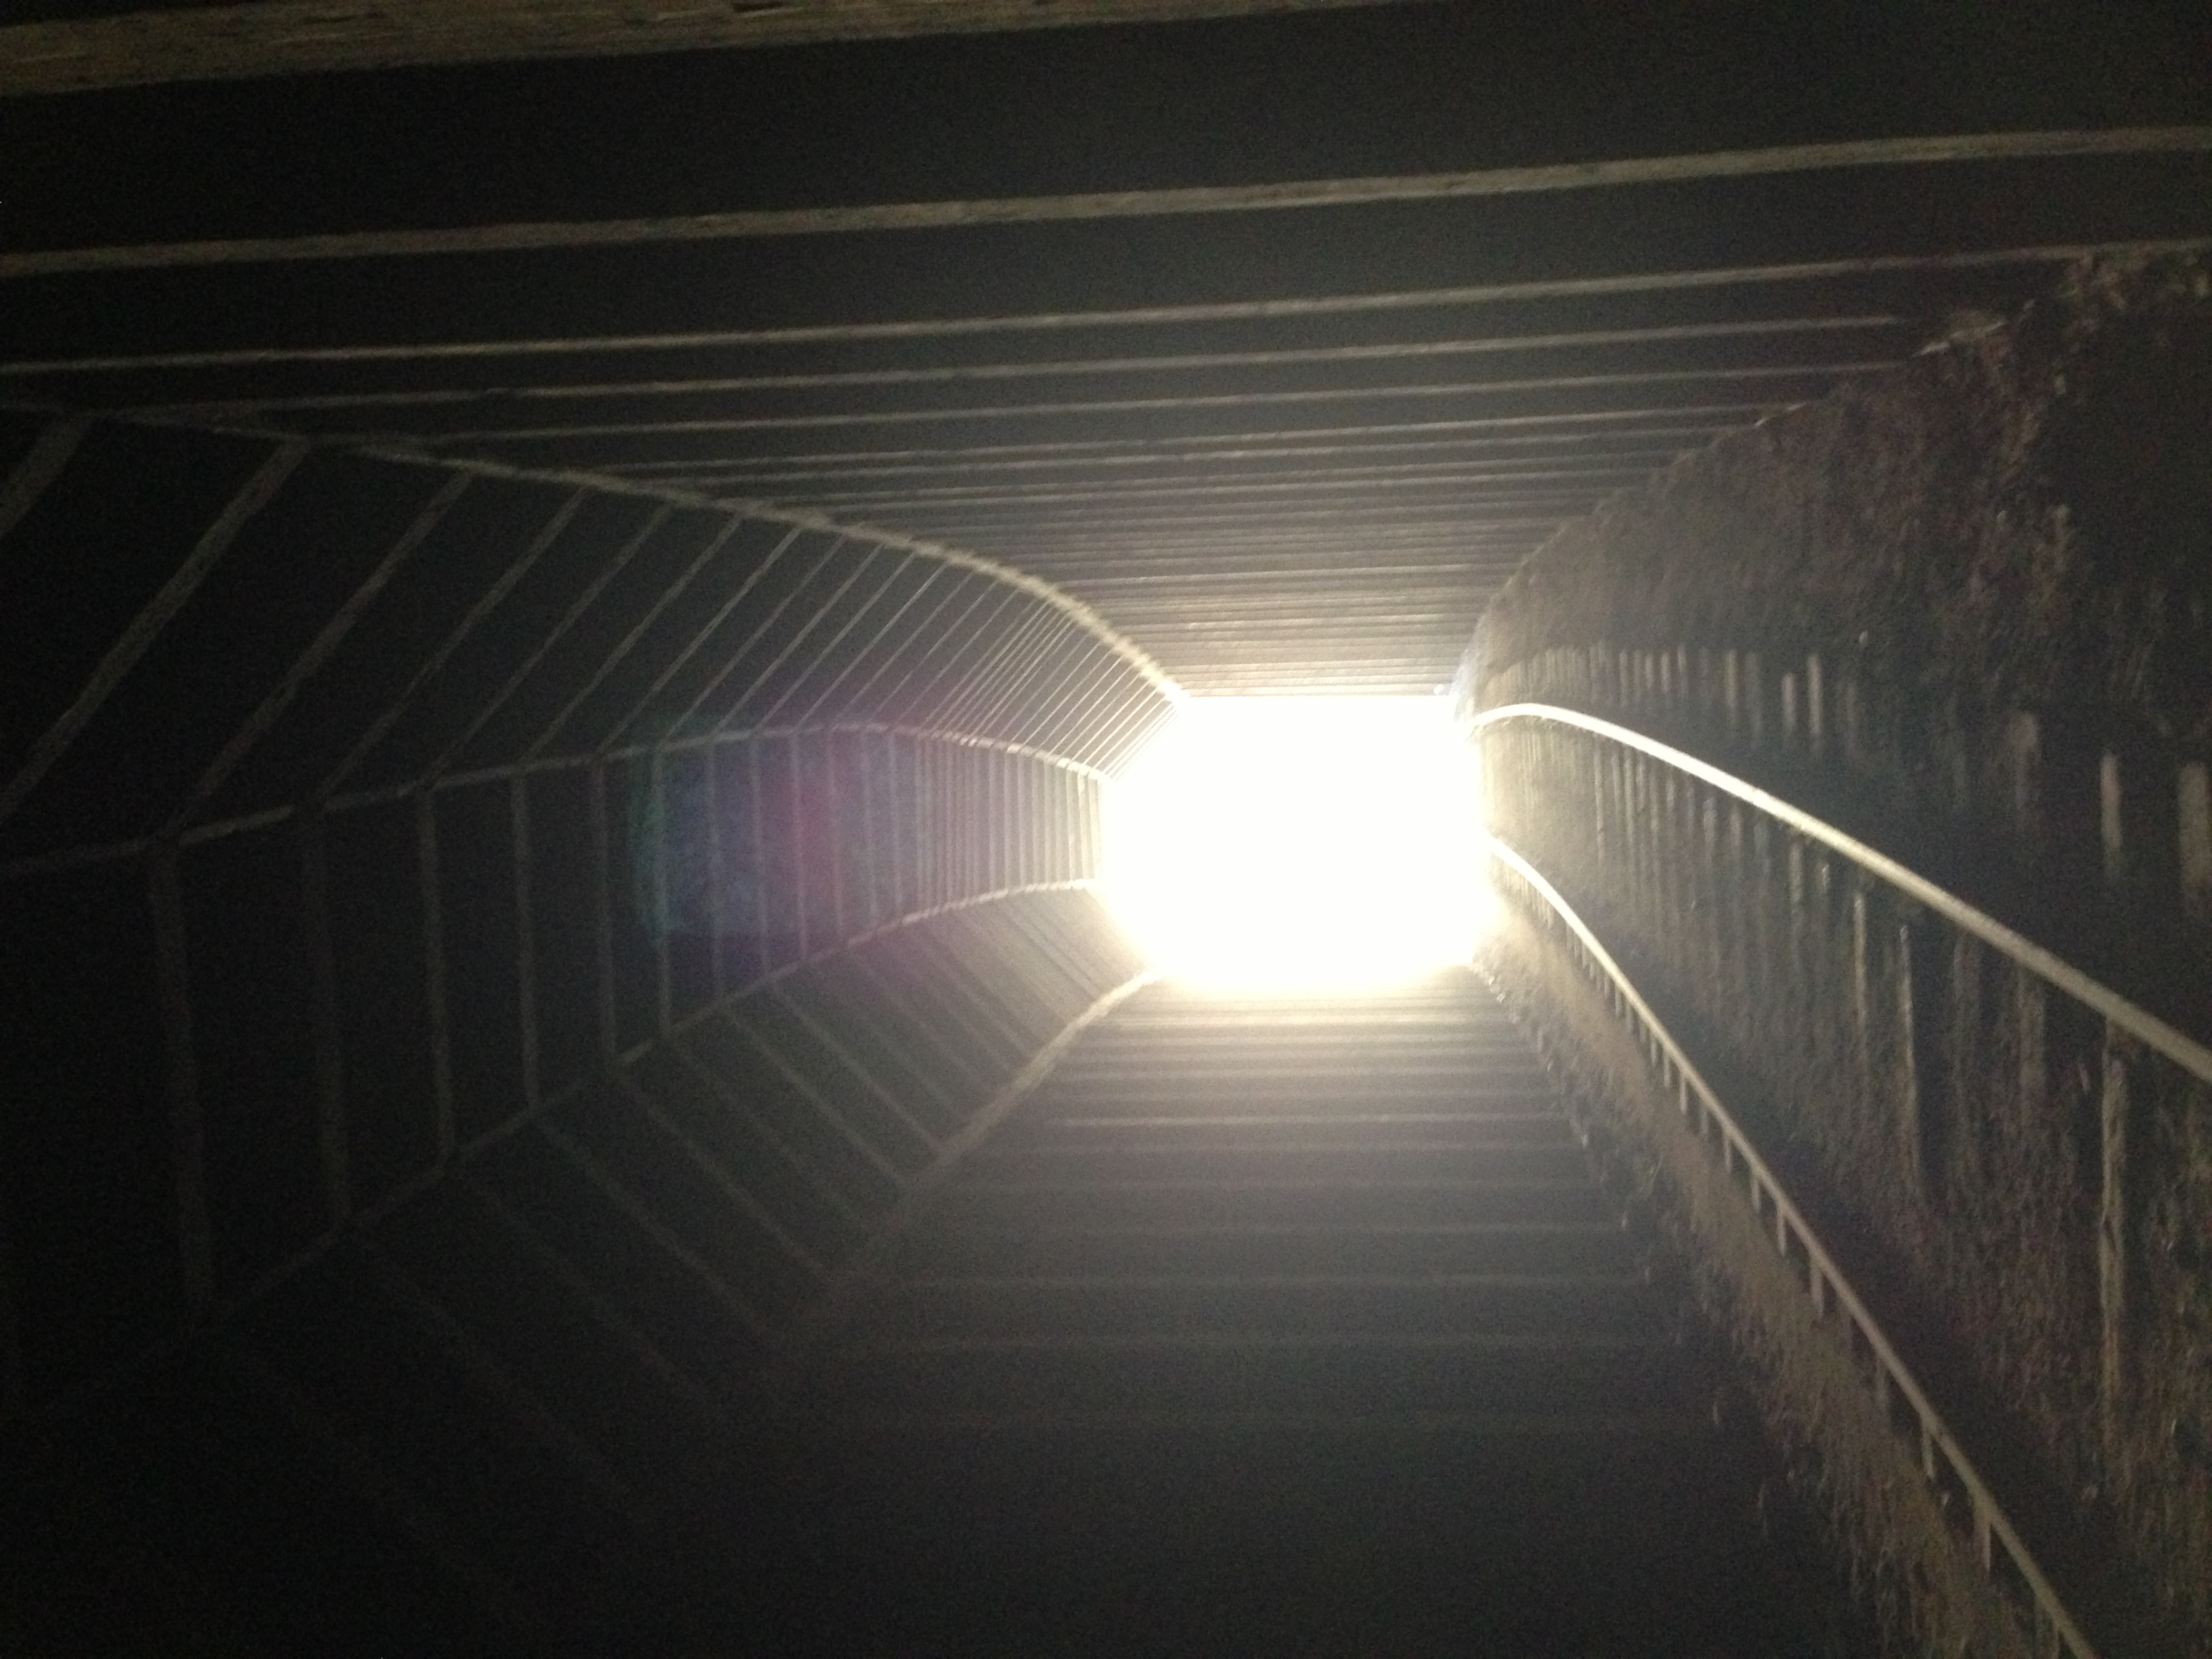
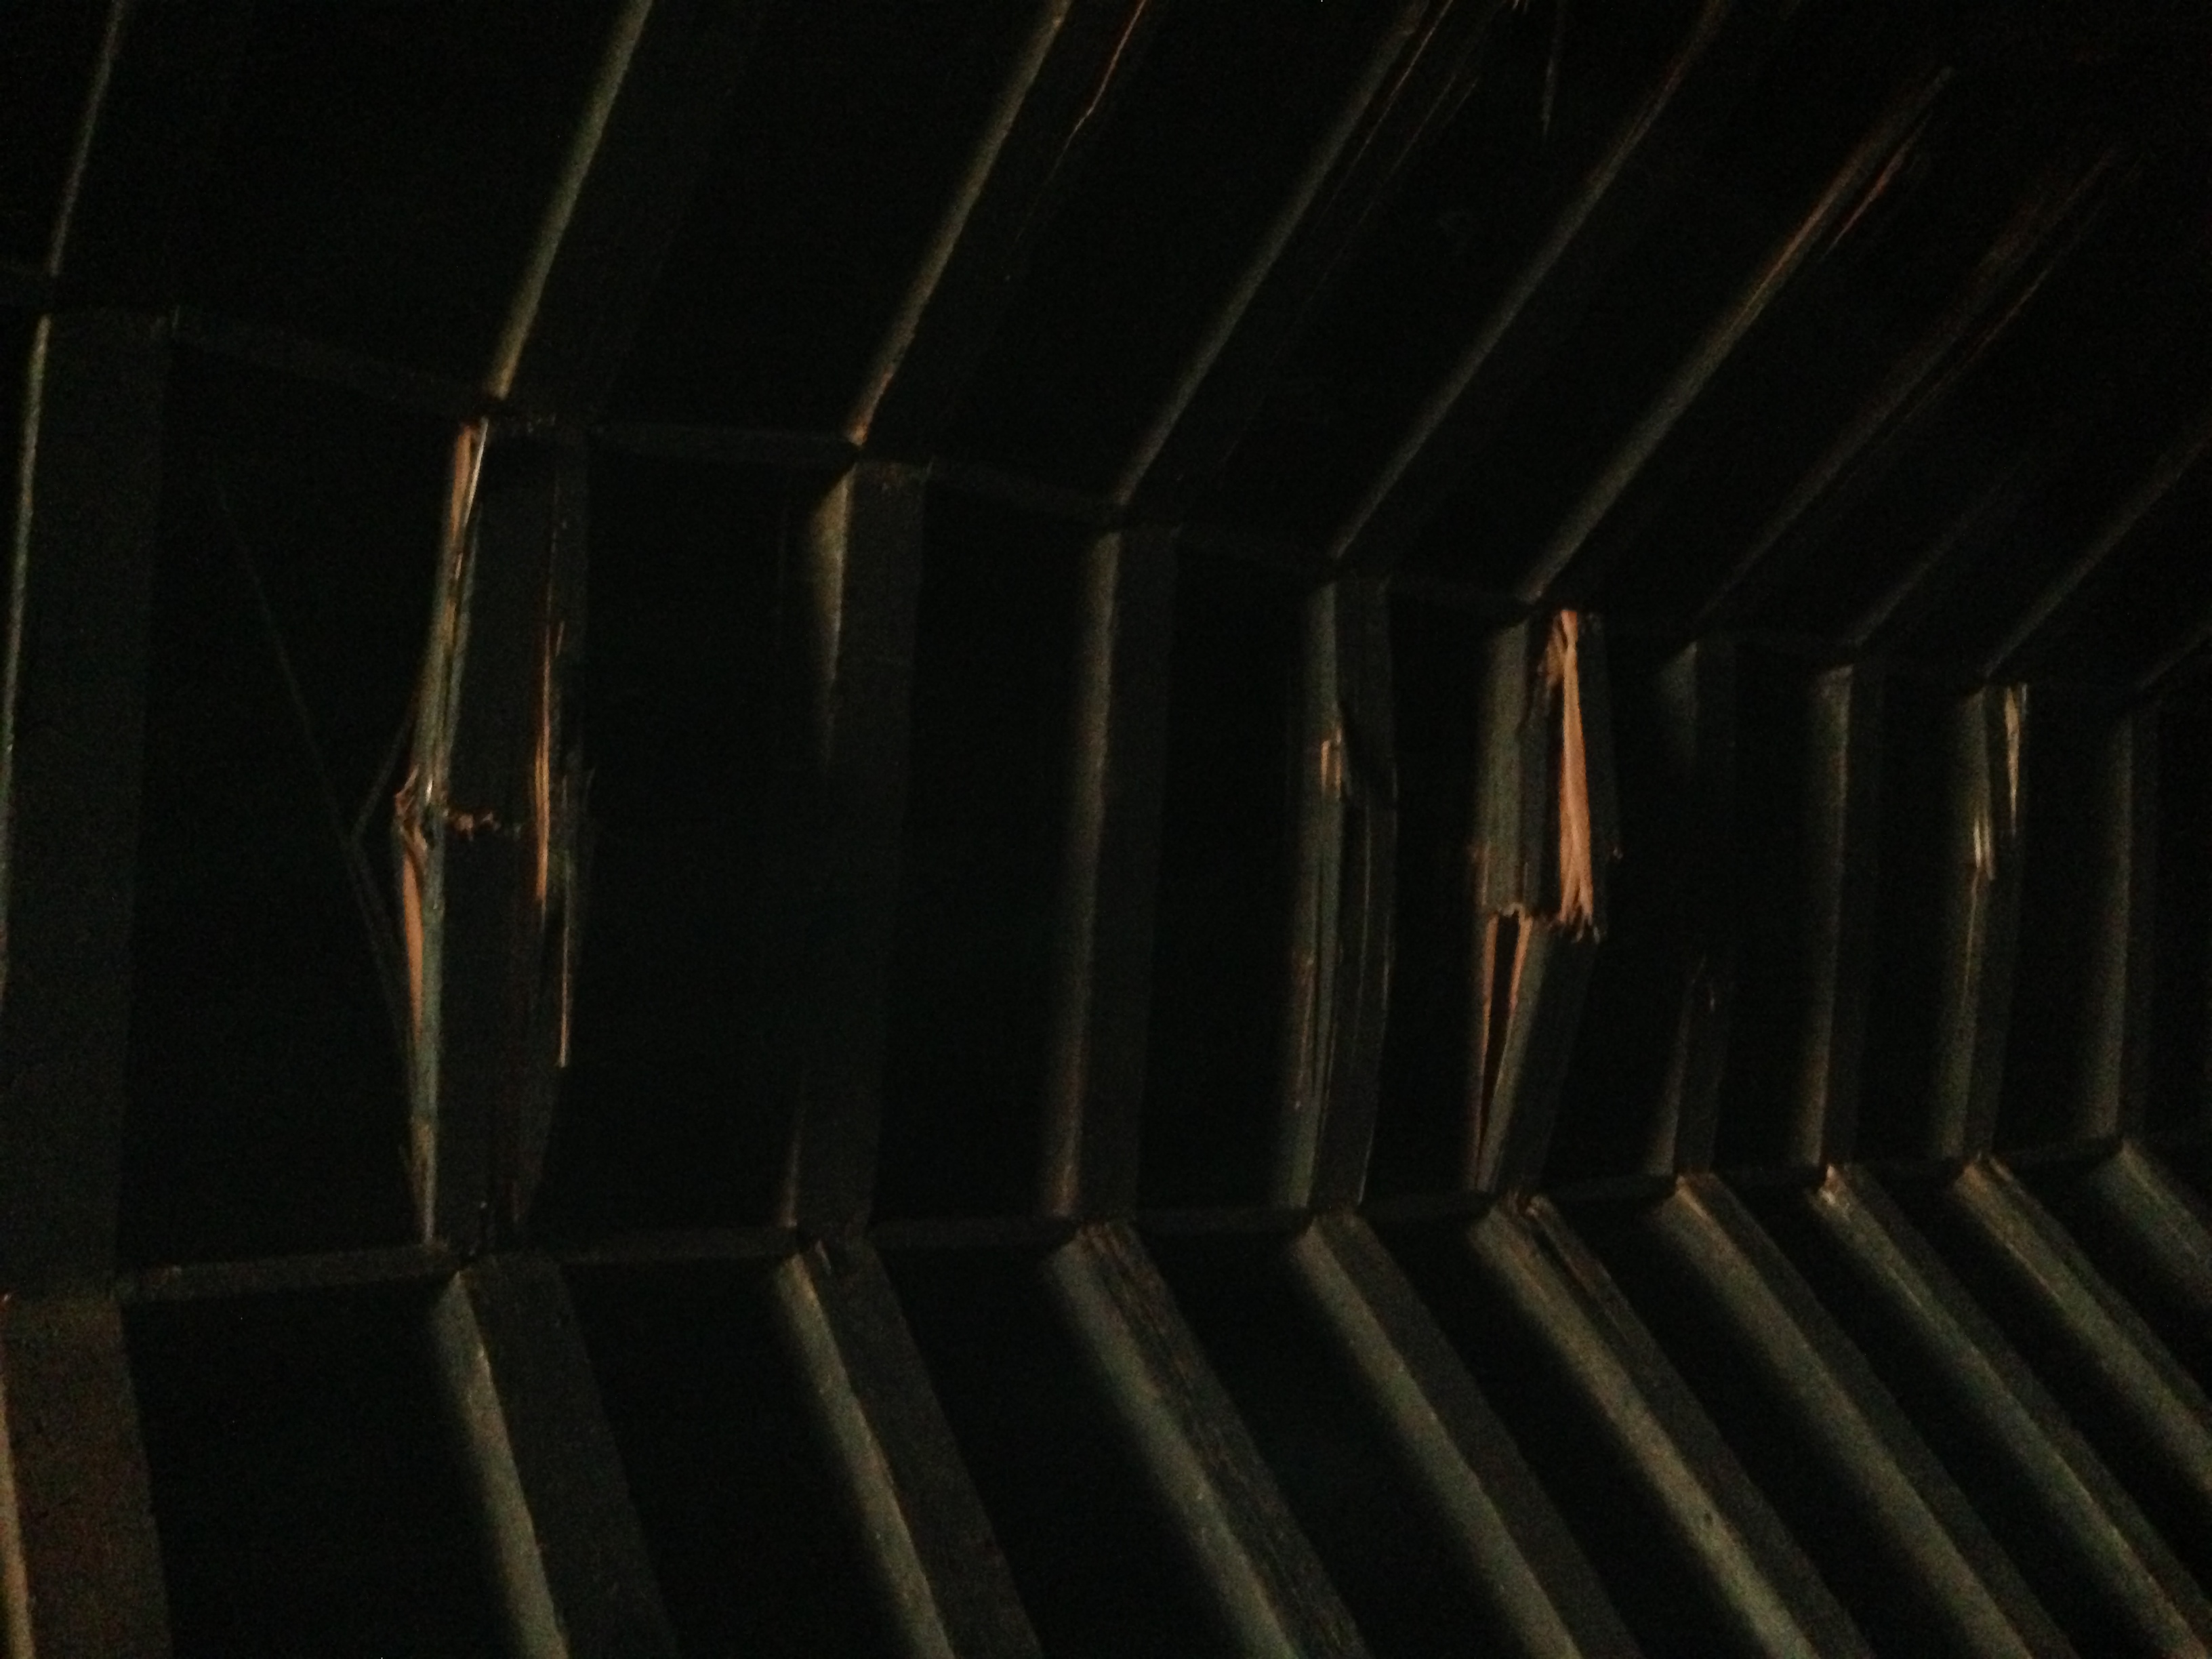
Number Seven: this tip is the most important, which is why I saved it for last – be sure to explore. Sure, the hike is strenuous. Sure, it’s rugged. But save the energy – and time to explore. As I talked about yesterday, this is an area with great history, and lots of interesting things to see and do. Jaime and I hiked most of the way out to the derailed train cars, passing through a number of rail tunnels; and saw a few of the spots where the workers “camped” while constructing the tracks. We also headed back over the trestle, and saw the “old” tunnel that collapsed. The interesting thing about this tunnel is that the Western side is somewhat intact; allowing you to enter and see the state of the tunnel – including the beams that the earthquake split! As yesterday’s and today’s pictures show, there’s plenty of things to see out there, so definitely take that time to explore.
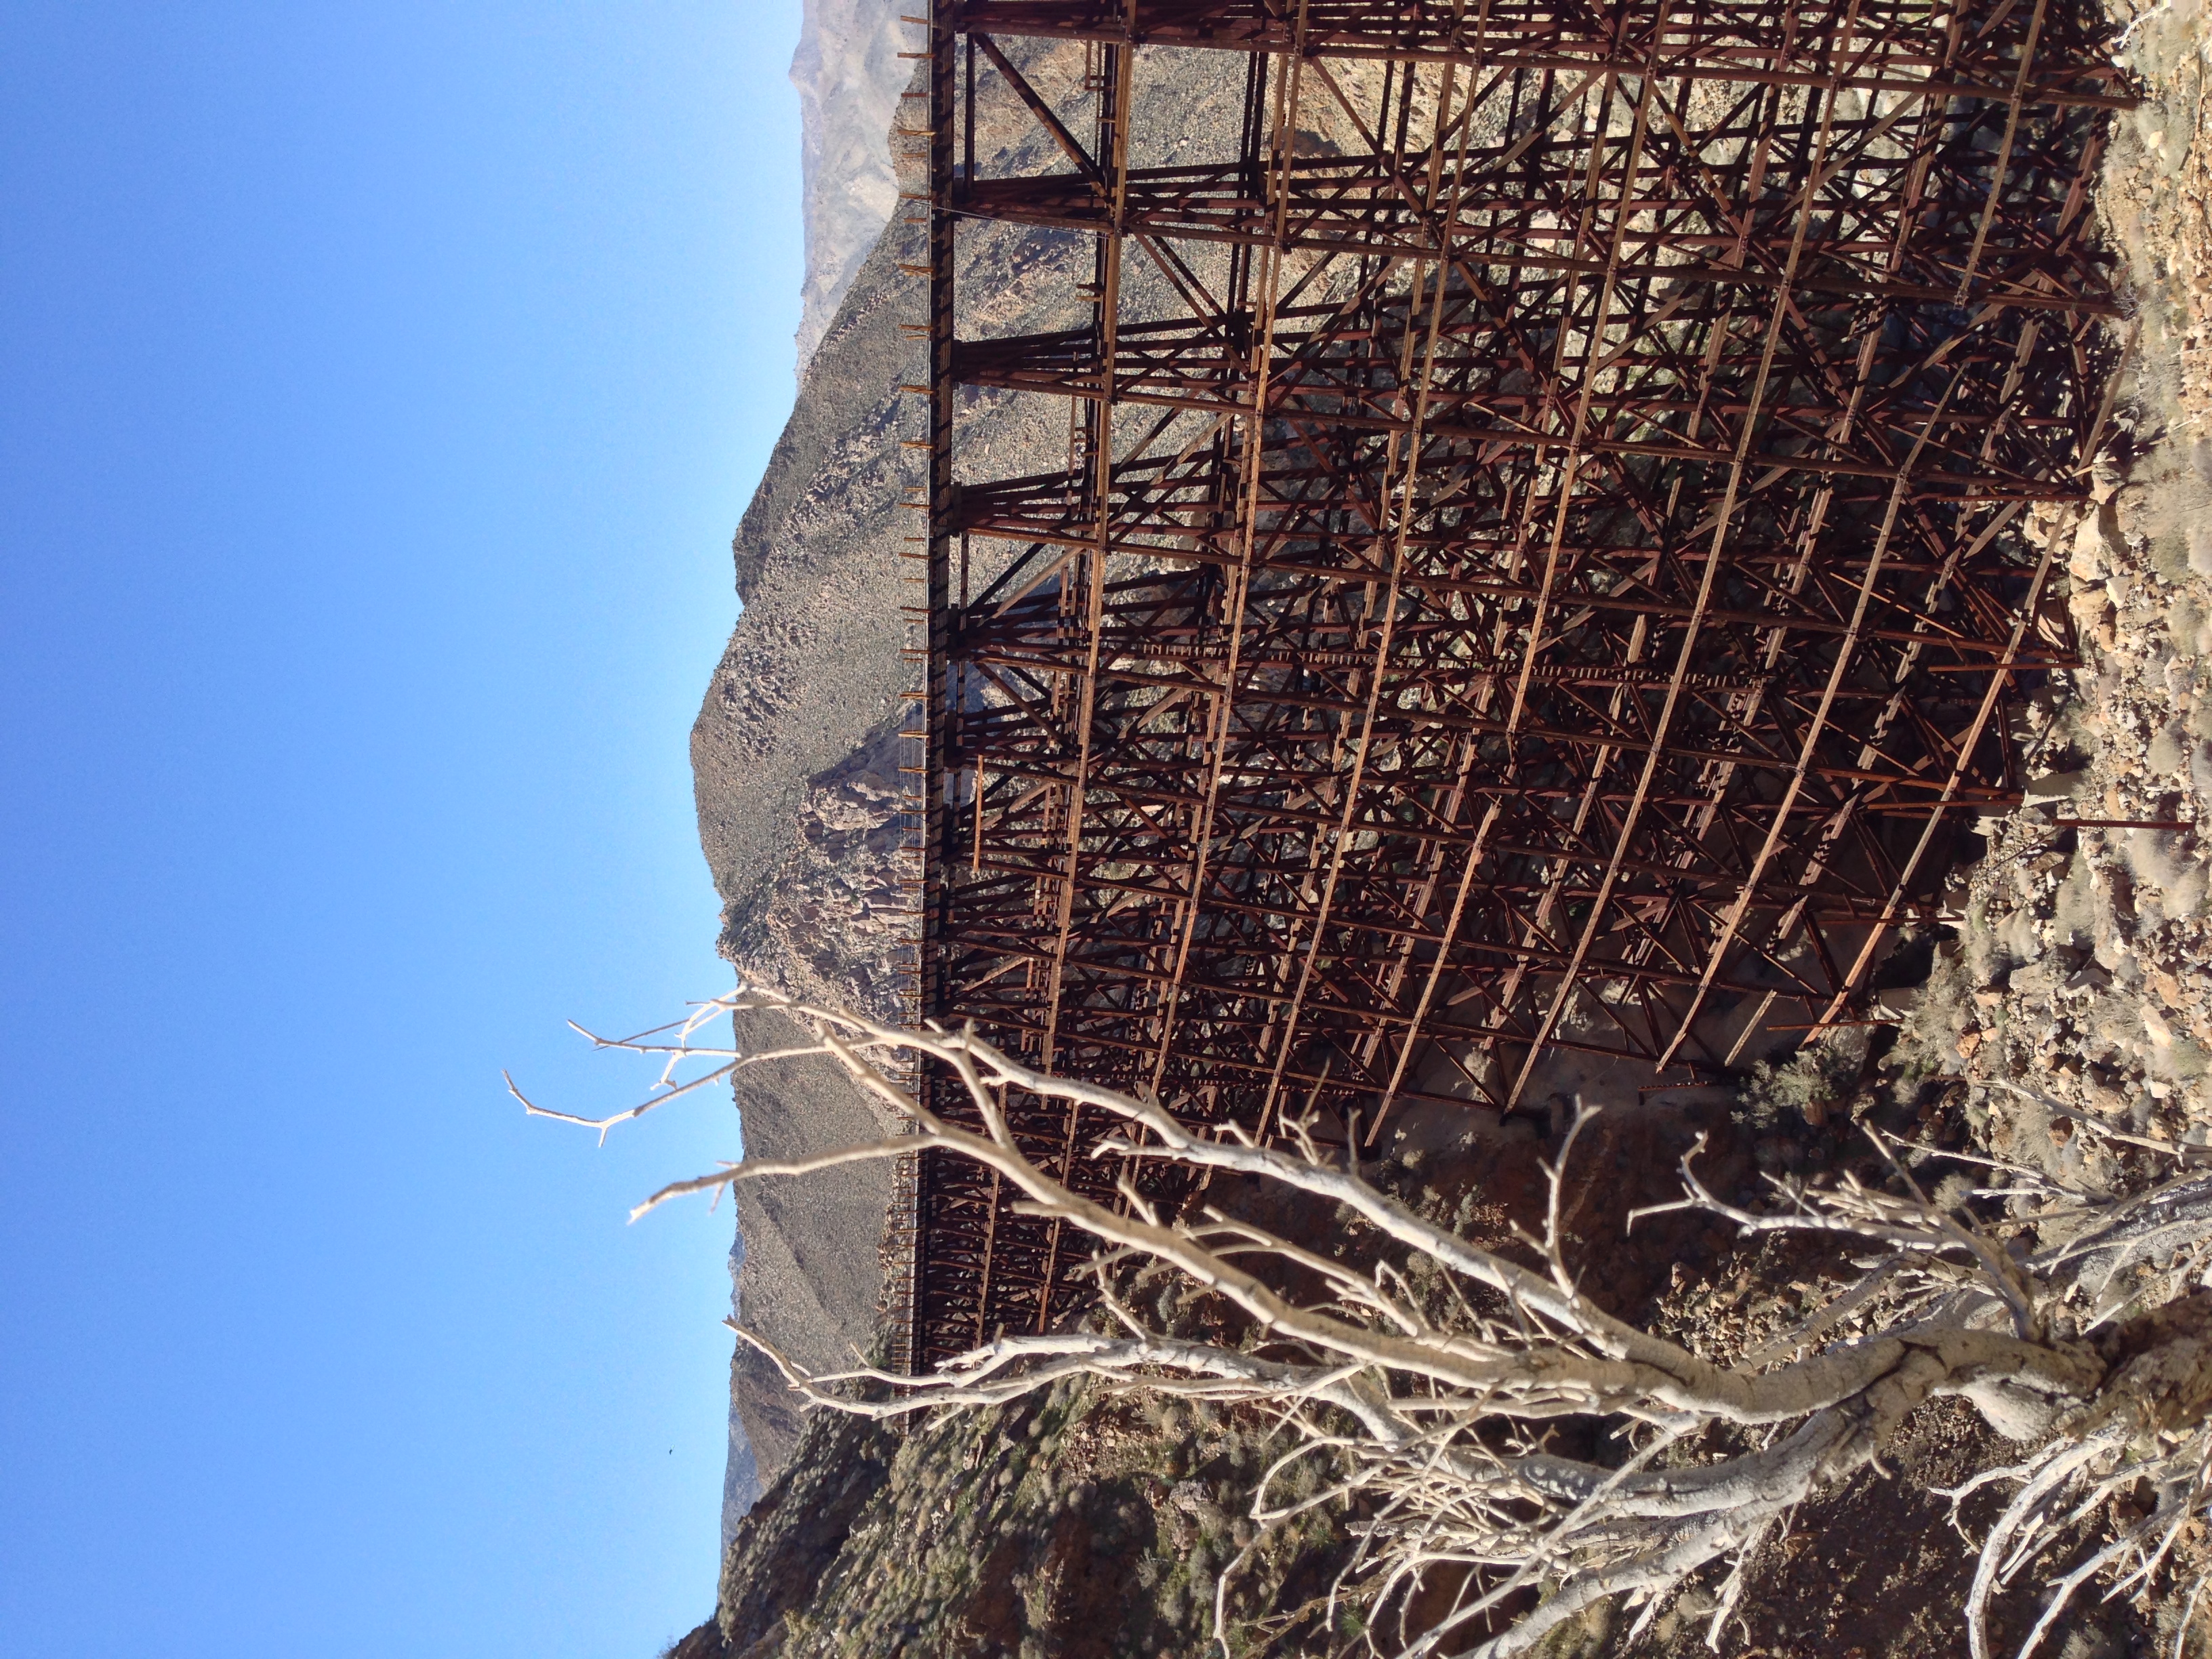
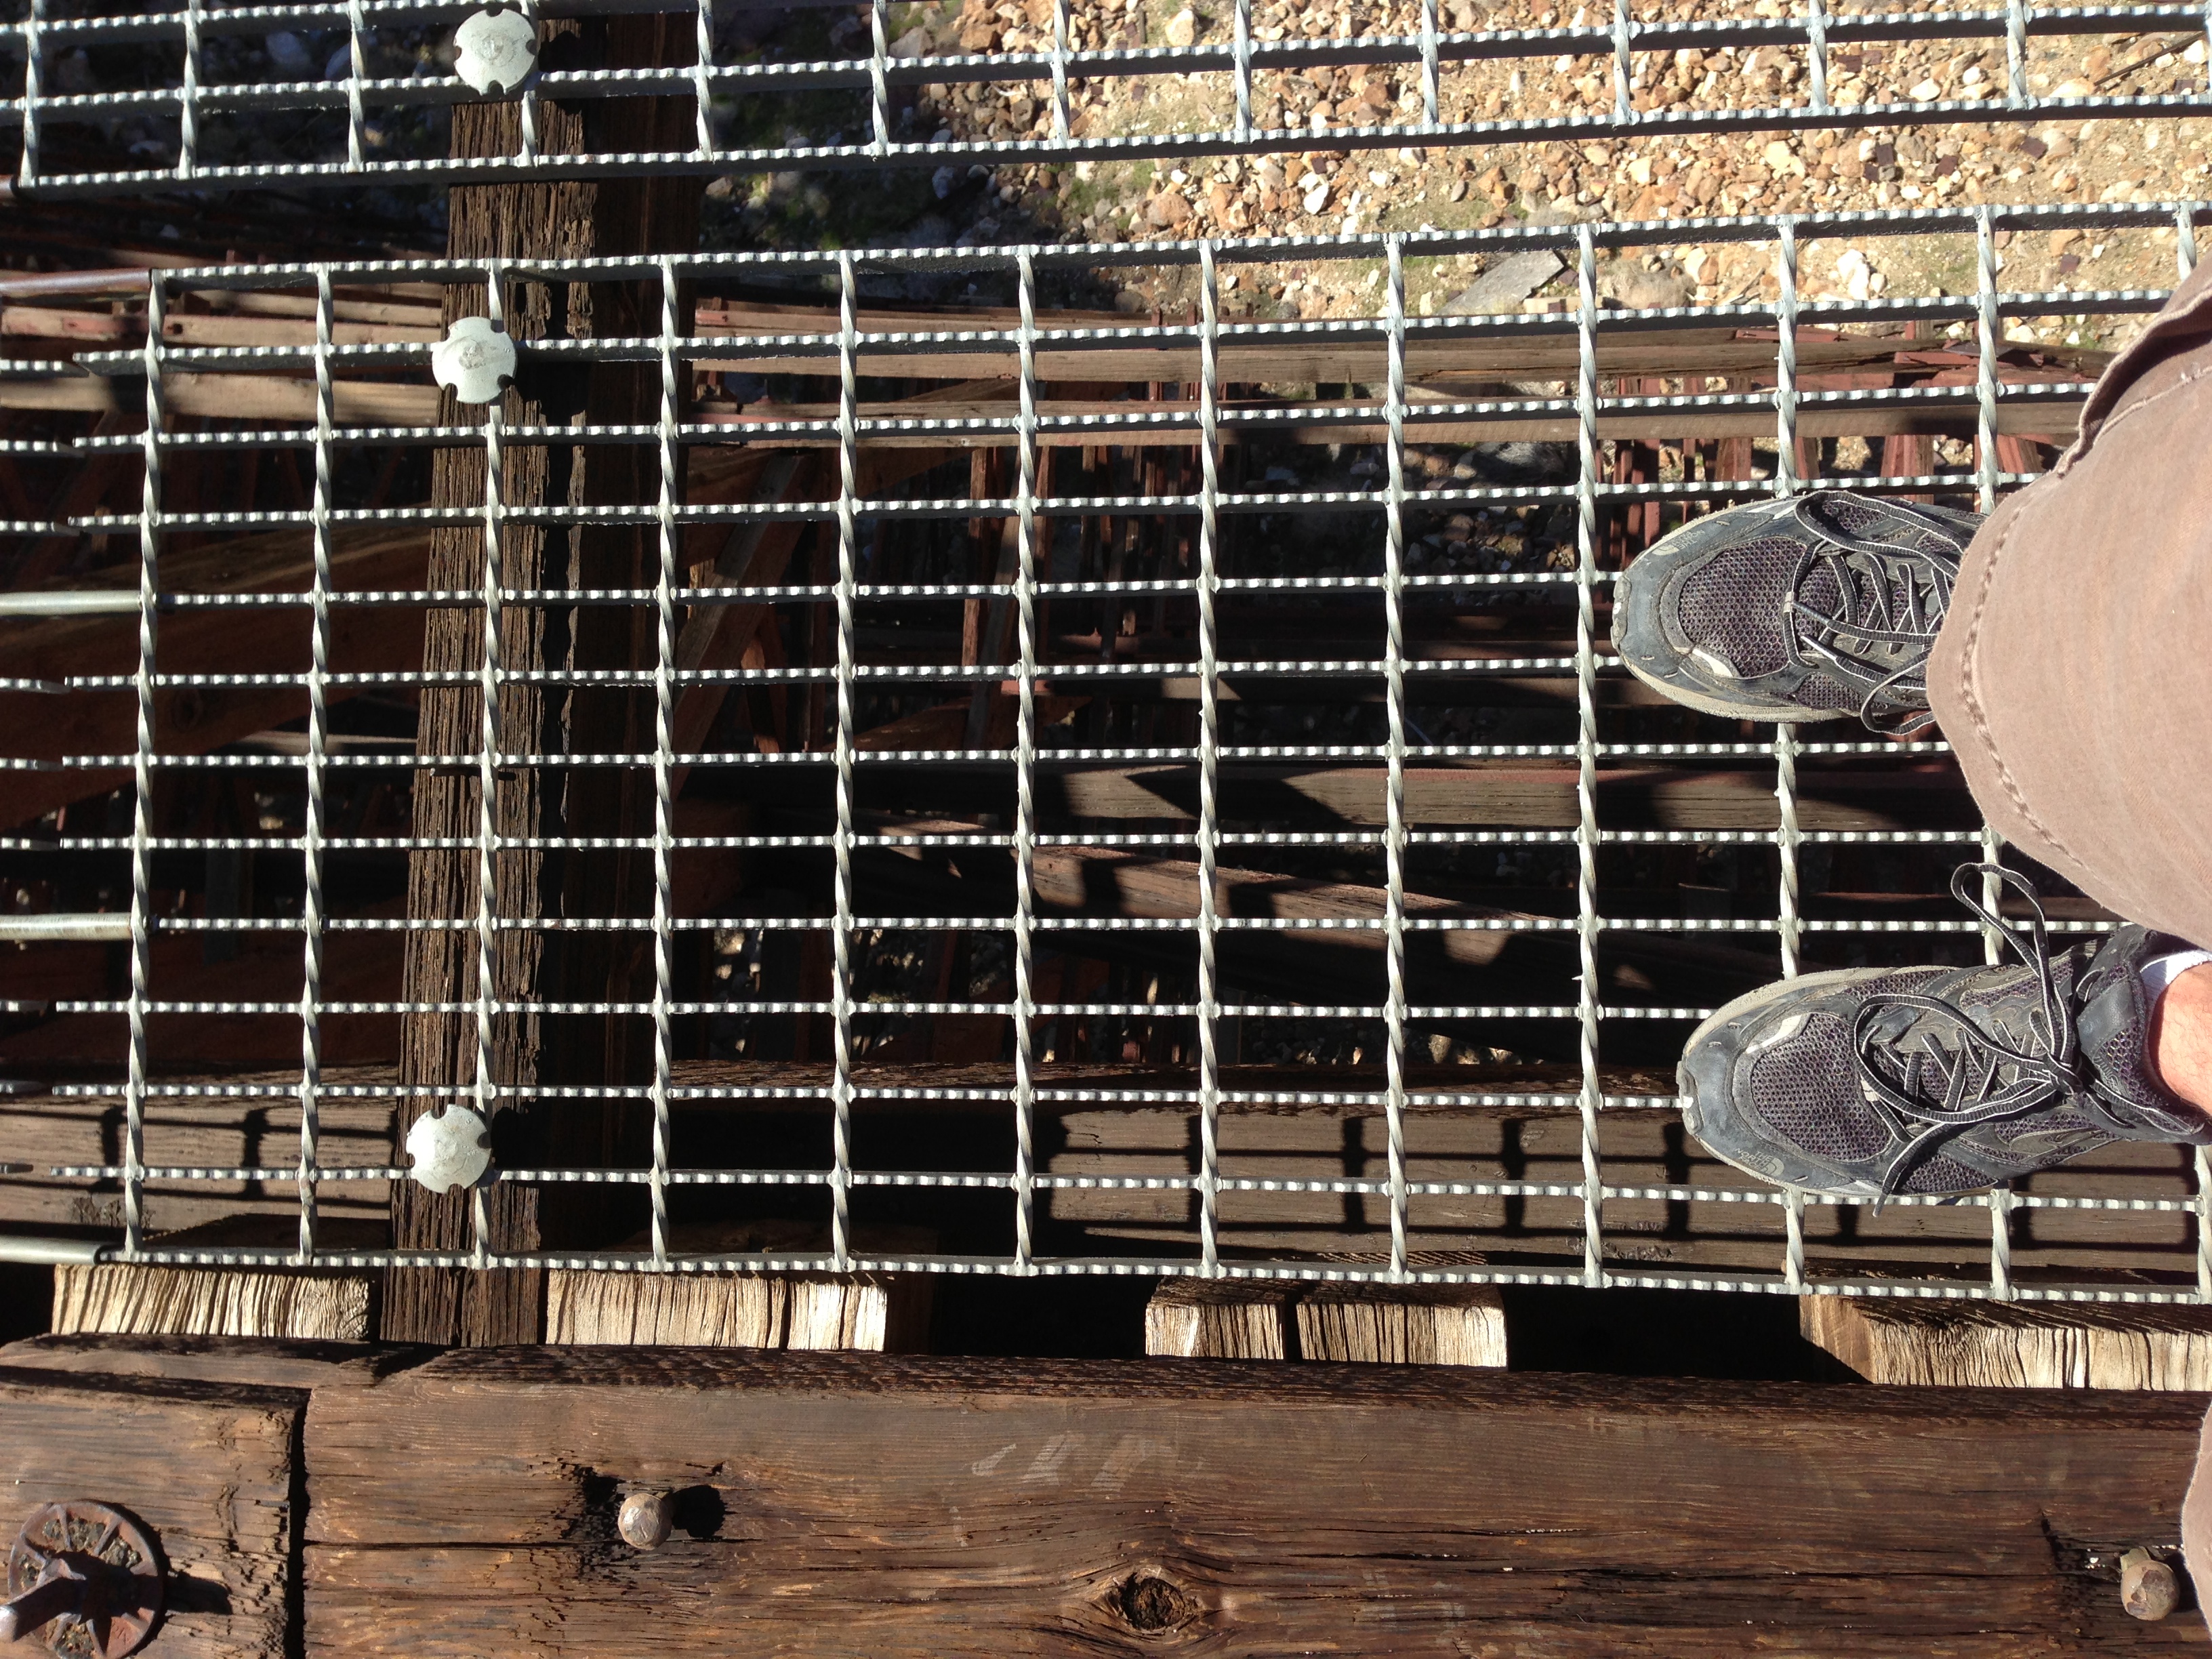
Final Tips: The trestle itself is an active railroad, even though trains are not moving on the tracks currently (as of March, 2013). Be sure to take proper train safety precautions. Also, it is technically, “illegal” to be on the tracks/trestle as it is railroad property – Goat Canyon and everything else is part of the State Park. While I think the odds of you getting caught and or receiving a ticket are remote, don’t come crying to me if you do as I’ve now warned you. Finally, the Goat Canyon Trestle is old; and there are some parts where the railing needs repair. Proceed cautiously if you do elect to cross; and above all else, have fun, and explore!